
Related Manuals for Rittal 7320.790


Summary of Contents for Rittal 7320.790
- Page 1 7320.790 Automatic Door Control Unit Assembly and operating instructions A4069307IT74...
-
Page 2: Table Of Contents
Contents Contents Notes on documentation........2 CE labelling..........2 Storing the documents......... 2 Used symbols and technical terms....2 Other applicable documents ......2 Safety instructions ..........2 Generally applicable safety instructions ..2 Device description ..........3 Components and function description ..3 3.1.1 Automatic Door Control Unit .... -
Page 3: Notes On Documentation
Processing Unit II and to the operating and instructions prior to commissioning and be sure to installation instructions for the products listed in keep them accessible for later use. RITTAL can Section 3.1. All documents are contained on the CD-ROM that accept no liability for damage and operating problems accompanies the Processing Unit II. -
Page 4: Device Description
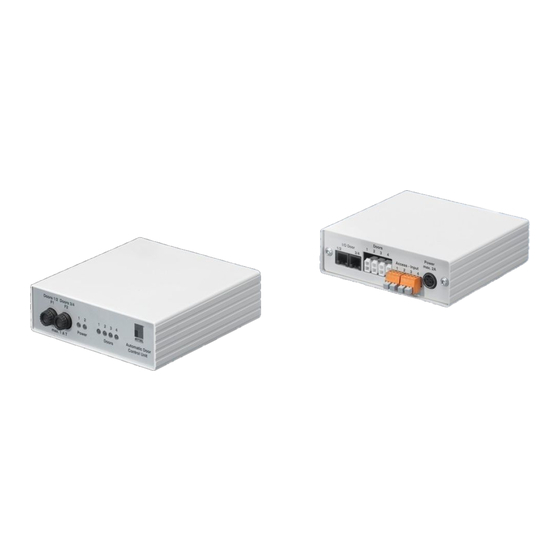
3 Device description Device description 3.1.1 Automatic Door Control Unit All inputs and outputs of the Automatic Door Control Unit are located on the rear. 3.1 Components and function description The following components belong to the complete Automatic Door Control system: Designation Order number Automatic Door Control Unit... -
Page 5: Proper Use
Nylon tape fastening RJ12 connection cable Assembly and installation The Automatic Door Control Unit is installed in a RITTAL TS 8 rack in accordance with the procedure described below. 4.1 Assembly procedure Assembly with nylon loop fastening: Fig. 4: Enclosure assembly with 7320.450 Fig. -
Page 6: Installation
4 Assembly and installation Connection of the Automatic Door Control Unit to a 4.2 Installation Basic CMC or an LCP Plus Control Unit Connect the inputs from Door 1/2 and Door 3/4 with Warning! any free port on the Basic CMC as shown in Fig. 6. The system operates only with safety Use the RJ12 cable provided for this purpose. - Page 7 4 Assembly and installation Connection of the Automatic Door key 7320.793 Connection of the 24 V power supply or alternatively the comfort handle with door opener function 7320.794 Remove the jumpers at the connection terminals Access – Input 1-4. Connect the Automatic Door keys as shown in Fig. 8. 7320.425 Fig.
-
Page 8: Installation Guidelines
5 Commissioning and configuration Commissioning and configuration 4.3.2 Installation guidelines After the successful installation and the connection to the mains voltage, the Automatic Door Control Note! system must be configured. This is done from the The installation guidelines described Processing Unit website as shown in Fig. 11. below are based on a risk analysis for the Automatic Door Control system and must always be observed in order... -
Page 9: Operation
The Automatic Door Control Unit does not have any The system must be checked regularly for its control elements. complete correct functioning. RITTAL recommends a regular function test when required, but not in 6.1 Display elements intervals longer than one year. -
Page 10: Technical Specifications
1 U (44.5 mm) A Word template for creating circuit diagrams can be Width 136 mm downloaded from the RITTAL homepage www.rittal.com. This template allows all products of Depth 129 mm the CMC-TC system to be represented and Weight without approx. - Page 11 Soluzioni per IT Soluciones TI Communication Systems Communication Systems Armoires outdoor Outdoor-behuizingen Communication Systems Soluzioni outdoor Sistemas de comunicación Rittal GmbH & Co. KG · Postfach 1662 · D-35726 Herborn Telefon +49(0)2772 505-0 · Telefax +49(0)2772 505-2319 · eMail: info@rittal.de ·...
Need help?
Do you have a question about the 7320.790 and is the answer not in the manual?
Questions and answers