MIMAKI TS300P-1800 Print Manual
Hide thumbs
Also See for TS300P-1800:
- Care and maintenance (16 pages) ,
- Operation manual (118 pages) ,
- Product manual (44 pages)
Table of Contents
Advertisement
Quick Links
TS300P-1800 Print Guide
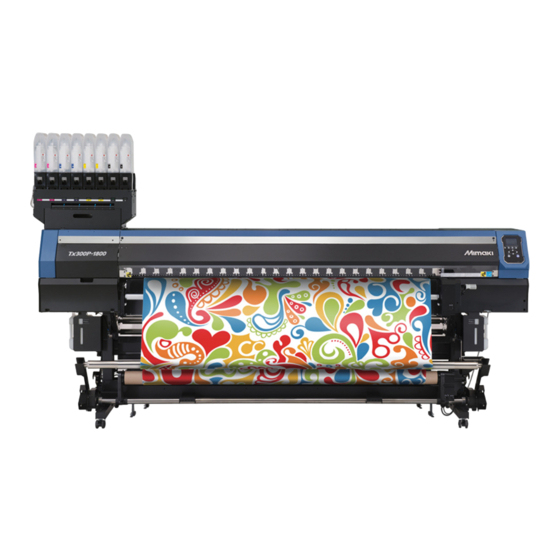
Thank you for purchasing our inkjet printer TS300P-1800.
This "Print Guide" explains the printing method using TS300P-1800 and the software RIP [TxLink3] and items
to be checked/set before printing.
First, confirm the following items:
Before printing, the preparation for TS300P-1800 and the software RIP [TxLink3] is required.
First, prepare the followings:
About system configuration (Refer to P. 2)
The explanation of the system configuration to print is described.
Prepare TS300P-1800 (Refer to P. 3)
To use TS300P-1800, the items below are explained:
Connect the PC in which the software RIP [TxLink3] has been installed with TS300P-
1800.
Turn on the power supply.
Depending on the media to be set, adjust the print head height etc.
Set the media.
Perform test printing to check whether there is no nozzle clogging etc.
Correct the feeding rate of media.
Correct the ink drop position.
Prepare the TxLink3 (Refer to P. 4)
The preparation of the software RIP [TxLink3] is explained.
For the installation method, refer to the manual of the TxLink3.
The printing method using a sample is
explained.
Here, the printing method using a sample image included in the attached CD.
Perform printing (Refer to P. 7)
Some typical questions are described.
Typical questions (Refer to P. 9)
(for TxLink3)
Advertisement
Table of Contents

Related Manuals for MIMAKI TS300P-1800


Summary of Contents for MIMAKI TS300P-1800
- Page 1 TS300P-1800 Print Guide (for TxLink3) Thank you for purchasing our inkjet printer TS300P-1800. This “Print Guide” explains the printing method using TS300P-1800 and the software RIP [TxLink3] and items to be checked/set before printing. First, confirm the following items: Before printing, the preparation for TS300P-1800 and the software RIP [TxLink3] is required.
-
Page 2: First, Confirm The Following Items
First, confirm the following items: About system configuration Instruct to print the printing data created with the application such as Illustrator or Photoshop etc. from the PC in which the TxLink has been installed. Send the data to be printed to the PC in which TxLink3 has been installed. -
Page 3: Print Head
Chapter 2 “Setting of Media Correction” of TS300P-1800 Operation Man- ual. Perform a dot position correction. • Correct the ink drop position. • For details, refer to Chapter 2 “If the Positions of Dots Shift...” of TS300P-1800 Operation Manual. - 3 -... -
Page 4: Prepare The Mimaki Driver
Check the connection with TS300P-1800. (1) Is the power supply of TS300P-1800 turned ON? (2) Is the PC in which the TxLink3 is installed connected with TS300P-1800? Place the installation CD for TxLink3 in the disk drive. • Exit the autorun of the CD if it occurs. - Page 5 Perform port settings. • You need to perform appropriate port settings for respective print environments. • If an appropriate port is already set, the following operation steps are not required. Proceed to "Perform Printing". (1) Select a desired print environment on the [Print environments] screen, and click the [Set- tings...] button.
- Page 6 (4) The [Edit Printer Settings] dialog is displayed. (5) Set [Status Monitor] to "Mimaki". (6) Click [Add] button. Click Select (7) The [Add Port] dialog is displayed. Select an appropriate port type according to the interface to be used. (8) Click [OK].
-
Page 7: Perform Printing
Perform printing Here, the printing method using a sample image included in the CD of the TS300P-1800 Operation Manual. • Check P. 2 to P. 4 “First, confirm the following items:” without fail before creating a seal/a sticker. Start TxLink3. -
Page 8: Start Printing
Select a print environment. • If you have a desired media/output setting for printing, select the setting from the combo box on the top of the screen. Start printing. (1) Select [Print ...] from the [File] menu. (2) The [Print] dialog is displayed. (3) Click [OK]. -
Page 9: Typical Questions
The waste ink tank is full. Replace the waste ink tank by following the procedures in Chapter4 “If a Waste Ink Tank Confirmation Message Appears” of TS300P-1800 Operation Manual. Supplied items Purchase them in a distributor in your district or our office. - Page 10 D202917-10-06072015 © MIMAKI ENGINEERING CO., LTD.2015...
Need help?
Do you have a question about the TS300P-1800 and is the answer not in the manual?
Questions and answers