Table of Contents
Advertisement
hisense HAWC09D Window (Room) Air Conditioner User Manual
http://www.manuallib.com/file/2617540
From ManualLib.com
ManualLib.com collects and classifies the global product
instrunction manuals to help users access anytime and
anywhere, helping users make better use of products.
Home: http://www.manuallib.com/ Chinese: http://www.shuomingshuku.com/
This Manual: http://www.manuallib.com/file/2617540
Advertisement
Table of Contents

Related Manuals for Hisense HAWC09D


Summary of Contents for Hisense HAWC09D
- Page 1 HAWC09D Window (Room) Air Conditioner User Manual http://www.manuallib.com/file/2617540 From ManualLib.com ManualLib.com collects and classifies the global product instrunction manuals to help users access anytime and anywhere, helping users make better use of products. Home: http://www.manuallib.com/ Chinese: http://www.shuomingshuku.com/ This Manual: http://www.manuallib.com/file/2617540...
-
Page 2: User Manual
Window (Room) Air Conditioner User Manual HAWC09D SWING SWING SPEED TIMER MODE Thank you very much for purchasing a air conditioner, please read this User and Care Manual carefully before installing and using this appliance, keep this manual for future reference. -
Page 3: Table Of Contents
CONTENTS Part Names Operating Instructions Care and Maintenance Caution for Operation and Trouble Shooting Installation Instructions This Manual: http://www.manuallib.com/file/2617540... -
Page 4: Part Names
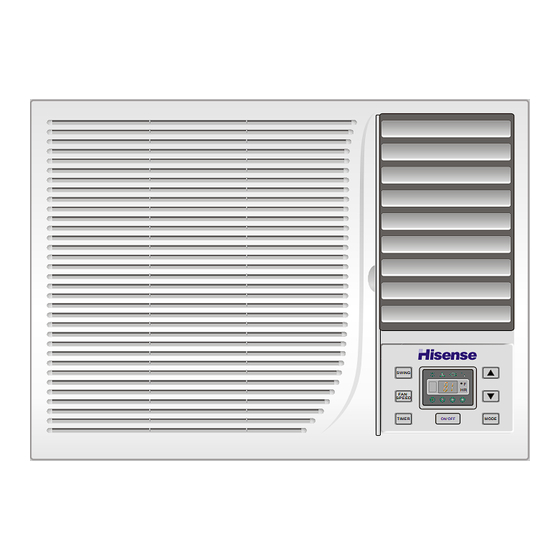
Part Names Front View Exterior Air Inlet Vertical Air Vane Air Outlet Horizontal Air Vane Exterior Air Inlet SWING SPEED TIMER MODE Power Cord Interior Fresh air lever Control Panel Remote Controller Air Inlet Grille Fig. 1 Back View Outside Air Outlet Exterior Air Inlet Drainage Tip Fig. -
Page 5: Parts Name
Parts Name Control Panel and Vent Lever 1. Control Panel Electrical Models: SWING SPEED TIMER MODE Air Filter handle 2. Vent Lever SWING SPEED TIMER MODE Fresh air lever Shut the fresh air door to achieve the best cooling effect and open it to introduce fresh air into Fresh air vent closes... -
Page 6: Operating Instructions
Operating Instructions You can easily operate this air conditioner by pressing the relevant button on the control panel as well as the remote controller. ON/OFF Button Control Panel The air conditioner will start operation or will stop operation when this button is pressed. MODE Button SWING Each time the MODE button is pressed, the operation... - Page 7 Operating Instructions Remote Controller The remote controller transmits signals to the system. POWER Button The air conditioner will start operation or will stop operation when this button is pressed. Power Timer MODE Button Used to select the mode. Swing Mode Power Saver Buttons Auto...
- Page 8 Operating Instructions Remote Control How to Insert the Batteries Remove the battery cover according to the arrow direction. Insert new batteries making sure that the (+) and (-) of the battery are matched correctly. Re attach the cover by sliding it back into position. Note: Use 2 LR6 AA(1.5volt) batteries.
-
Page 9: Care And Maintenance
Care and Maintenance When servicing the air conditioner, be sure to CAUTION turn the mode switch to the "OFF" position and disconnect the power cord from the electrical outlet. DO NOT forget to install the air filter. If the air conditioner is left to operate without the air filter, dust is not removed from the room and may 1. -
Page 10: Caution For Operation And Trouble Shooting
Caution for Operation and Trouble Shooting Caution for Operation 1. Wait for three minutes before restarting the air conditioner. 2. A specified fuse should be employed in the power source circuit for fear the appliance be damaged. 3. Power supply Power supply voltage should be at the range of 10% rated voltage, otherwise the appliance will not operate normally or the fuse will be blown. -
Page 11: Installation Instructions
Installation Instructions Note: All mentioned accessories are prepared or purchased by user. 1.Accessories 1. buffer 2.leveling pad 3. seal foam pad 4. decorating strip Note: All above accessories are prepared or purchased by user. 2. Installation requirements Leave a space more than 100cm at the rear of the appliance and ensure the outdoor air intake not be blocked. - Page 12 2. Installation requirements Installation instructions 3. Installation steps Test the appliance by connecting the power supply cord in a correct receptable outlet of power supply before installation. A clearance of 20 mm is advisable between the appliance cabinet and the wall as shown in Fig.5. Put the buffers on the installation bracket as shown in Fig.6.
- Page 13 Version No. 819044075-01 This Manual: http://www.manuallib.com/file/2617540...
- Page 14 10. Replacement items are “Like for like” and is not “new for old” and does not indicate in any way that a faulty product will be replaced b. Hisense and/or its Agents will decide if there are any defects in the material and/or workmanship with a new part or unit.
-
Page 15: Service Procedure
Please retain this portion for your records 60 MONTHS IN HOME REPAIR WARRANTY Hisense Australia will provide its nearest service centre for repairs under warranty. You will need to ensure that you have already called Hisense Warranty Centre and received a JOB NUMBER.
Need help?
Do you have a question about the HAWC09D and is the answer not in the manual?
Questions and answers