
Related Manuals for JR MB-331


Summary of Contents for JR MB-331
-
Page 1: Specifications
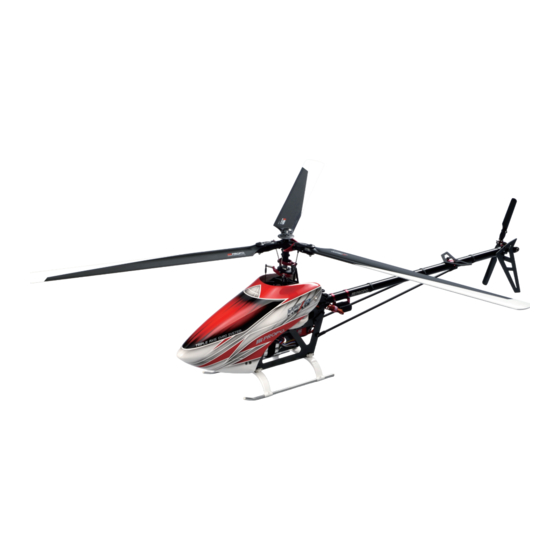
ASSEMBLY MANUAL Specifications Compatibility NEX E6 550 Bolt hole dia. 4mm Main rotor dia. 1,145mm ※ 1 ※ 1 With 510mm main blades This photo depicts the rotor head on an assembled model (NEX E6-550 with optional body) - Page 2 Thank you for purchasing this JR product. To experience the full potential of this product, please read and understand this manual before commencing assembly. PRECAUTIONS ① Any R/C model may crash due to an assembly failure, operational mistake, service failure (loose bolts. etc), interference and so on. Always keep in mind that a radio control helicopter, which is controlled by radio frequency, may go out of control for many reasons.
-
Page 3: Product Warranty
Note that we will take no responsibility for any accidents of whatever cause during use of this product. REPAIR For repair of this JR product, please consult with your JR helicopter distributor. -
Page 4: Assembly Steps
ASSEMBLY STEPS ※ Firstly remove the swash plate and the rotor head. ② Install the universal links onto the threaded rod as shown. ① Install the swash plate onto the main shaft and then install the linkage rod. 22mm Install the main rotor head assembly using the socket head bolt M2.6 × 6. Make 3 sets Main rotor head assembly Threaded rod M2 ×... - Page 5 Carbon main rotor blades MB-331 ( × 3) Nylon lock nut M4 ( × 3) Alignment pin supplied with the Kit ※ If you use the optional JR digital pitch gauge (No.61796), you can make this adjustment with improved accuracy.
- Page 6 ※ This is because with the two blade rotor head on the NEX E6-550, when the swash plate moves up, the blade pitch becomes negative. But with the MB-331 rotor head, when the swash plate moves up, blade pitch becomes positive.
- Page 8 61793 81047 61788 61791 80006 61794 81073 80227 70665 (×7) 61651 80013 80117 61792 70720 81084 70661 70662 83159 61790 81061 80246 80073 61789 80164 61795 80226...
- Page 9 Shielded bearing 6 × 13 × 5 × 2 L-1360ZZ 81061 Shielded bearing 2 × 5 × 2.3 × 2 L-520ZZ 81084 Flanged bearing F2 × 5 × 2.3 × 2 LF-520ZZ 83159 Carbon main rotor blades MB-331 × 3 L510...
- Page 10 LOT NO. 2013.02 MB-331 Manual Ver 1.1 The product and the contents of these instructions are subject to change without notice due to improvement.
Need help?
Do you have a question about the MB-331 and is the answer not in the manual?
Questions and answers