Table of Contents
Advertisement
Quick Links
Advertisement
Table of Contents

Related Manuals for Eneo NLD-1401


Summary of Contents for Eneo NLD-1401
-
Page 1: Installation Guide
H.264 Network Camera Installation Guide English Version 1.0 Model : NLD-1401... -
Page 3: Product Description
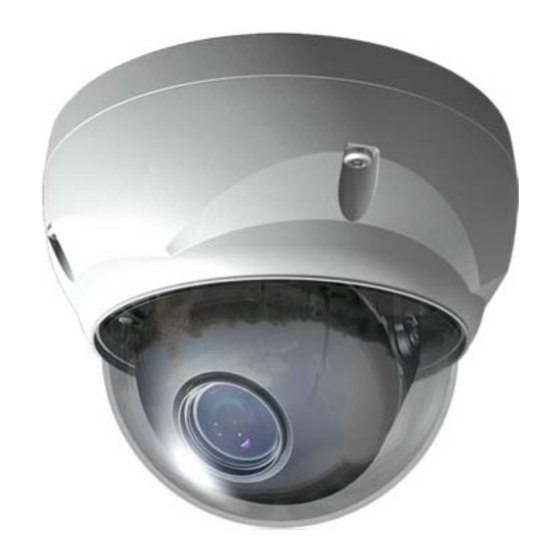
1. Product Description This manual applies to the NLD-1401 dome. The NLD-1401 vandal resistant dome is a Hybrid analogue and IP camera. It has a standard composite BNC out put allowing it to be connected via coax to a traditional coax based CCTV system, as well as being connected to an IP based system. -
Page 4: Installation
2. Installation For the operation of the NLD-1401, it is necessary to connect: a network cable for data transmission; a power connection from the supplied power adapter and possibly a coax cable for standard analogue viewing. Depending on operation methods, it is possible to connect: alarm cables and audio cable. -
Page 5: Network Connection
IP address. So, it is necessary to allocate an IP address to the device with the “Smart Manager” utility on the CD. 1. Connect the NLD-1401 / device to the network and power up. 2. Start SmartManager utility (All Programs>NT-Manager16>SmartManager), the main window will be displayed, after a short while any network devices connected to the network will be displayed in the list. -
Page 6: Operation
3.1 Access from a browser 1. Start a browser (Internet Explorer). 2. Enter the IP address or host name of the NLD-1401 in the Location/ Address field of your browser. 3. You can see a starting page. Click Live View or Setup to enter web page. -
Page 7: Access From The Internet
To do this, enable the NAT-traversal feature, which will attempt to automatically configure the router to allow access to the NLD-1401. This is enabled from Setup > System > Network > NAT. - Page 8 3.4 Live View Page The live view page comes in eight screen modes like 704x480(576), 704x240(288), 352x240(288), 176x120(144), 640x480, 320x240, 160x120. Users are allowed to select the most suitable one out of those modes. Please, adjust the mode in accordance with your specifications monitoring purposes.
- Page 9 Operators, who have access to the settings for Basic, Live View, Video & Image, Audio, Event, and System Configuration. You can configure the NLD-1401 by clicking Setup in the top right-hand corner of the Live View page. Click on this page to access the online help that explains the setup tools.
-
Page 10: Resetting To The Factory Default Settings
3.6 Resetting to the factory default settings To reset the NLD-1401 to the original factory settings, go to the Setup>System >Maintenance web page (described in “3.6.5.6 Maintenance” of the User’s Manual) or use the control button on the NLD-1401, as described below: Follow the instructions below to reset the NLD-1401 to the factory default settings using the Reset Button. - Page 12 Videor E. Hartig GmbH ® Exclusive distribution through specialised trade channels only. Videor E. Hartig GmbH Carl-Zeiss-Straße 8 · 63322 Rödermark, Germany Tel. +49 (0) 60 74 / 888-0 · Fax +49 (0) 60 74 / 888-100 Technical changes reserved.
Need help?
Do you have a question about the NLD-1401 and is the answer not in the manual?
Questions and answers