Table of Contents
Advertisement
Quick Links
I N S T R U C T I O N M A N U A L
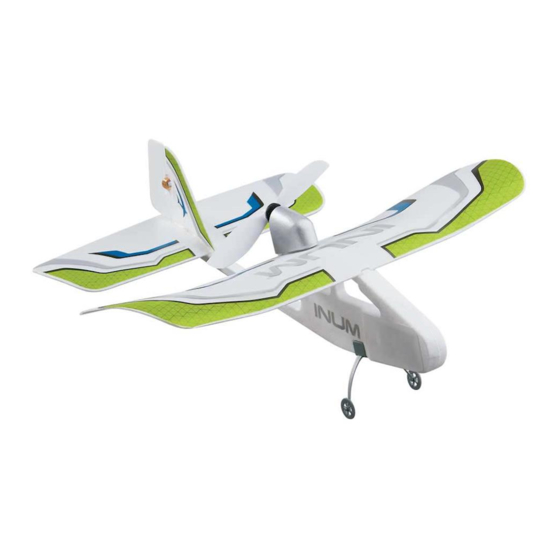
SPECIFICATIONS
Wingspan:
8.46 in [ 215 mm]
Total Length:
9 in [ 230 mm]
Weight:
0.3 oz [8.5 g]
WARRANTY
Flyzone
®
guarantees this kit to be free from defects in both
material and workmanship at the date of purchase. This warranty
does not cover any component parts damaged by use or
modification. In no case shall Flyzone's liability exceed the
original cost of the purchased kit. Further, Flyzone reserves
the right to change or modify this warranty without notice.
In that Flyzone has no control over the final assembly or material
used for final assembly, no liability shall be assumed nor
accepted for any damage resulting from the use by the user of
the final user-assembled product. By the act of using the
user-assembled product, the user accepts all resulting liability.
READ THROUGH THIS MANUAL BEFORE STARTING CONSTRUCTION. IT CONTAINS IMPORTANT
READ THROUGH THIS MANUAL BEFORE STARTING CONSTRUCTION. IT CONTAINS IMPORTANT
INSTRUCTIONS AND WARNINGS CONCERNING THE ASSEMBLY AND USE OF THIS MODEL.
INSTRUCTIONS AND WARNINGS CONCERNING THE ASSEMBLY AND USE OF THIS MODEL.
®
© 2014 Flyzone,
a Hobbico company.
IMPORTANT
•
This radio controlled model is not a toy!
•
This model must be assembled and operated according to the instructions.
•
It may cause serious injury to persons or property if not used responsibly.
Not suitable for children under 14 years old.
If the buyer is not prepared to accept the liability associated
with the use of this product, the buyer is advised to return
this kit immediately in new and unused condition to the
place of purchase.
For warranty claims Contact Hobbico Product Support:
Hobbico Product Support
3002 N. Apollo Drive Suite 1
Champaign IL 61822 USA
Telephone: (217) 398-8970 ext. 6
Fax: (217) 398-7721
E-mail: airsupport@hobbico.com
™
FLZA2100
Advertisement
Table of Contents

Related Manuals for Flyzone Inum


Summary of Contents for Flyzone Inum
- Page 1 Hobbico Product Support 3002 N. Apollo Drive Suite 1 In that Flyzone has no control over the final assembly or material Champaign IL 61822 USA used for final assembly, no liability shall be assumed nor accepted for any damage resulting from the use by the user of Telephone: (217) 398-8970 ext.
-
Page 2: Items Included
PRECAUTIONS LiPo Battery Recycling Your INUM should not be considered a toy, but rather a ATTENTION: The product you have purchased sophisticated, working model that functions very much like a is powered by a rechargeable battery. At the end full-size airplane. Because of its performance capabilities, the of the battery’s useful life, under various state... -
Page 3: Before Operating
3.7V 35mAh LiPo Battery (elevator control Power Switch forward and back movement) is not 1. Open the charger terminal hatch by carefully pushing the used for the INUM.” Charger small tab to the left. Terminal Battery Level Rudder Trim 2. Connect the 3.7V 35 mAh LiPo battery to the charge socket. -
Page 4: Led Display
CHOOSING YOUR FLYING FIELD ● The size of the hall etc. should be as shown in the diagram. (Be sure to obtain appropriate permission.) The INUM can be fl own in smaller areas with some experience. Control may be lost if the airplane is more than 3. -
Page 5: Pre-Flight Check
PRE-FLIGHT CHECK TAKEOFF 1. Check for any bends or damaged parts on the wing, fuselage or tail. Check to see if the plane responds properly to control signals. 2. Be sure the propellers are properly attached! 3. Switch the transmitter ON and connect the battery, and advise any people nearby. -
Page 6: After Landing
LANDING When the battery runs low, the auto-cut mechanism will stop the propeller from spinning, so aim for fl ight times of about 7– 8 minutes, then land. Landing Course Take your fi nger off of the rudder stick and if the plane fl ies to the right, adjust the rudder trim to the left. -
Page 7: Reversing Flight Controls
AFTER-FLIGHT MAINTENANCE REVERSING FLIGHT CONTROLS Reversing the control direction of the rudder can be accomplished by following the steps below. Press Remove the batteries from the transmitter when not in use. 1. Press and hold the rudder right side digital trim button down and turn the transmitter on. - Page 8 ™...
Need help?
Do you have a question about the Inum and is the answer not in the manual?
Questions and answers