Table of Contents
Advertisement
Quick Links
Download this manual
See also:
User Manual
WARRANTY
Great Planes
Model Manufacturing Co. guarantees this kit to
®
be free from defects in both material and workmanship at the
date of purchase. This warranty does not cover any component
parts damaged by use or modification. In no case shall Great
Planes' liability exceed the original cost of the purchased kit.
Further, Great Planes reserves the right to change or modify this
warranty without notice.
In that Great Planes has no control over the final assembly or
material used for final assembly, no liability shall be assumed nor
accepted for any damage resulting from the use by the user of
the final user-assembled product. By the act of using the
user-assembled product, the user accepts all resulting liability.
If the buyer is not prepared to accept the liability associated
with the use of this product, the buyer is advised to return
READ THROUGH THIS MANUAL BEFORE STARTING CONSTRUCTION. IT CONTAINS IMPORTANT
INSTRUCTIONS AND WARNINGS CONCERNING THE ASSEMBLY AND USE OF THIS MODEL.
Entire Contents © Copyright 2009
®
I N S T R U C T I O N M A N U A L
this kit immediately in new and unused condition to the
place of purchase.
To make a warranty claim send the defective part or item to
Hobby Services at the address below:
Include a letter stating your name, return shipping address, as
much contact information as possible (daytime telephone
number, fax number, e-mail address), a detailed description of
the problem and a photocopy of the purchase receipt. Upon
receipt of the package the problem will be evaluated as quickly
as possible.
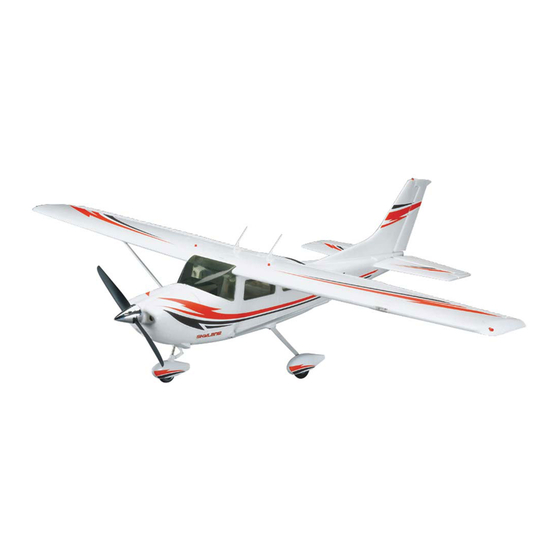
SPECIFICATIONS
Wingspan:
Wing
Area:
Weight:
Wing
Loading:
Length:
®
Radio:
Hobby Services
3002 N. Apollo Dr. Suite 1
Champaign IL 61822 USA
47.5 in
[1205 mm]
339 sq in
[21.9 dm
2
]
37 oz
[1050 g]
15.7 oz/sq ft
[48 g/dm
2
]
39 in
[990 mm]
5-channel
(included)
HCAA42xx Mnl
Advertisement
Table of Contents

Related Manuals for Flyzone Cessna 182 Skylane


Summary of Contents for Flyzone Cessna 182 Skylane
-
Page 1: Specifications
SPECIFICATIONS 47.5 in Wingspan: [1205 mm] Wing 339 sq in Area: [21.9 dm 37 oz Weight: [1050 g] ® Wing 15.7 oz/sq ft Loading: [48 g/dm 39 in Length: ® [990 mm] 5-channel Radio: (included) I N S T R U C T I O N M A N U A L WARRANTY Great Planes Model Manufacturing Co. -
Page 2: Table Of Contents
TABLE OF CONTENTS We urge you to join the AMA (Academy of Model Aeronautics) INTRODUCTION . . . . . . . . . . . . . . . . . . . . . . . . . . . . . . . . 2 and a local R/C club . -
Page 3: Additional Items Required
HCAA3837 Servo w/Hardware Cessna 182 Select Scale Replacement parts for the Great Planes Cessna ARF are HCAA3840 Flyzone LiPo 11.1V 1800 mAh Battery available using the order numbers in the Replacement Parts GPMM3109 Power Connectors List that follows . The fastest, most economical service can GPMM3318 3S LiPo Balancing Smart Charger w/ AC &... -
Page 4: Kit Contents
6. Main landing gear elevator-rudder servos/connectors/pushrods, 72 w/wheel pants, wheels MHz receiver, hook-and-loop battery strap) 7. FlyZone 1800mAh 11.1V LiPo battery 3. Wing assembly 8. Battery charger (factory-installed ailerons, flaps, flap/aileron servos, w/AC connector, DC connector... -
Page 5: Assemble The Model
Mount the Vertical and Horizontal ASSEMBLE THE MODEL Stabilizers (Fin and Stab) Mount the Main Landing Gear 1 . Key the post coming out of the bottom of the vertical stabilizer (fin) into the hole in the plastic plate on the top of the horizontal stabilizer (stab) and join the two for a 1 . - Page 6 4 . Just before the fin and stab are all the way into position, reach inside the fuselage with small needle-nose pliers or hemostats and feed the pushrods into the pushrod connectors already mounted on the servos . 5 . Fit the fin and stab assembly the rest of the way into position on the back of the fuselage and tightly push them down into position .
-
Page 7: Hook Up The Controls
2 . Temporarily replace the receiver into its molded-in cubby in the fuselage (but don’t remove the backing from the adhesive foam tape on the back of the receiver yet— there will be more wires to connect later when mounting the wing) . - Page 8 5 . Turn on the transmitter . Be certain the light on the front is glowing green indicating that the batteries have adequate power . If the light is yellow this indicates that the batteries may be old or used and do not have enough power . If necessary, replace the batteries in the transmitter with new ones .
-
Page 9: Mount The Wing
from the leading edge . Mark two more lines, one 1/8” [3mm] in front of the first line and another 1/8” [3mm] behind the first line noting the forward and aft C .G . limits . 2 . To make it easier to detect the balance marks for 10 . - Page 10 8 . Turn the model upside-down and rest it on a small cardboard box, a couple of thick books or something similar . Connect the wire for the wing lighting and the remaining servo wires coming from the wing into the receiver and the light control module .
-
Page 11: Final Assembly
extend (lower) the flaps . Measure the distance that the flaps move down from their original, “up” position . The flap “throw” should be 3/8” [10mm] . If necessary, use a small screwdriver to turn the flap adjustment screw in the front of the transmitter to adjust the flap throw so it will be as close as possible to the specified distance . -
Page 12: Check The C.g. (Center Of Gravity)
Check the C.G. (Center of Gravity) The C .G . (Center of Gravity) is the location on the wings, measured back from the leading edge on both sides of the fuselage, where the model balances . In addition to the control surface throws, the C .G . -
Page 13: Get The Model Ready To Fly
If tail weight is required simply adhere it to the side of the LITHIUM BATTERY fuselage under the horizontal stabilizer . HANDLING & USAGE 5 . Recheck the C .G . to make certain the model still balances where required . Once finished, remove the battery . WARNING!! Read the entire instruction sheet included with Never charge the battery while it is installed in the model . -
Page 14: Know Your Frequency
Know Your Frequency Monitor Your Flight Time Monitor and limit your flight time using a timer such as the CAUTION: The transmitter used to control your Cessna one on your wrist watch . When the batteries are getting low Skylane transmits signals on one of several frequencies you will usually notice a performance drop before the ESC that are available . -
Page 15: Hand-Launch
Practice a few of these “climb and glides” to judge how far Hand-Launch out you will need to be when its time to land . Until you have become efficient at flying your Cessna, always Landing use an assistant to hand-launch your model . Have your assistant hold the model by the bottom of the To land, fly down-wind past the landing area .
Need help?
Do you have a question about the Cessna 182 Skylane and is the answer not in the manual?
Questions and answers