Table of Contents
Advertisement
Quick Links
WARRANTY
Hobbico guarantees this kit to be free from defects in both
material and workmanship at the date of purchase. This warranty
does not cover any component parts damaged by use or
modification. In no case shall Hobbico's liability exceed the
original cost of the purchased kit. Further, Hobbico reserves
the right to change or modify this warranty without notice.
In that Hobbico has no control over the final assembly or material
used for final assembly, no liability shall be assumed nor
accepted for any damage resulting from the use by the user of
the final user-assembled product. By the act of using the
user-assembled product, the user accepts all resulting liability.
If the buyer is not prepared to accept the liability associated
with the use of this product, the buyer is advised to return
READ THROUGH THIS MANUAL BEFORE STARTING CONSTRUCTION. IT CONTAINS IMPORTANT
INSTRUCTIONS AND WARNINGS CONCERNING THE ASSEMBLY AND USE OF THIS MODEL.
© 2010 Hobbico
®
, Inc.
I N S T R U C T I O N M A N U A L
this kit immediately in new and unused condition to the
place of purchase.
To make a warranty claim send the defective part or item to
Hobby Services at the address below:
Hobby Services
3002 N. Apollo Dr. Suite 1
Champaign IL 61822 USA
Include a letter stating your name, return shipping address, as
much contact information as possible (daytime telephone
number, fax number, e-mail address), a detailed description of
the problem and a photocopy of the purchase receipt. Upon
receipt of the package the problem will be evaluated as quickly
as possible.
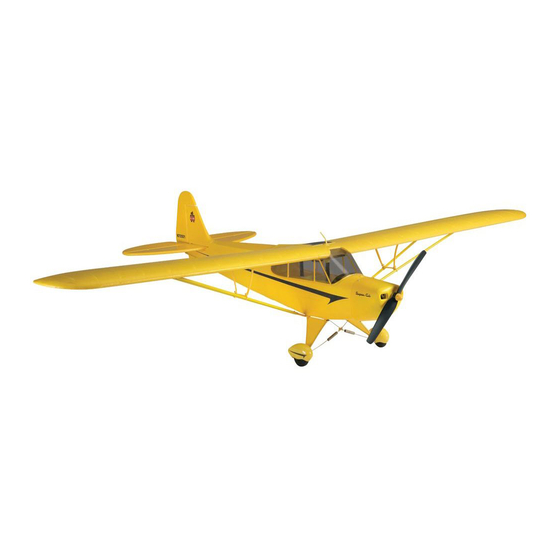
SPECIFICATIONS
SPECIFICATIONS
48 in
48 in
Wingspan:
Wingspan:
[1220mm]
[1220mm]
2
2
Wing
Wing
354 in
354 in
2
2
Area:
Area:
[22.8 dm
[22.8 dm
]
]
30.4 oz
30.4 oz
Weight:
Weight:
[860 g]
[860 g]
2
Wing
12.4 oz/ft
2
Loading:
[38 g/dm
]
33 in
Length:
[840mm]
4-channel
Radio:
(required)
Battery
3s 1300mAh,
and ESC:
16A ESC
HCAA2527 Mnl
™
Advertisement
Table of Contents

Related Manuals for Flyzone Super Cub


Summary of Contents for Flyzone Super Cub
- Page 1 ™ SPECIFICATIONS SPECIFICATIONS 48 in 48 in Wingspan: Wingspan: [1220mm] [1220mm] Wing Wing 354 in 354 in Area: Area: [22.8 dm [22.8 dm 30.4 oz 30.4 oz Weight: Weight: [860 g] [860 g] Wing 12.4 oz/ft Loading: [38 g/dm 33 in Length: [840mm] 4-channel...
-
Page 2: Table Of Contents
Battery Charging Precautions ....13 FLYING THE PIPER Super CUB ....13 Find a Suitable Flying Site . -
Page 3: Additional Items Required
3002 N. Apollo Drive, Suite 1 Champaign, IL 61822 The LiPo battery charger included with your Piper Super Cub RTF is a simple, safe, entry-level charger that charges at a Be certain to specify the order number exactly as listed in rate of 800mA. -
Page 4: Kit Inspection
KIT INSPECTION Before starting to build, inspect the parts to make sure they are of acceptable quality. If any parts are missing or are not of acceptable quality, or if you need assistance with assembly, contact Product Support. When reporting defective or missing parts, use the part names exactly as they are written in the Kit Contents list. -
Page 5: Assemble The Model
Phillps screw into the aft mount and through the gear, but ASSEMBLE THE MODEL don’t tighten it all the way down yet (the screw will be removed and reinstalled again later when attaching the wing struts). Mount the right main landing gear the same way. Mount the Main Landing Gear ❏... - Page 6 ❏ ❏ 3. Insert the “Z-bend” of the wire into the bottom hole in 5. Same as the elevator pushrod, guide the two rudder the elevator horn as shown. pushrods partway up through the guide tubes in the fuselage. Connect the pushrods to the outer holes in the rudder horn, then rotate the rudder 90°...
-
Page 7: Hook Up The Controls
Hook Up the Controls ❏ 1. If you haven’t yet done so, familiarize yourself with the included Tactic ™ 404 radio control system included with this Cub by reading the separate included instruction manual. ❏ 2. Use needle-nose pliers or hemostats to guide the pushrod wires into the screw-lock connectors on the elevator and rudder servo arms—if necessary you can rotate the servo arms to get the pushrods in. -
Page 8: Check The Control Throws
The procedure for turning on the motor brake is the same Check the Control Throws with the exception that two beeps will sound when the brake is being armed. One major factor that determines how any plane handles in the air is the control surface throw, or how far each control surface (aileron, elevator and rudder) moves up and down or left and right. -
Page 9: Increased Elevator Throw For Expert Pilots (Optional)
Mount the Wing Increased Elevator Throw for Expert Pilots (Optional) Pilots who have mastered fl ying their Piper Super Cub with the recommended control throws, or pilots who are already experienced, may increase the elevator throw as shown below for even more maneuverability. - Page 10 ❏ 5. Turn the airplane over. Remove the 2 x 15mm screws that are holding in the rear of the landing gear and mount the ends of the struts with the screws. ❏ 3. Turn the wing over. Making sure the aileron servo wire doesn’t get caught between the bottom of the wing and the top of the fuselage, key the tab in the wing into the notch just ahead of the aft mounting post.
-
Page 11: Final Preparation
If the C.G. is too far forward (nose- heavy), the model will not be responsive enough. As provided to you, your Piper Super Cub should already be properly balanced, or very nearly properly balanced, but it’s a good idea to check the balance just in case. Follow the instructions to make sure the model is balanced properly and the C.G. - Page 12 ❏ 2. You have already marked the balance lines on the bottom of the wings. Now place your fi ngers on the middle balance line and lift the model. The fuselage should remain level—it may be helpful to have an assistant view the model from the side to see.
-
Page 13: Get The Model Ready To Fly
FLYING THE PIPER Super CUB Although the Piper Super Cub has the confi guration of a trainer (a high wing), due to its small size and lack of self-correcting features it is not necessarily intended for beginners. The Cub is, GET THE MODEL READY TO FLY however, easy to fl... -
Page 14: Monitor Your Flight Time
Take Off As a precaution, an operational ground range test should Until you have become comfortable fl ying your Super Cub, be performed before the fi rst fl ight each time you go out. do not fl y if the wind speed is greater than 10mph [16kph]. -
Page 15: Landing
One fi nal check before landing: see how the model will react Flying when you cut the power. While at altitude, cut the motor power. The model should establish a gentle, downward glide path. This is how it will react when it’s actually time to land. Add power and climb back to your original altitude. - Page 16 ™...
Need help?
Do you have a question about the Super Cub and is the answer not in the manual?
Questions and answers