
Related Manuals for Binks 460


Summary of Contents for Binks 460
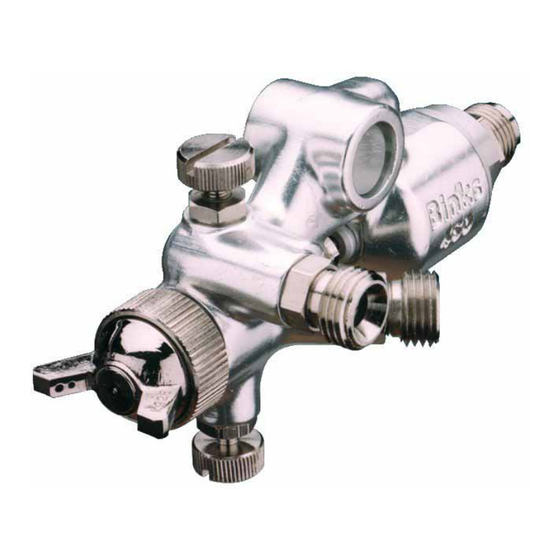
- Page 1 SB-E-2-150 ISS.04 Operation Manual BINKS 460–Automatic Spray Gun P 1 – 8 © 2013 Finishing Brands UK Ltd.
- Page 2 We, Finishing Brands UK Limited, Ringwood Rd, Bournemouth, Dorset, BH11 9LH, UK, as the manufacturer of the Spray gun model 460, declare, under our sole responsibility that the equipment to which this document relates is in conformity with the following standards or other normative documents: BS EN 292-1 PARTS 1 &...
-
Page 3: Safety Warnings
SAFETY WARNINGS Fire and explosion Solvents and coating materials can be highly flammable or combustible when sprayed. ALWAYS refer to the coating material supplier’s instructions and COSHH sheets before using this equipment. Users must comply with all local and national codes of practice and insurance company requirements governing ventilation, fire precautions, operation and house-keeping of working areas. -
Page 4: Specifications
SPECIFICATIONS Maximum WORKING PRESSURE Universal Hose Connection Air supply P1 : 7 bar Atomization air: 1 / 4‘’BSP/NPS Material supply P2 : 7 bar Cylinder air: 1 / 4’’BSP/NPS Min Cylinder Operating pressure : 4 bar Material: 1 / 4’’BSP/NPS 40°... - Page 5 180296 PACKING NUT 184788-A SPANNER 184963 FAN/ATOM CONTROL 180380 SEAL for TIP 200069-BINKS GUN BODY 183981 LOCK NUT See CHART 184533 See CHART AIR CAP Kit Reference 250035: Spares parts kits recommended quantities are based on one year usage for medium product sprayed.
-
Page 6: Operation
OPERATION Mix, prepare and strain the material to be sprayed according to the paint manufacturers instructions. Use a lint free mesh to strain the material. Adjust the spray gun controls and atomizing pressure before turning on the air and coating material supplies. -
Page 7: Replacement Of Parts
REPLACEMENT OF PARTS Tip 2003**: Remove parts 184580 end cap with needle adjusting screw and its lock nut, 160171 inner spring and 160170 outer spring and unscrew tip 2003** from body. Caution: Replace any worn or damaged parts. Replace tip 2003** and tighten. Recommended torque 13-14 Nm (115-125 lbf in²). -
Page 8: Service Checks
SERVICE CHECKS CAUSE CORRECTION 1) No pressure at the gun Check air/material lines 2) Piston stops moving Clean 3) Screw 184581 not properly adjusted Adjust 1) Material build-up on air cap/fluid tip Clean air cap/fluid tip Thin or reduce material flow 1) Material too thick or too much 1) Not enough material Reduce air pressure or increase material flow...
Need help?
Do you have a question about the 460 and is the answer not in the manual?
Questions and answers