
Subscribe to Our Youtube Channel
Related Manuals for Sun Microsystems WDZF


Summary of Contents for Sun Microsystems WDZF
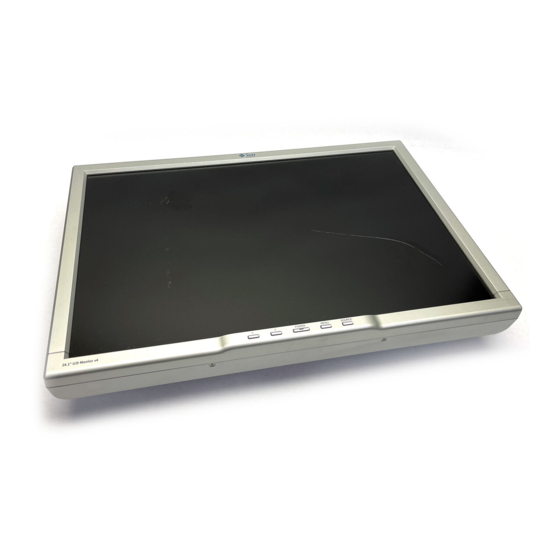
- Page 1 User's Guide Sun Part No. 875-4056-10 24-inch LCD Flat Panel Monitor Sun Microsystems, Inc.
-
Page 2: Table Of Contents
24-inch LCD Flat Panel Monitor WDZF Content 1. Safety Instructions ........Notation ............Power ............... Installation ............Cleaning ............... Other ............... China RoHS ............. 2. Introduction ..........Unpacking ............Front ..............Rear ..............3. Setup ............Connecting Your Monitor ........ -
Page 3: Safety Instructions
Failure to follow directions noted by this symbol could result in bodily harm or damage to equipment. Notation Conventions Prohibited Important to read and understand at all times Do not disassemble Disconnect the plug from the outlet Do not touch Copyright(c) 2007, Sun Microsystems, Inc. All rights reserved. -
Page 4: Power
To clean the monitor case, wipe with a slightly moistened, soft fabric. To clean the surface of the LCD, wipe either with a soft, dry cloth or a cloth slightly damped with water. No not use any chemicals. Copyright(c) 2007, Sun Microsystems, Inc. All rights reserved. -
Page 5: Other
If your monitor does not operate normally or if there are any unusual sounds or smells coming from it - unplug it immediately and contact an authorized dealer. Never insert anything metallic into the monitor openings. Copyright(c) 2007, Sun Microsystems, Inc. All rights reserved. -
Page 6: China Rohs
X:表示该部件所使用的均质材料中至少有一种此有毒或有害物质的含量高于 SJ/T 11363-2006 中的限制要求。 X: Indicates that this toxic or hazardous substance contained in at least one of the homogeneous materials used for this part is above the limit requirement in SJ/T 11363-2006. Copyright(c) 2007, Sun Microsystems, Inc. All rights reserved. -
Page 7: Introduction
Monitor and Stand Signal cable - DVI Signal cable - USB2.0 Please make sure the following items are included with your monitor. If any items are missing, contact your dealer. Getting Started Guide Copyright(c) 2007, Sun Microsystems, Inc. All rights reserved. -
Page 8: Front
(default setting). The current settings will be saved. You can close it manually by pressing the button SOURCE ( 7. Use this button to turn the monitor on and off.( 8. This light glows green during normal operation and goes amber during power saving.( Copyright(c) 2007, Sun Microsystems, Inc. All rights reserved. -
Page 9: Rear
If your monitor will not be used for a long period of time, it is recommended to switch off. a. Locking Port For connecting Kensington compatible security devices. Note: Connecting Your Monitor for further information regarding cable connections. Copyright(c) 2007, Sun Microsystems, Inc. All rights reserved. -
Page 10: Setup
Turn on your computer and monitor. If your monitor displays an image, installation is complete. If you properly connect your monitor using the DVI connector but get a blank screen, push the SOURCE button to see if the monitor status is set to analog. Copyright(c) 2007, Sun Microsystems, Inc. All rights reserved. - Page 11 Lay the LCD monitor face-down on a flat surface with a cushion beneath it to protect the screen. Remove the four screws circled in blue in the above diagram and then remove the cover plate. Copyright(c) 2007, Sun Microsystems, Inc. All rights reserved.
-
Page 12: On-Screen Display
Use this button to exit the active menu or the OSD (On-Screen Display). Use this button to open the OSD and activate a highlighted menu item. Use this button for source adjustment direct access, when the menu system is not active. Copyright(c) 2007, Sun Microsystems, Inc. All rights reserved. -
Page 13: Image Control
Phase: Adjusts the internal clock phase for fine-tuning the displayed image to the analog video input. Sharpness: Controls image sharpness (only for resolutions less than 1280 × 1024 pixels). Copyright(c) 2007, Sun Microsystems, Inc. All rights reserved. - Page 14 V. OSD Position: Controls the OSD menu’s vertical position. OSD TIMEOUT OSD Timeout: Determines how long (in seconds) the OSD menu waits before closing automatically after no action has been performed. ADJUST ENTER EXIT Copyright(c) 2007, Sun Microsystems, Inc. All rights reserved.
- Page 15 Reset RESET HD15 Yes: Resets the monitor to original factory settings. No: Exits the reset function without changing the settings. Copyright(c) 2007, Sun Microsystems, Inc. All rights reserved.
-
Page 16: Troubleshooting
DVI cable while the system is running, as certain graphic cards may not send out video signals with no monitor attached. Connect the DVI cable and then reset the video. Copyright(c) 2007, Sun Microsystems, Inc. All rights reserved. - Page 17 For digital video, do not exceed 75Hz for any resolution over 1280x1024. Any resolution higher than that is limited to 60Hz refresh frequency. Note: If problems repeatedly occur, contact an authorized service center. Copyright(c) 2007, Sun Microsystems, Inc. All rights reserved.
-
Page 18: Self-Test Feature Check
If the image appears normal but off-center for the analog video input, you can adjust it using the OSD function under "Image Control" called "Auto Adjustment". There are no such adjustments for digital video (DVI-D) as they are not needed. Copyright(c) 2007, Sun Microsystems, Inc. All rights reserved. -
Page 19: Specification
105 Watts maximum (90 Watts typical; includes 20 Watts of USB power) Dimensions (WxDxH) / Weight 568.0 x 240.0 x 482.3 mm / 8.0kg 568.0 x 97.9 x 373.6 mm (Without Stand) Copyright(c) 2007, Sun Microsystems, Inc. All rights reserved. - Page 20 E E n n v v i i r r o o n n m m e e n n t t a a l l c c o o n n s s i i d d e e r r a a t t i i o o n n s s Operating Temperature: 50°F ~ 104°F(10°C ~ 40°C) Humidity: 10% ~ 80%, non-condensing Storage Temperature: -4°F ~113°F (-20°C ~ 45°C) Humidity: 5% ~ 95%, non-condensing Copyright(c) 2006, Sun Microsystems, Inc. All rights reserved.
-
Page 21: Preset Timing Modes
It is recommended to change to 1920x1200@60Hz once video from the computer system is seen on the display. Copyright(c) 2007, Sun Microsystems, Inc. All rights reserved. -
Page 22: Information
Sun and its licensors, if any. Third-party software, including font technology, is copyrighted and licensed from Sun suppliers. Sun, Sun Microsystems, the Sun logo, and docs.sun.com are trademarks or registered trademarks of Sun Microsystems, Inc. in the U.S. and in other countries.
Need help?
Do you have a question about the WDZF and is the answer not in the manual?
Questions and answers