Table of Contents
Advertisement
Quick Links
Advertisement
Table of Contents

Subscribe to Our Youtube Channel
Summary of Contents for Malloca MST 35-IX03
-
Page 1: Steam Oven
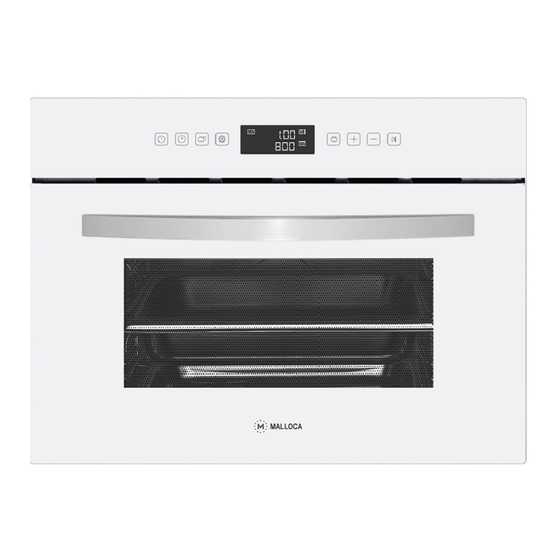
Steam Oven INSTRUCTION MANUAL MODEL : MST 35-IX03 1 ... -
Page 2: Table Of Contents
CONTENTS 1、TECHNICAL SPECIFICATION ....................3 2、UNPACKING AND INSTALLATION ..................3 2.1 Before the installation ......................3 2.2 Installation ........................... 3 3、SAFETY PRECAUTION ......................5 4、DISPOSE OF REJECTED PRODUCT ..................6 5、STRUCTURE OF DIAGRAM ....................6 6、DESCRIPTION OF FRONT PANEL CONTROLS ..............7 7、GET TO KNOW STEAM OVEN .................... -
Page 3: Technical Specification
1、 TECHNICAL SPECIFICATION MODEL MST35-IX03 CAPACITY (L) VOLTAGE(V) FREQUENCE(Hz) CIRCUIT BREAKER(A) 1950 POWER(STEAM)(W) PRODUCT DIMENSION(mm) 594×486×455 675×611×525 PACKAGE SIZE(mm) GROSS/NET WEIGHT(Kg) 33.0/29.0 2、UNPACKING AND INSTALLATION Before the installation 1、Machine shell to be checked without deformation caused by pressure or force. 2、... - Page 4 4 ...
- Page 5 In order to fix the steam oven with cabinet, please open the steam oven door and insert four wood screws into the four hole around frame and fix them. Note: the installation and handling, please do not use the handle for stress point 5 ...
-
Page 6: Safety Precaution
3、SAFETY PRECAUTION Warning:Only a qualified person can install ,repair and remove the oven,Please keep child away. Before you use the steam oven for the first time, turn the appliance on at highest temperature. This will remove oils left on the appliance during manufacture. ... -
Page 7: Structure Of Diagram
5、STRUCTURE OF DIAGRAM 1、 Control panel 2、 Water Box 3、 Seal Ring 4、 Racks 5、 Pan 6、 Perforated pan 7、 Door Available Accessories Perforated container:Cooking for fresh or refrigerant vegetables, meat and poultry. Non-perforated container:Cooking for preserved fruit、dumplings. Rack:Cooking for foods with small utensils ,Like: steam bun, sweetmeats. 6、DESCRIPTION OF FRONT PANEL CONTROLS 7 ... -
Page 8: Get To Know Steam Oven
Standby function key Cooking time setting(cooking time, delay time) Function adjustment(temperature) Clock setting(standby time) Child lock Modifying parameters(function, time, increase temperature) Modifying parameters(function, time, decrease temperature) Start/Pause Functions Description Steam Meat Fish Vegetable Defrost Disinfecting Clock Child lock Cooking duration Delay time Descaling Water level (not lack of water) -
Page 9: Functions
hole. Please wipe clean if water overflowed. 2、Add water when the oven is working Open the oven door for a while to cool down the water tank. Then remove the water tank to add water. 8、FUNCTIONS 8.1 Menu In standby state, Press the “ ”... -
Page 10: Vegetables Cooking (Automatically)
- Press the “ ” start/pause button, cooking start, steam fish function icon “ ” and temperature icon “ ” scintillation display, work time icon “ ” and high water level icon “ ” long light display . Different fish have different temperature; you can refer to the following table Temperature Program Type of fish... -
Page 11: Pause During Of Cooking
- Press “ ” the cooking time set key, then press the parameter adjustment increase key “ ” and reduce the key “ ” , Can be installed cooking time:0:0090:00 - Press the “ ” start/pause button, cooking start, steam disinfecting function icon “ ”... -
Page 12: Standby Mode
10.3 Standby mode Before choosing any a function, set up in good parameters, then no press “ ” key confirmation before (cooking no open), keep press “ ” standby function button to enter standby state. Press “ ” after selecting any functions to start cooking, when keeping “ ”... -
Page 13: Cleaning And Maintenance
standby state). Press “ ” start/pause button, digital tube display “PUMP IN” said back extraction system open When “0.5L” appears, that shows you should add 0.5 L descaling solution to water box. Press “ ” start/pause button to start descaling function, it will take 30 minutes. ... -
Page 14: Display Information
4)Replace the glass cover and reconnect the oven To The mains Power supply. 15、DISPLAY INFORMATION Display Description Descaling The appliance need to descale Flash- decaling program starts Add 0.5 liter descaling solution to water box 0.5L Add 1.0 liter cold water to water box 1.0L Water box Installation errors... - Page 15 15 ...


Need help?
Do you have a question about the MST 35-IX03 and is the answer not in the manual?
Questions and answers