Table of Contents
Advertisement
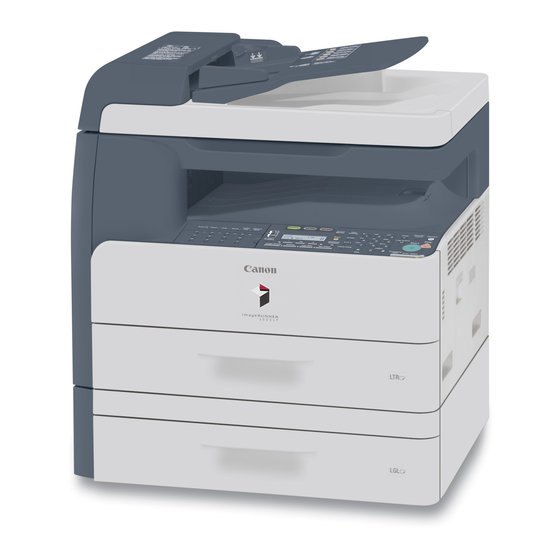
Basic Operation Guide
Please read this guide before operating this product.
After you finish reading this guide, store it in a safe place for future reference.
Series
What Can I Do with This Machine?
Before Using the Machine
Document Handling
Print Media
Sending Documents
Receiving Fax/I-Fax Documents
Copying
Printing
Scanning
PC Faxing
Remote UI
System Manager Settings
Maintenance
Troubleshooting
Machine Settings
Appendix
ENG
Advertisement
Table of Contents


Need help?
Do you have a question about the imageRUNNER 1019 Series and is the answer not in the manual?
Questions and answers