
Related Manuals for Kaba E-Flash EF680


Summary of Contents for Kaba E-Flash EF680
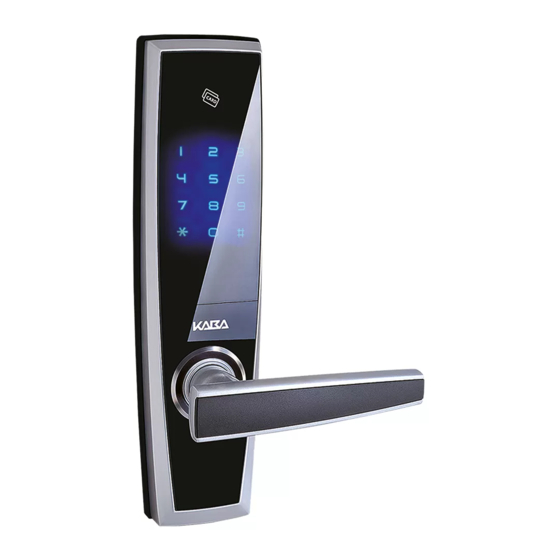
- Page 1 E-Flash EF680/EF780 Installation Guide EF680/EF780 - Single Lock EF680/EF780 - Security Double Lock...
-
Page 2: Table Of Contents
EF680/EF780 Installation Guide Index Preparation of the Door Fit Mortice Lock Front Installation - External Handle Position Preparation of Front of Lock Fitting of the Front of the Lock Installation of the Internal Mounting Plate Fitting the Main Body of the Lock Connecting the Cables 10. -
Page 3: Preparation Of The Door
EF680/EF780 Installation Guide Preparation of the Door Step 1 EF680 MS MORTICE Prepare the door TOP EDGE LOCK TEMPLATE DOOR THICKNESS according to the RANGE 32mm-67mm BORE 7 HOLES Ø20mm x 90mm DEPTH template provided. FOR 60mm BACKSET DRILL Ø8mm HOLE THROUGH DOOR DRILL Ø8mm HOLE... -
Page 4: Fit Mortice Lock
EF680/EF780 Installation Guide Fit Mortice Lock Step 2 Before fitting the lock ensure the bevelled latch is handed correctly by rotating latch 180 degrees in either direction (ensure the face plate is not fitted at this time). • When fitting the mortice lock, feed the cable through to the internal side of the door as you fit the lock in place. -
Page 5: Front Installation - External
EF680/EF780 Installation Guide Front Installation - External Step 3 Insert spindle into mortice along with spring. Note: It is not necessary to drill both guide screw holes, only one is required to suit the direction of the handle. Guide screw hole Right handed guide screw hole Left handed guide... -
Page 6: Handle Position
EF680/EF780 Installation Guide Handle Position Step 4 The levers on both external and internal are not handed from factory. • To set, insert a small screw driver as illustrated and depress retaining plate. • The handle can be configured either in left hand or right hand by rotating in either direction. -
Page 7: Preparation Of Front Of Lock
EF680/EF780 Installation Guide Preparation of Front of Lock Step 5 Once decided as to which way the door handle is to be placed • Turn lock over and insert the guide screw in the necessary position (as per step 3). •... -
Page 8: Fitting Of The Front Of The
EF680/EF780 Installation Guide Fitting of the Front of the Lock Step 6 Line up all the guide screws and the spindle with the spring and slide the body into place, gently feeding the cable through the hole in the door – making sure that the front main body fits flush against the door. -
Page 9: Installation Of The Internal
EF680/EF780 Installation Guide Installation of the Internal Mounting Plate Step 7A Check to make sure that the cable from the front of the lock and the cable from the mortice lock is clear and free. Carefully feed both the main PCB cable and power cable through the internal mounting plate. - Page 10 EF680/EF780 Installation Guide Installation of the Internal Mounting Plate Step 7B This product is supplied with a selection of 3 different length fixing screws for varying door thicknesses - 15mm, 25mm and 40mm. Select 4 x equal length screws according to the door thickness and secure, ensuring the guide screw is fitted correctly.
-
Page 11: Fitting The Main Body Of The
EF680/EF780 Installation Guide Fitting the Main Body of the Lock Step 8 Double Locking Model Only. If fitting a single locking model please go to Step 9. Prior to placing the main body to the backing plate make sure that the clutch is pushed down and not out as shown in picture A. -
Page 12: Connecting The Cables
EF680/EF780 Installation Guide Connecting the Cables Step 9 Connect the main PCB cable and small power cable making sure that they are connected securely. The mortice cable can be fed back slightly into the door cavity to shorten the cable to make it easier to fit the back main body of the lock. -
Page 13: Fitting The Back Main Body
EF680/EF780 Installation Guide Fitting the Back Main Body Step 10 Ease the main body onto the back fitting plate – holding it firmly, use the four M4 x 8mm pan head small silver screws & secure the internal body to the mounting plate. -
Page 14: Completion And Testing
Step 11 Insert the four batteries that are supplied with the lock - message received is: Moving into Kaba digital world, secure & convenient life, standard access mode. Once you have received this message you should hear the clutch engage - this is only in the double locking model. - Page 15 EF680/EF780 Installation Guide Notes...
- Page 16 Kaba Australia Pty Limited Tel: 1300 728 088 Fax: 1300 728 708 info@kaba.com.au www.kaba.com.au Kaba New Zealand Limited Tel: 09 274 3341 Fax: 09 274 3301 info@kaba.co.nz www.kaba.co.nz...
Need help?
Do you have a question about the E-Flash EF680 and is the answer not in the manual?
Questions and answers
I lost my door card , what can I do ? I also unable to reset my door number lock