
Subscribe to Our Youtube Channel
Related Manuals for EURO ES602SS


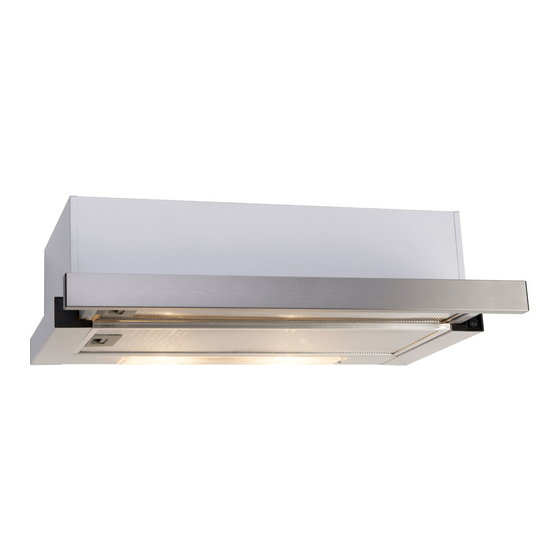
Summary of Contents for EURO ES602SS
- Page 1 Slide-out Rangehood Instruction Manual ES602SS ES602WH EURO APPLIANCES BY EUROSTYLE GROUP...
-
Page 2: Table Of Contents
CONTENT 1 ..........Notice 2 ..........Installation Requirements 3 ..........Installation – Fitting the Rangehood. 4 ..........Safety Warning 5 ..........Instructions for Use 6 ..........Maintenance 7 ..........Troubleshooting... -
Page 3: Notice
2. The installation work must be undertaken by a qualified and competent installer in compliance with applicable Australian Standards. 3. Euro Appliances disclaims all liability for any damage or injury caused as a result of not following these instructions for installation. -
Page 4: Installation Requirements
Installation - Requirements Warning: This Rangehood is only suitable for installation indoors in accordance with the following: • Installation must be performed by a qualified competent installer. • If installed above a barbecue, the minimum distance from the cooking grid/plate is 120cm. •... -
Page 5: Installation - Fitting The Rangehood
(3) Installation – Fitting the Rangehood This Rangehood must be placed at a distance of 65cm minimum from the cooking surface of a cooker/hotplate and 120cm minimum from the cooking surface of a BBQ. 3.1 Fixed to Wall. 3.1.1 Drill 4 x 8mm holes into the wall according to dimensions shown below. - Page 6 Warning: Failure to install the screws or fixing device in accordance with these instructions may result in electrical hazards. 3.2 Fixed to Cupboard. 3.2.1 Drill 6 x 4mm holes into the bottom of the overhead cupboard according to dimensions shown below. Use the two rear holes if possible, if not you can use the middle holes in conjunction with the two front holes.
- Page 7 Note: If you do not have an outlet to the outside, you can install the Rangehood so that it recirculates the air. The installation is the same as above except that you do not install the flexible duct. For recirculating installations, we recommend that you fit the activated carbon filters.
-
Page 8: Safety Warning
• Make sure the filter is securely locked. Otherwise, it could loosen and cause damage to the unit. • When activated carbon filter is attached, the suction power will be reduced. (4) Safety Warnings • • • • This Rangehood is for domestic use only, it is not suitable for commercial purposes. -
Page 9: Instructions For Use
• • • • Children should be supervised to ensure that they do not play with the appliance. Never let the children operate the Rangehood. • • • • If the supply cord is damaged, it must be replaced by the manufacturer, its service agent or similarly qualified persons in order to avoid a hazard. -
Page 10: Maintenance
(6) Maintenance 6.1 Cleaning the filters The filter mesh is made of high-density stainless steel. Please do not use corrosive detergent on it. Keeping this filter clean will keep the appliance running correctly. Please strictly follow the guidelines below. Method 1: Put the mesh into a sink of clean water, pour on detergent, and soak for 2-3 minutes. -
Page 11: Troubleshooting
6.3 Cleaning the Rangehood 1. To protect the main body from corrosion, the Rangehood should be cleaned with hot water plus non corrosive detergents every two months. 2. Please do not use abrasive detergent because it will damage the Rangehood. 3. - Page 12 Rangehood and wait for the device to reset. If the Rangehood has been installed below the minimum heights indicated in this manual please notify your installer. Eurostyle Group trading as Euro Appliances Service Line: (08) 8165 1012 Fax: (08) 8165 1018 Email: admin@eurostylegroup.com.au...
Need help?
Do you have a question about the ES602SS and is the answer not in the manual?
Questions and answers