Advertisement
Advertisement

Subscribe to Our Youtube Channel
Related Manuals for EURO EA90STRS


Summary of Contents for EURO EA90STRS
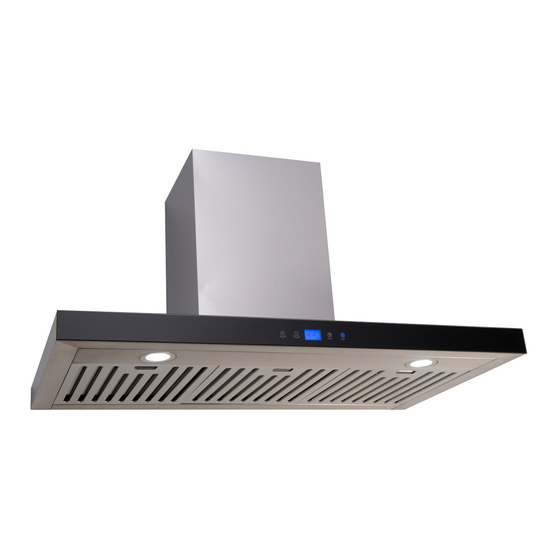
- Page 1 Rangehood Instruction Manual EA90STRS EURO APPLIANCES BY EUROSTYLE GROUP...
-
Page 2: Table Of Contents
CONTENT 1 ..........Notice 2 ..........Installation Requirements 3 ..........Installation – Fitting the Rangehood. 4 ..........Safety Warning 5 ..........Instructions for Use 6 ..........Maintenance 7 ..........Troubleshooting... -
Page 3: Notice
2. The installation work must be undertaken by a qualified and competent installer in compliance with applicable Australian Standards. 3. Euro Appliances disclaims all liability for any damage or injury caused as a result of not following these instructions for installation. -
Page 4: Installation Requirements
Installation - Requirements Warning: This Rangehood is suitable for indoor installation only in accordance with the following: Installation must be performed by a qualified competent installer. If installed above a barbecue, the minimum distance from the cooking grid/plate is 120cm. ... -
Page 5: Installation - Fitting The Rangehood
(3). Installation – Fitting the Rangehood. This Rangehood must be placed at a distance of 65cm minimum from the cooking surface of a cooker/hotplate and 120cm minimum from the cooking surface of a BBQ. Fit the plastic outlet with flaps to the outlet vent of the Rangehood using 4 screws 9mm long supplied (refer to Pic 2 for location of the flaps). - Page 6 Warning: Failure to install the screws or fixing device in accordance with these instructions may result in electrical hazards. After installation, make sure that the canopy is level to avoid grease collecting at one end.
-
Page 7: Safety Warning
(4) Safety Warning This Rangehood is for domestic use only, it is not suitable for commercial purposes. Please ensure that installation is performed by a qualified competent installer. The Rangehood and its filter mesh should be cleaned regularly in order to keep it in good working order. -
Page 8: Instructions For Use
(5) Instructions for Use – LCD Touch Control 1. Switch on the power to the Rangehood. The backlight is lit displaying a 24 hour clock and the Rangehood is in standby mode. The backlight disappears automatically after 30 seconds if no icons are touched. When the backlight is not illuminated, the Rangehood is off. - Page 9 To set the clock, touch any key to enter standby mode. ① Touch and hold timer key for 2-3 seconds, the first two segments of the LCD screen will flash. Touch key to increase the hour setting and touch key to decrease. Note: hour can be set from 00 to 23. ②...
-
Page 10: Maintenance
(6) Maintenance 6.1 Cleaning the filters The filters are made of stainless steel baffles. Please do not use corrosive or abrasive detergents to clean the filters. Keeping the filters clean will keep the appliance running correctly. Please strictly follow the guidelines below. Method 1: Put the baffle filter into a sink of clean water, pour on detergent, and soak for 2-3 minutes. -
Page 11: Troubleshooting
(7) Troubleshooting Warning: Service must be performed by an authorised competent person. Fault Cause Solution The flaps are blocked Remove the blockage. The capacitor is damaged Call for service. Light on, but motor does not work The motor is jammed due to Call for service. - Page 12 The Rangehood The fixing screws are not Notify your installer. inclines tight enough The hanging screws are not Notify your installer. tight enough Eurostyle Group trading as Euro Appliances Service Line: 1300 440 885 Fax: (08) 8165 1018 Email: services@eurostylegroup.com.au...
Need help?
Do you have a question about the EA90STRS and is the answer not in the manual?
Questions and answers