Sign In
Upload
Download
Add to my manuals
Delete from my manuals
Share
URL of this page:
HTML Link:
Bookmark this page
Add
Manual will be automatically added to "My Manuals"
Print this page
×
Bookmark added
×
Added to my manuals
Manuals
Brands
EURO Manuals
Ventilation Hood
Primera ERC60S
Instruction manual
EURO Primera ERC60S Instruction Manual
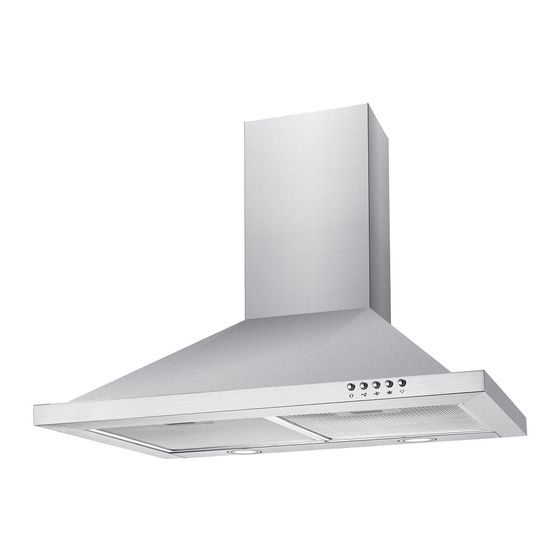
Range hood
Hide thumbs
1
Table Of Contents
2
3
4
5
6
7
8
9
10
11
12
13
page
of
13
Go
/
13
Contents
Table of Contents
Bookmarks
Advertisement
Quick Links
1
Range Hood
2
Table of Contents
3
Feature
4
Installation
5
Maintenance
Download this manual
Range hood
Instruction Manual
ERC60S
ERC90S
ERGL70S
ERGL90S
EURO APPLIANCES BY EUROSTYLE GROUP
Table of
Contents
Previous
Page
Next
Page
1
2
3
4
5
Advertisement
Need help?
Do you have a question about the Primera ERC60S and is the answer not in the manual?
Ask a question
Questions and answers
Related Manuals for EURO Primera ERC60S
Ventilation Hood euro Primera ERC90S Instruction Manual
Range hood (13 pages)
Ventilation Hood EURO Alfresco ERB 120SS Usage And Care Manual
(11 pages)
Ventilation Hood EURO EFS900DTSX Use And Care Manual
(12 pages)
Ventilation Hood EURO ERH900SLX Use And Care Manual
(13 pages)
Ventilation Hood EURO EP900ISS Instruction Manual
(12 pages)
Ventilation Hood EURO E90BCSS Installation, Use & Maintenance Manual
(6 pages)
Ventilation Hood EURO EA60SX Instruction Manual
Rangehood (13 pages)
Ventilation Hood EURO EP900SWSX Instruction Manual
Rangehood (13 pages)
Ventilation Hood EURO EAF600SS Manual
(15 pages)
Ventilation Hood EURO EAGL700S Instruction Manual
(14 pages)
Ventilation Hood EURO EP52UMS Instruction Manual
(8 pages)
Ventilation Hood EURO ES602SS Instruction Manual
(12 pages)
Ventilation Hood EURO EA90STRS Instruction Manual
(12 pages)
Ventilation Hood Euro EP900ISX2 Instruction Manual
Island rangehood (13 pages)
Ventilation Hood EURO EP900UMS Use And Care Manual
(8 pages)
Ventilation Hood EURO EVR60FVSS Use And Care Manual
(12 pages)
This manual is also suitable for:
Primera erc90s
Primera ergl70s
Primera ergl90s
Ep90sws
Print
Rename the bookmark
Delete bookmark?
Delete from my manuals?
Login
Sign In
OR
Sign in with Facebook
Sign in with Google
Upload manual
Upload from disk
Upload from URL


Need help?
Do you have a question about the Primera ERC60S and is the answer not in the manual?
Questions and answers