
Related Manuals for Savoy SleepFans 12SF


Summary of Contents for Savoy SleepFans 12SF
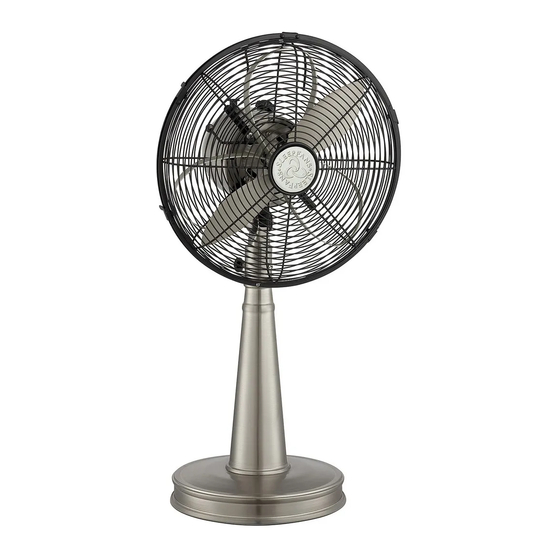
- Page 1 PLA13032601 新版 SIZE:216x280mm 80g模糙纸 8P 单黑色 骑马钉 2013-07-19 第 1/8页 OWNER’S MANUAL READ AND SAVE THESE INSTRUCTIONS 12” TABLE TOP...
- Page 2 PLA13032601 新版 SIZE:216x280mm 80g模糙纸 8P 单黑色 骑马钉 2013-07-19 第 2/8页...
- Page 3 PLA13032601 新版 SIZE:216x280mm 80g模糙纸 8P 单黑色 骑马钉 2013-07-19 第 3/8页 TOOLS REQUIRED - Flat Head Screwdriver PACKAGE CONTENTS A. Fan Head B. Fan Base C. Flat Head Screw D. Friction Knob...
- Page 4 PLA13032601 新版 SIZE:216x280mm 80g模糙纸 8P 单黑色 骑马钉 2013-07-19 第 4/8页 SAFETY AND WARNINGS ● DO NOT attempt to repair or adjust any electrical or mechanical functions on this appliance. Doing so will void the warranty. ● Please read all instructions before operating The inside of the appliance contains no user this Fan. serviceable parts. All servicing should be performed by qualified technician. ● DO NOT operate Fan until fully assembled. ● DO NOT operate Fan directly adjacent to ● Use Fan only for intended household use as curtains, plants, window coverings, etc. to avoid described in this manual. Any other use not accidental entanglement. recommended by the manufacturer may cause fire, electric shock, or injury to persons. ● DO NOT use outdoors. ● DO NOT operate Fan without grills properly in ● DO NOT expose Fan to excessive heat or place.
- Page 5 PLA13032601 新版 SIZE:216x280mm 80g模糙纸 8P 单黑色 骑马钉 2013-07-19 第 5/8页 ASSEMBLY INSTRUCTIONS ● Slide the Quick Connect, wiring and Fan Head Neck into the Fan Base, and align the front ● While supporting the Fan Head, align the Quick screw hole on the Fan Base with the slot in the Connect electrical block extended from the Fan Fan Head Neck. Head Neck with the exposed electrical wires from the Fan Base. ● Using a Flat Head Screwdriver, insert and tighten the Flat Head Screw to secure the Fan ● Insert one of the electrical wires from the Fan Head to the Fan Base. The Slot allows the Fan Base into the Quick Connect side labeled “N” Head to be adjusted to the left or right. and the other wire into the Quick Connect side labeled “L”. ● Insert the Friction Knob and hand tighten to fix the position of the Fan Head. ● Using a Flat Head Screwdriver, tighten the Quick Connect screws to secure the wire connections. Fan Head Neck Slot Flat Head Screw...
- Page 6 PLA13032601 新版 SIZE:216x280mm 80g模糙纸 8P 单黑色 骑马钉 2013-07-19 第 6/8页 OPERATING INSTRUCTIONS CLEANING & MAINTENANCE CLEANING THE FAN ● Set the speed control knob to off and unplug the appliance. ● Clean the fan head and base using a clean, soft cloth, slightly dampened, if necessary. Make certain that all surfaces are completely dry before resuming use. ● NEVER use abrasive cleaning agents or solvents. This may cause damage or deterioration to the surface of the appliance. ● DO NOT immerse the fan in any form of liquid. DO NOT allow water to drip on or into the fan motor housing. CLEANING THE BLADES AND PETALS ● Make certain fan is unplugged. Remove the ●...
- Page 7 PLA13032601 新版 SIZE:216x280mm 80g模糙纸 8P 单黑色 骑马钉 2013-07-19 第 7/8页 REPLACING THE OVERLOAD PROTECTION FUSE This fan employs an overload protection (fuse). A blown fuse indicates an overload or short-circuit situation. If the fuse blows, unplug the fan from the electrical outlet. Replace the fuse per the instructions below and check the product. If the replacement fuse blows, a short-circuit may be present and the product should be discarded or taken to an authorized service facility for examination and/or repair. ● Unplug the fan from the electrical outlet. Place the plug on a firm, flat surface. Open the fuse cover, located on the top of the plug, using your thumb or a flathead screwdriver to slide the cover towards the prongs. NOTE: Ensure that the fuse cover is completely open before attempting to remove the fuse. ● Remove the fuse carefully by using a small screwdriver to pry the fuse out of the compartment by the metal ends of the fuse. ● Insert a new 5 Amp, 125 Volt fuse (provided with product) into the fuse compartment, making sure that the fuse is securely in place.
- Page 8 PLA13032601 新版 SIZE:216x280mm 80g模糙纸 8P 单黑色 骑马钉 2013-07-19 第 8/8页 Exclusively Distributed by IMPORTANT: READ AND SAVE THESE INSTRUCTIONS PLA13032601...
Need help?
Do you have a question about the SleepFans 12SF and is the answer not in the manual?
Questions and answers