Table of Contents
Advertisement
Quick Links
Advertisement
Table of Contents

Subscribe to Our Youtube Channel
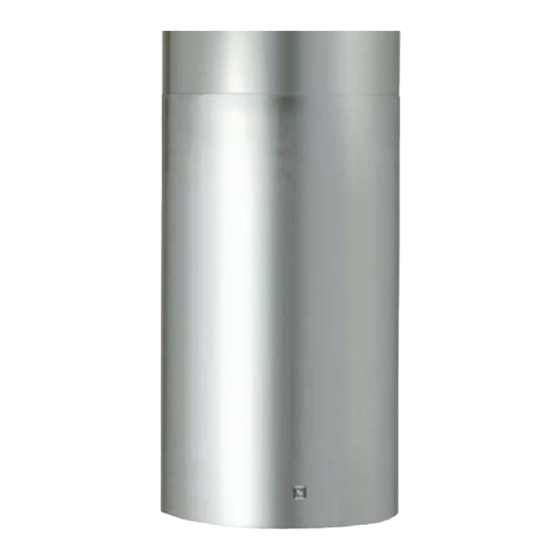
Summary of Contents for Sirius Range Hoods SIU 404
- Page 1 I N S T R U C T I O N S CARE AND USE MANUAL FOR: SIU 404 ISLAND RANGE HOODS * * * B E F O R E I N S T A L L A T I O N * * *...
- Page 2 W A R N I N G Thank you for purchasing a Sirius Range Hood. Please read all the instructions in this manual before installing the appliance. Save these instructions for future reference. Only use this appliance as an exhaust ventilation system for the removal of cooking vapors.
-
Page 3: Table Of Contents
TABLE OF CONTENTS BEFORE YOU BEGIN MINIMUM AND MAXIMUMS DUCTING Duct Run Calculation ELECTRICAL Electrical Supply INSTALLATION Structural preparation for the hood fan installation Fixing the Main Support Bracket Attaching the range hood to the ceiling Connecting Electricity and Ducting Re-Circulating Requirements Schematic of Classical Island Components OPERATING PROCEDURES... -
Page 4: Before You Begin
B E F O R E Y O U B E G I N manufacturer declines BEFORE STARTING – please read responsibility in the event of failure this entire document and ensure you to observe the instructions given are fully conversant with the require- here for installation, maintenance ments and limitations. -
Page 5: Duct Run Calculation
heaters. To minimize the risk of based on the table below. drawing these lethal gases back into Maximum Run the home please follow the heating 6” or 3 1/4 x 10” duct 100 FT equipment manufacturers safety standards and guidelines. Refer to Deduct NFPA and ASHRAE for additional Each 90 elbow used... -
Page 6: Fixing The Main Support Bracket
and ideally not higher than 32”above the frame by screwing through the cook-top. strongly ceiling into the heavy members recommended, at this point, that inside the ceiling. This is critically calculations and measurements be important as the entire hood fan made and all planning and heights hangs from this position, and be finalized. -
Page 7: Attaching The Range Hood To The Ceiling
Fix Bracket “C” to the power unit This will require two strong people – with the nuts and washers supplied do not attempt this step on your (Items “A” on the schematic on page own. Bracket “B” has slots, position 5). -
Page 8: Re-Circulating Requirements
Re-Circulating Requirements deflector (must purchased with hood). Fit the carbon filter after the installation is complete – these fit in The deflector, after attaching part B behind the aluminum grease filter. with screws E connects to the top of Bracket “A” and forces the air out A short length of ductwork must be through the grills on the side of the connected from the exhaust outlet... -
Page 9: Operating Procedures
O P E R A T I N G P R O C E D U R E S Never pick up a flaming pan – you Read all the instructions before may be burned. DO NOT USE operating the appliance. WATER including wet dishcloths or Save these instructions for future towels, as a violent steam explosion... -
Page 10: Maintenance
M A I N T E N A N C E On the surfaces that are exposed The hood-fan should provide many directly to heat from the cook-top, it years trouble free service is advisable to clean these on a provided it is maintained properly. -
Page 11: Warranty
T h r e e Y e a r L i m i t e d W a r r a n t y WARRANTY SERVICE To qualify for warranty service, you must notify Sirius Range Hoods at the call toll free USA or Canada 1.877.275.9111 and provide the model number, description of the fault or defect and original date of purchase.


Need help?
Do you have a question about the SIU 404 and is the answer not in the manual?
Questions and answers