Sign In
Upload
Download
Table of Contents
Contents
Add to my manuals
Delete from my manuals
Share
URL of this page:
HTML Link:
Bookmark this page
Add
Manual will be automatically added to "My Manuals"
Print this page
×
Bookmark added
×
Added to my manuals
Manuals
Brands
Klutch Manuals
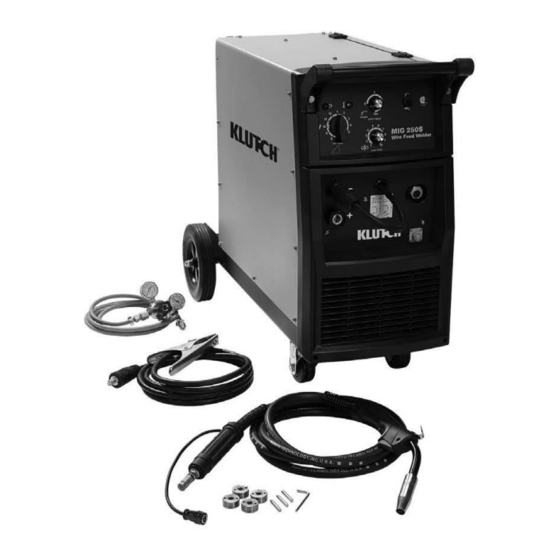
Welding System
MIG250S
Owner's manual
Klutch MIG250S Owner's Manual
Hide thumbs
1
2
3
4
5
6
7
8
9
10
11
12
13
14
15
16
17
18
19
20
21
22
23
24
25
26
Table Of Contents
27
page
of
27
Go
/
27
Contents
Table of Contents
Troubleshooting
Bookmarks
Advertisement
Table of Contents
1
Intended Use
2
General Safety Rules
3
Important Safety Considerations
4
Technical Specifications
5
Know Your Welder
6
Installation
7
Gas Installation
8
Operation
9
Welding Techniques
10
Troubleshooting
11
Diagram & Parts List
12
Warranty
Download this manual
MIG250S
OWNER'S MANUAL
WARNING:
Read carefully and understand all ASSEMBLY AND OPERATION
INSTRUCTIONS before operating. Failure to follow the safety rules and other
basic safety precautions may result in serious personal injury.
Item# 44452
Table of
Contents
Previous
Page
Next
Page
1
2
3
4
5
Advertisement
Table of Contents
Need help?
Do you have a question about the MIG250S and is the answer not in the manual?
Ask a question
Questions and answers
Related Manuals for Klutch MIG250S
Welding System Klutch MIG 140Si Owner's Manual
Welding system klutch (28 pages)
Welding System Klutch MIG 140i Owner's Manual
120v inverter mig welder (31 pages)
Welding System Klutch MIG 180SG Owner's Manual
Spoolgun welder with cart (33 pages)
Welding System Klutch MP 120/230V Welder 180A Manual
(26 pages)
Welding System Klutch MP250Si LCD Owner's Manual
Mig/stick/tig 250 amp, 230 volt multi-process welder (48 pages)
Welding System Klutch MIG/Stick 220Si Owner's Manual
(27 pages)
Welding System Klutch ST200i Owner's Manual
Dc only inverter stick welder (19 pages)
Welding System Klutch 5875877 Manual
Mp 120/230v welder 240a (28 pages)
Welding System Klutch 62498 Owner's Manual
Mig/stick/tig mp200idv lcd 200 amp dual voltage multi-process welder (47 pages)
Welding System Klutch 5875906 Instructions Manual
Mp 120/230v welder 200a (27 pages)
Welding System Klutch P12AFi Owner's Manual
120 volt, 20 amp plasma cutter with built-in air compressor (22 pages)
Welding System Klutch 62499 Owner's Manual
Dc stick 4500k 130 amp/9.5hp 4000 watt welder/generator (27 pages)
Welding System Klutch 114007 Owner's Manual
(27 pages)
Welding System Klutch 5873687 Owner's Manual
180 a spool gun welder (23 pages)
Welding System Klutch 5910151 Assembly And Operation Instruction
Welder generator (32 pages)
This manual is also suitable for:
Mig/stick 220si
Table of Contents
Print
Rename the bookmark
Delete bookmark?
Delete from my manuals?
Login
Sign In
OR
Sign in with Facebook
Sign in with Google
Upload manual
Upload from disk
Upload from URL


Need help?
Do you have a question about the MIG250S and is the answer not in the manual?
Questions and answers