Advertisement
Table of Contents
- 1 Connecting the Range
- 2 Mobile Homes
- 3 Recreational Park Trailers
- 4 Electrical Supply Connection
- 5 Gas Supply Connection
- 6 How to Remove Range for Servicing
- 7 Service-Parts Information
- 8 Instrucciones de Instalación
- 9 Clearance Dimensions
- 10 Dimensions
- 11 Flame Adjustment
- 12 Oven Gas Shut-Off Valve
- Download this manual
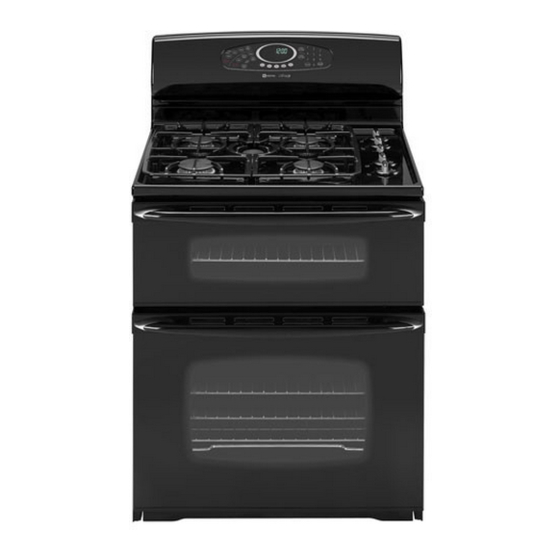
Maytag Double Oven
Gas Range
Cuisinière à gaz à deux fours Maytag/Estufa a Gas de Horno Doble Maytag
Installation Instructions/Instructions d'installation/Instrucciones de
Instalación.
MODEL SERIES: MGR6775, MGR6875/
SÉRIE DE MODÈLE : MGR6775, MGR6875/
SERIES DEL MODELO: MGR6775, MGR6875
INSTALLER: Leave these instructions with the appliance./INSTALLATEUR : Laissez ces instructions avec l'appareil./
INSTALADOR: Deje estas instrucciones con el electrodoméstico.
Printed in USA
©2004 Maytag Corporation
8101P623-60
Advertisement
Table of Contents

Summary of Contents for Maytag MGR6775 Series
- Page 1 Maytag Double Oven Gas Range Cuisinière à gaz à deux fours Maytag/Estufa a Gas de Horno Doble Maytag Installation Instructions/Instructions d’installation/Instrucciones de Instalación. MODEL SERIES: MGR6775, MGR6875/ SÉRIE DE MODÈLE : MGR6775, MGR6875/ SERIES DEL MODELO: MGR6775, MGR6875 INSTALLER: Leave these instructions with the appliance./INSTALLATEUR : Laissez ces instructions avec l’appareil./ INSTALADOR: Deje estas instrucciones con el electrodoméstico.
- Page 2 I N S T A L L A T I O N I N S T R U C T I O N S PLEASE KEEP THIS MANUAL FOR FUTURE REFERENCE This manual is intended to assist in the initial installation and adjustments of the range. • Only qualified personnel should install or service this range.
-
Page 3: Gas Supply Connection
6. To prevent range from accidentally tipping, range must be secured to the floor by sliding rear leveling leg into the anti-tip bracket. NOTE: A qualified servicer should disconnect and reconnect the gas supply. The servicer MUST follow installation instructions provided with the gas appliance connector and the warning label attached to the connector. - Page 4 A T T E N T I O N Ne soulevez pas et ne déplacez pas la cuisinière en la prenant par la poignée de la porte, le dessus ou le dosseret. Cette cuisinière a été conçue conformément aux exigences de diverses agences concernées par la sécurité...
- Page 5 RACCORDEMENT À LA CUISINIÈRE (suite) Alimentation En Gaz L’installation de cette cuisinière doit être conforme aux codes locaux ou, en l’absence de tels codes, conforme au National Fuel Gas Code ANSI Z223.1 - édition la plus récente. Au Canada, la cuisinière doit être installée conformément à...
- Page 6 P R E C A U C I O N E S No levante o mueva la estufa por las manijas de la puerta, por la cubierta o por el protector trasero. Esta estufa fue diseñada de acuerdo con los requerimientos de varias agencias de seguridad y cumple con la temperatura máxima para armarios de madera de 194°F (90°C).
- Page 7 CONEXIÓN DE LA ESTUFA (cont.) Suministro de gas La instalación de esta estufa debe hacerse de acuerdo con los códigos locales, o, en ausencia de ellos, con el Código Nacional de Gas, ANSI Z223.1, última edición. En Canadá, esta estufa debe instalarse de acuerdo con la Norma CGA vigente CAN/CGA-B149 –...
- Page 8 To eliminate the risk of burns or fire by reaching over heated surface units, cabinet storage space located above the surface units should be avoided. If cabinet storage is to be provided, the risk can be reduced by installing a range hood that projects horizontally a minimum of 5...
- Page 9 THESE SYSTEMS MAY CAUSE IGNITION AND COMBUSTION PROBLEMS WITH THE GAS BURNERS RESULTING IN PERSONAL INJURY AND MAY EFFECT THE COOKING PERFORMANCE OF THE UNIT. NOTE: THE FIGURE MAY NOT ACCURATELY REPRESENT YOUR RANGE COOKTOP; HOWEVER, THIS WARNING APPLIES TO ALL GAS COOKING PRODUCTS.
- Page 10 Important : En raison de l’amélioration continue de ses produits, Maytag se réserve le droit de changer les spécifications sans préavis. Les spécifications dimensionnelles sont fournies à des fins de planification seulement.
- Page 11 Flexible Connector Tuyau de raccordement/ Conector flexible Only qualified personnel should install range. Must be installed in accordance with local codes. See instructions in front of this manual./ Seul du personnel qualifié doit installer la cuisinière. Elle doit être installée selon les codes locaux.
- Page 12 Limpie el líquido cuando haya terminado. ou/o 15/16" (24mm) from edge of range/ 24 mm (15/16 po) du 24 mm (15/16 po) du bord de la cuisinière./ bord de la cuisinière./ 15/16”...
- Page 13 120v 15amp/ 120 V 15 A/ Canadian Canada Insert plug into grounded outlet./Insérez la fiche dans la prise mise à la terre./Conecte el enchufe en un tomacorriente puesto a tierra. Make sure flexible connector and electrical cord are not bent./Assurez- vous que le tuyau de raccordement flexible et le cordon électrique ne sont pas pliés./Asegúrese de que el conector flexible y el cordón eléctrico no estén doblados.
- Page 14 Flame Adjustment/Réglage de la flamme/Ajuste de la llama Check flame height and color./Vérifiez la hauteur et la couleur de la flamme./Verifique la altura y el color de la llama. Adjust by opening air shutter./Ajustez en ouvrant l’obturateur d’air./ Ajuste abriendo el obturador. Oven Gas Shut-off Valve/Robinet de gaz du four/Válvula de cierre del gas del horno Remove rear burner knob./Enlevez le bouton du brûleur arrière./Retire la perilla del...


Need help?
Do you have a question about the MGR6775 Series and is the answer not in the manual?
Questions and answers