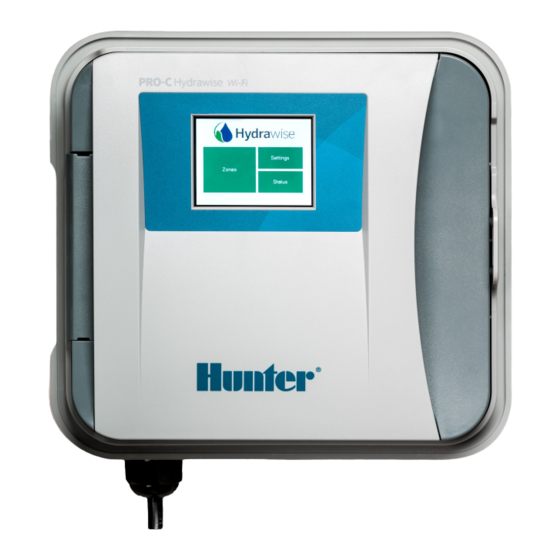
Hunter Hydrawise HC Owner's Manual
Irrigation controllers
Hide thumbs
Also See for Hydrawise HC:
- Installation manual (36 pages) ,
- Owner's manual (14 pages) ,
- Quick start manual (13 pages)
Advertisement
Advertisement

Summary of Contents for Hunter Hydrawise HC
-
Page 2: Table Of Contents
Table of Contents Wire Distance (Controller to Valve) Pump Start Relay Wiring and Software Setup One Master Valve - Two Controllers Master Valve Wiring and Software Setup Sprinklers Running with the Controller Off or Unplugged Copyright 2021 Hunter Industries. All Rights Reserved. -
Page 3: Wire Distance (Controller To Valve)
10 AWG / 2.5 1460 2150 3080 4170 5400 6670 7690 8 AWG / 3 1540 2330 3450 4880 6670 8700 10530 6 AWG / 4 1590 2440 3700 5400 7690 10530 13330 Copyright 2021 Hunter Industries. All Rights Reserved. -
Page 4: Pump Start Relay Wiring And Software Setup
ON or OFF by All Zones X2 w/WAND WiFi Module ON or OFF by Zone or All Zones ON or OFF by Zone or All Zones ON or OFF by Zone or All Zones Wiring (24 VAC) Copyright 2021 Hunter Industries. All Rights Reserved. - Page 5 Use a minimum distance of 15' (4.5 m) between the controller and the relay to dampen electromagnetic noise. In addition to this recommendation, Hunter also recommends all controllers be mounted 15' (4.5 m) away from pumps and high-voltage devices. 1. Detach the pump start relay cover plate by removing the four screws with a Phillips screwdriver.
- Page 6 3. Assemble conduit piping and connect wiring from the pump motor to the other side of the relay (LOAD OUT). 4. Check to make sure there are no exposed or loose connections. Software Setup Copyright 2021 Hunter Industries. All Rights Reserved.
- Page 7 3. Choose YES from the drop-down menu above the zones. If you have an HC controller, choose the zone number to which you have the master valve wired. HC Controller X2 w/WAND, PRO-HC, HPC, and HCC Controllers Copyright 2021 Hunter Industries. All Rights Reserved.
- Page 8 2. Click on ADVANCED, which is located on the top blue search section. 3. Select USE GLOBAL MASTER VALVE SETTING to keep this circuit on or select DISABLE MASTER VALVE to turn it off. Copyright 2021 Hunter Industries. All Rights Reserved.
-
Page 9: One Master Valve - Two Controllers
Only one controller can operate at a time. A delay of at least five minutes between the operation of controller #1 and controller #2 is desirable. Electrical alerts will apply for each controller. Copyright 2021 Hunter Industries. All Rights Reserved. -
Page 10: Master Valve Wiring And Software Setup
Typically one zone valve is turned on at a time and controls the irrigation in a specific area of your garden. Whenever one of the irrigation zone Copyright 2021 Hunter Industries. All Rights Reserved. - Page 11 4. Strip ½" (13 mm) of insulation from ends of all wires. Secure the valve common wire to the “COM” (Common) terminal. Attach the opposite control wire to the M/V terminal. Wiring Illustrations PRO-HC Copyright 2021 Hunter Industries. All Rights Reserved.
- Page 12 We usually recommend wiring to the last zone not used in the controller. Software Setup This setup option is prompted when you first go through the initial setup wizard in the software. Copyright 2021 Hunter Industries. All Rights Reserved.
- Page 13 3. Choose YES from the drop-down above the zones. If you have an HC controller, then you choose the zone number that you have the master valve wired to. HC Controller X2 w/WAND, PRO-HC, HPC, and HCC Controllers Copyright 2021 Hunter Industries. All Rights Reserved.
- Page 14 2. Click on ADVANCED located on the top blue search section. 3. Select Use GLOBAL MASTER VALVE SETTING to keep this circuit on or select DISABLE MASTER VALVE to turn this circuit off. Copyright 2021 Hunter Industries. All Rights Reserved.
-
Page 15: Sprinklers Running With The Controller Off Or Unplugged
It's possible your valves were opened manually. Locate your valve box(es) and turn the solenoid(s) clockwise until snug. The solenoid is located on top of the valve and looks like a cylinder with two wires protruding out of it. Copyright 2021 Hunter Industries. All Rights Reserved. - Page 16 1. Disassemble the valve. 2. Rinse all parts with clean water. 3. Reassemble the valve. If you cannot locate your valves, contact the contractor who installed the system. Cleaning the Diaphragm on a Hunter Valve Copyright 2021 Hunter Industries. All Rights Reserved.


