Endress+Hauser Promag 50 Installation Instruction
Replacing power supply and display
Hide thumbs
Also See for Promag 50:
- Operating instructions manual (154 pages) ,
- Brief operating instructions (52 pages) ,
- Installation instruction (16 pages)
Advertisement
Available languages
Available languages
Quick Links
Installation Instruction
Replacing Power supply and display
Promag 50, 51, 53, 55, Promass 40, 80, 83, 84, 8ME, Cubemass DCI 8CN, CNGmass DCI 8DF, Prosonic Flow 90, 93, t-mass 65
Identification of this Installation Instruction:
EA00063D/06/A2/14.11
71143304
Instruction is valid for the following spare part sets:
Order Number
Device component
50094002
Kit 10 fuses 250VAC T800 MA
50094003
Kit 10 fuses 250VAC T 2A00
50096744
Kit power supply, 20 - 55VAC, 16 - 62VDC Ex
50096745
Kit power supply, 85 - 260VAC
50096746
Kit power supply, 85 - 260VAC Ex
50096747
Kit power supply, 20 - 55VAC, 16 - 62VDC
50096754
Kit display module Proline
50096755
Kit display module wall enclosure
Kit power supply, 220V REx000
50098557
220V = 85 - 260VAC
Kit power supply, 220V REx120 Ex
50098558
220V = 85 - 260VAC
50098563
Kit display module, V1.06.00
Kit power supply, 24V REx000
50098565
24V = 20 - 55VAC, 16 - 62VDC
Kit power supply , 24V REx120 Ex
50098566
24V = 20 - 55VAC, 16 - 62VDC Ex
Note!
• The order number of the spare part set (on the packaging label) can differ from the product-number (on the label directly on the spare part)!
• The order number of the relevant spare part set can be found by entering the product-number of the spare part in the spare parts finder.
• We recommend that the Installation Instructions be kept with the packaging at all times.
Order Number
Device component
50099250
Kit power supply, 85 - 260VAC
50099251
Kit power supply, 85 - 260VAC Ex
50099252
Kit power supply, 20 - 55VAC, 16 - 62VDC
50099253
Kit power supply, 20 - 55VAC, 16 - 62VDC Ex
50108130
Kit display module = V1.06.00
Kit display module, Wall mounted housing
50108131
= V1.06.00
50108132
Kit display module = V1.06.00
50108139
Kit terminal block field housing
Kit terminal block wall enclosure
terminal connection 2pol stamped
50108140
terminal connection 8pol stamped
terminal connection 7pol stamped
terminal connection 9pol stamped
Kit power supply all voltage
71029347
85 - 260VAC, 20 - 55VAC, 20 - 64VDC
Kit power supply 220V REx 330 Ex
71097758
220V = 85 - 260VAC
Kit power supply 24V REx 330 Ex
71097759
24V = 20 - 55VAC, 16 - 62VDC
Advertisement

Related Manuals for Endress+Hauser Promag 50


Summary of Contents for Endress+Hauser Promag 50
- Page 1 Installation Instruction Replacing Power supply and display Promag 50, 51, 53, 55, Promass 40, 80, 83, 84, 8ME, Cubemass DCI 8CN, CNGmass DCI 8DF, Prosonic Flow 90, 93, t-mass 65 Identification of this Installation Instruction: EA00063D/06/A2/14.11 71143304 Instruction is valid for the following spare part sets:...
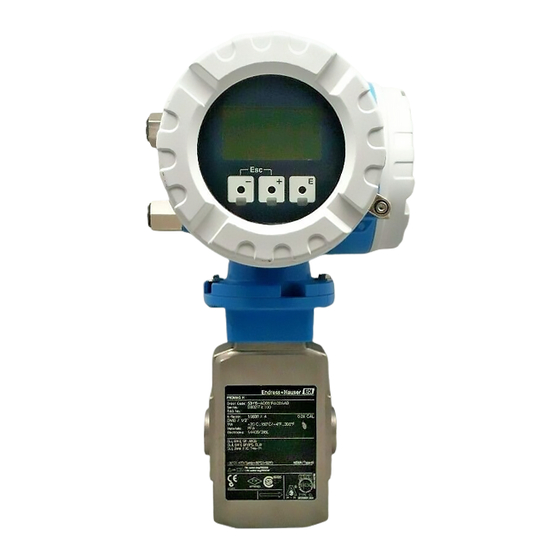
- Page 2 The spare parts set and Installation Instructions are used to replace a faulty unit with a functioning unit of the same type. Use genuine parts from Endress+Hauser only. Only original spare parts supplied by Endress+Hauser shall be used with the measuring device. Therefore, before use, check whether the spare part set is compatible with the measuring device.
- Page 3 • Modifications to the measuring device are not permitted. • In the case of measuring devices in safety-related applications – only connect to Endress+Hauser service devices. in accordance with IEC 61508 or IEC 61511: • Observe the instructions for transporting and returning the device outlined in the Operating Instructions.
- Page 4 Replacing Power supply and display 2 Opening wall-mounted housing and replacing the display A0011684 A0013619 A0011685 3 Replacing the power sypply and the fuse Ø < 2 mm A0016523 A0013620 4 Replacing the terminal in the aluminium field housing (picture a + b), replacing the terminal in the wall mounted housing (picture c + d) 3 mm A0013621...
- Page 5 Einbauanleitung Austausch Netzteilplatine und Display Promag 50, 51, 53, 55, Promass 40, 80, 83, 84, 8ME, Cubemass DCI 8CN, CNGmass DCI 8DF, Prosonic Flow 90, 93, t-mass 65 Kennzeichnung der Einbauanleitung: EA00063D/06/A2/14.11 71143304 Die Einbauanleitung ist für folgende Ersatzteilsets gültig: Bestellnummer Gerätekomponente...
- Page 6 Ersatzteilset und Einbauanleitung dienen dazu, eine defekte Einheit gegen eine funktionierende Einheit des gleichen Typs zu ersetzen. Es dürfen nur Originalteile von Endress+Hauser verwendet werden. Grundsätzlich dürfen nur Ersteilsets verwendet werden, die von Endress+Hauser für das Messgerät vorgesehen sind. Vor der Verwendung ist deshalb zu überprüfen, ob das Ersteilsets zum Messgerät passt.
- Page 7 • Die in der Betriebsanleitung aufgeführten Hinweise zum Transport • Bei Messgeräten in sicherheitstechnischen Applikationen gemäß und zur Rücksendung beachten. IEC 61508 bzw. IEC 61511: Nach Reparatur Neuinbetriebnahme • Bei Fragen kontaktieren Sie bitte Ihre zuständige Endress+Hauser gemäß Betriebsanleitung durchführen. Reparatur dokumentieren. Serviceorganisation. Werkzeugliste Säurefreies,...
- Page 8 Austausch Netzteilplatine und Display 2 Öffnen Wandgehäuse und Austausch Display A0011684 A0013619 A0011685 3 Austausch Netzteilplatine und Sicherung Ø < 2 mm A0016523 A0013620 4 Austausch Anschlussklemme im Feldgehäuse (Bild a + b), Austausch Anschlussklemme im Wandgehäuse (Bild c + d) 3 mm A0013621 A0013622...