Table of Contents

Related Manuals for E-FLITE P-40 Warhawk 300


Summary of Contents for E-FLITE P-40 Warhawk 300
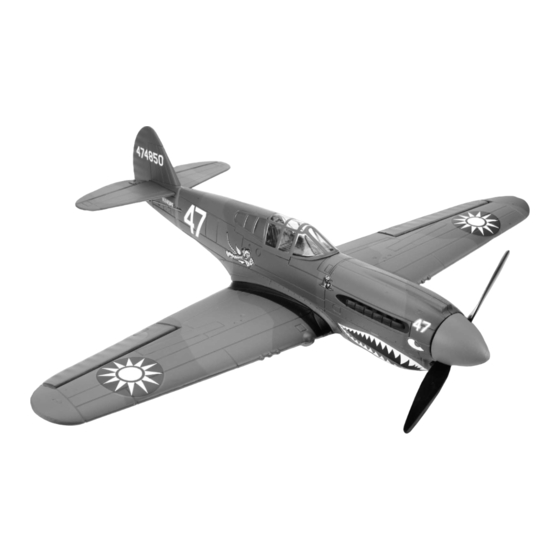
- Page 1 P-40 Warhawk 300 ARF Assembly Manual Specifications Wingspan: 25.6 in (650mm) Wing Area: 108 sq in (7.02 sq dm) Length: 21.7 in (550mm) Weight (without battery): 5.5–6.0 oz (156–170 g) Weight (with Li-Po Battery): 6.5–7.0 oz (184–198 g)
-
Page 2: Table Of Contents
EFL6079 Spinner Required Tools and Adhesives ......... 3 E-flite has captured the spirit of the Tigers in this fun- Note on Lithium Polymer Batteries ......3 EFL6080 Motor to-fly recreation of the P-40 that goes together fast... -
Page 3: Recommended Radio Equipment
If you own the Spektrum DX5e radio, just add the Two-sided tape Phillips screwdriver: #0 AR6100e DSM2 ™ 6-channel receiver and two E-flite Hobby knife with #11 blade S60 Super Sub-Micro Servos. Phillips screwdriver: #0 Transmitter and Receiver Flat blade screwdriver... - Page 4 Place a drop or two of foam-safe CA in the hole in the servo tab. The CA will go through the hole and bond the servo to the fuselage. E-flite P-40 Warhawk Assembly Manual...
- Page 5 Before checking the rotation of your motor, make sure to remove the propeller to avoid any accidental injuries. The details for removing the propeller can be found on Page 10, “Propeller Removal and Installation.” E-flite P-40 Warhawk Assembly Manual...
-
Page 6: Linkage Connections
Check to see that the elevator is level when the servo is centered. If not adjust the clevis to the correct length by adjusting the clevis in or out on the pushrod. E-flite P-40 Warhawk Assembly Manual... - Page 7 9. Check to make sure the aileron is aligned with the trailing edge of the wing. If not, thread the clevis in or out until the two are aligned. Make sure to check both the left and right ailerons. E-flite P-40 Warhawk Assembly Manual...
-
Page 8: Wing Installation
tight against the fuselage. Make sure none of the wires from the inside of the fuselage are exposed on the top side of the wing. 2. Plug the aileron servo into the receiver. E-flite P-40 Warhawk Assembly Manual... -
Page 9: Battery Installation
Tuck the leads into the hole or alongside the battery so the canopy can be installed. 2. Slide the spinner back on the propeller. Allow the glue to fully cure before flying your model. E-flite P-40 Warhawk Assembly Manual... -
Page 10: Propeller Removal And Replacement
3. Remove the washer and propeller from the motor. 5. Slide the propeller on the motor shaft. If you are checking the rotation of the motor, now is the time to do so while the propeller is removed. E-flite P-40 Warhawk Assembly Manual... -
Page 11: Display Stand Assembly
7. Use a 5mm nut driver to tighten the nut holding the propeller on the motor. 9. Slide the spinner back on the propeller. Allow the glue to fully cure before flying your model. E-flite P-40 Warhawk Assembly Manual... -
Page 12: Control Throws
4. Use a ruler to adjust the throw of the elevator 4. With the stand and plane upright, you are now and ailerons. able to display your model when you are not out flying sorties. E-flite P-40 Warhawk Assembly Manual... -
Page 13: Center Of Gravity
Repair or replace any items that would be considered questionable. Failure of any of these components in not listed and should be adjusted according flight would mean the loss of your aircraft. to each individual model and preference. E-flite P-40 Warhawk Assembly Manual... -
Page 14: Range Test Your Radio
Safety can never be taken lightly. • Do not fly near power lines. E-flite P-40 Warhawk Assembly Manual... -
Page 15: Safety, Precautions And Warnings
Product. This warranty does not cover damage due to improper installation, operation, maintenance, or attempted repair by anyone other than Horizon. Return of any goods by Purchaser must be approved in writing by Horizon before shipment. E-flite P-40 Warhawk Assembly Manual... - Page 16 Provided warranty conditions have been met, or concerns regarding this product or warranty. your Product will be repaired or replaced free of charge. Repair or replacement decisions are at the sole discretion of Horizon Hobby. E-flite P-40 Warhawk Assembly Manual...
-
Page 17: Ce Compliance Information For The European Union
(other than spectators until I become a proficient flier, unless I air), nor will I operate model aircraft with fuels am assisted by an experienced pilot. containing tetranitromethane or hydrazine. E-flite P-40 Warhawk Assembly Manual... -
Page 18: Declaration Of Conformity
Product(s): P-40 Warhawk 300 ARF P-40 Warhawk Safe Operating Recommendations I will operate my model aircraft using only radio-control frequencies currently allowed by... - Page 19 E-flite P-40 Warhawk Assembly Manual...
- Page 20 © 2009 Horizon Hobby, Inc. 4105 Fieldstone Road Champaign, Illinois 61822 U.S.A. (877) 504-0233 horizonhobby.com E-fliteRC.com Printed 04/09 15659...