Table of Contents
Advertisement
Quick Links
Installation
and Operating
Instructions
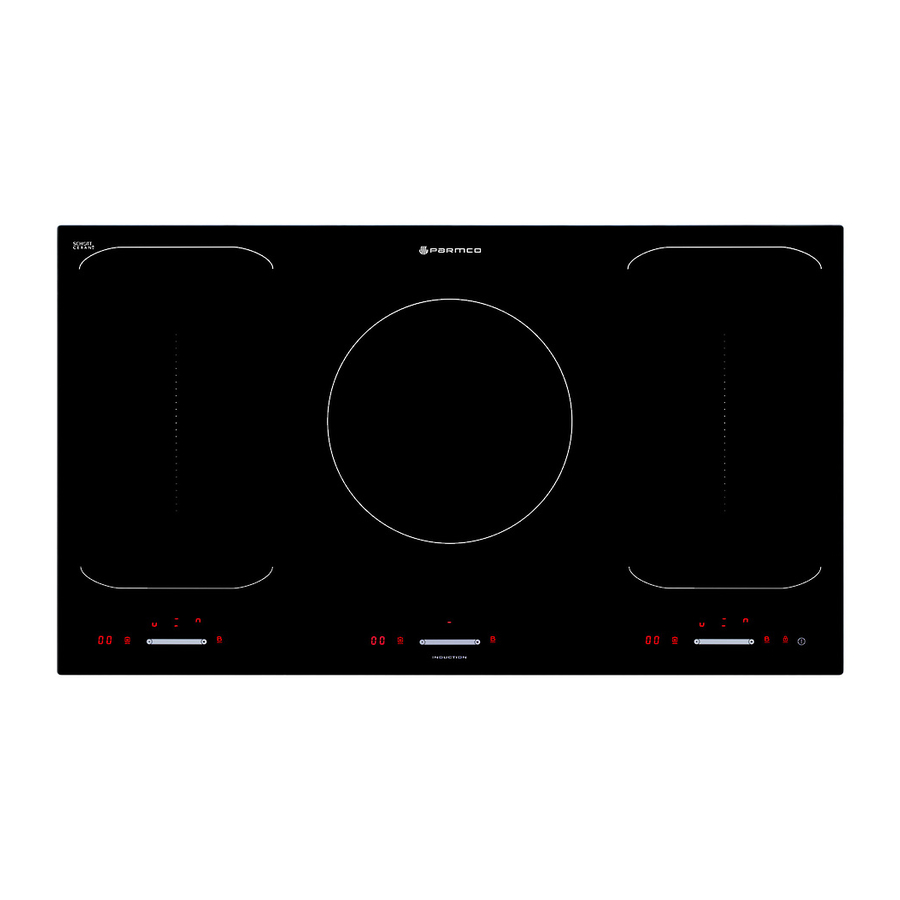
Model:
HO-4-9NF-INDUCT
For your convenience, we recommend to attach
the serial number label HERE.
As part of Parmco Appliances commitment to improving and updating product ranges,
we reserve the right to alter, change and update technical specifications and appearance
attributes of all Parmco Appliances products. E&OE
727626082015
Advertisement
Table of Contents

Subscribe to Our Youtube Channel
Related Manuals for Parmco HO-4-9NF-INDUCT


Summary of Contents for Parmco HO-4-9NF-INDUCT
- Page 1 For your convenience, we recommend to attach the serial number label HERE. As part of Parmco Appliances commitment to improving and updating product ranges, we reserve the right to alter, change and update technical specifications and appearance attributes of all Parmco Appliances products. E&OE...
- Page 2 Parmco Appliances before any installation is carried out. We hope you enjoy your new appliance. If you would like to find out more about this product or any other product in Parmco’s extensive range, visit us online at parmco.co.nz Regards,...
-
Page 3: Table Of Contents
INDEX Important Safety Warnings 1. Product overview 1.1 Top view 1.2 Control panel 2. What is Induction Cooking 3. Using the Touch Controls 4. Using the right cookware 5. Using your Induction Hob 5.1 To start cooking 5.2 When you have finished cooking 6. -
Page 4: Important Safety Warnings
11. Metallic objects such as knives, forks, spoons and lids should not be placed on the hotplate since they will get hot. 12. If the surface is cracked, switch off the appliance and contact Parmco Appliances. To avoid the possibility of electric shock do not continue to use a damaged hob. - Page 5 appliance. 15. WARNING: Accessible parts may become hot during use. Young children should be kept away. 16. This appliance is not intended to be operated by means of an external timer or separate remote-control system. 17. Do not clean this appliance using steam cleaners. 18.
-
Page 6: General Precautions
Operation and maintenance precautions Electrical Shock • Do not cook on a broken or cracked cooktop. If the cooktop surface should break or crack, switch the appliance off immediately at the mains power supply (wall switch) and contact a qualified technician. •... - Page 7 instructor should be satisfied that they can use the appliance without danger to themselves or their surroundings. • Do not repair or replace any part of the appliance unless specifically recommended in the manual. All other servicing should be done by a qualified technician.
-
Page 8: Product Overview
Product Overview 1. Max. 1800/3000 W zone 2. Max. 1800/3000 W zone 3. Max. 3000/4000 W zone 4. Max. 1800/3000 W zone 5. Max. 1800/3000 W zone 6. Free induction zone 3000/4000 W 7. Free induction zone. 3000/4000 W 8. Glass plate 9. -
Page 9: Using The Touch Controls
About Induction Cooking Induction cooking is a safe, advanced, efficient, and economical cooking technology. It works by electromagnetic vibrations generating heat directly in the pan, rather than indirectly through heating the glass surface. The glass becomes hot only because the pan warms it up. iron pot magnetic circuit induction glass plate... -
Page 10: Choosing The Right Cookware
Choosing the Right Cookware Only use cookware with a base suitable for induction • cooking. Look for the induction symbol on the packaging or on the bottom of the pan. • You can check whether your cookware is suitable by carrying out a magnet test. -
Page 11: Using Your Induction Hob
Pan Dimension The cooking zones are, up to a limit, automatically adapted to the diameter of the pan. However the bottom of this pan must have a minimum of diameter according to the corresponding cooking zone. To obtain the best efficiency of your hob, please place the pan in the centre of the cooking zone. -
Page 12: When You Have Finished Cooking
4. Adjust the heat setting by touching/sliding the slider control. • If you don’t choose a heat setting within 1 minute, the induction hob will automatically switch off. You will need to start again at step 1. • You can modify the heat setting at any time during cooking, by touching the slide control to power levels between 1-9 (min-max). -
Page 13: Using The Boost Function
3. Turn the whole cooktop off by touching the ON/OFF control. 4. Beware of hot surfaces. “H” will show which cooking zone is still hot to touch. The signal will disappear when the surface has cooled down to a safe temperature. It can also be used as an energy saving function - if you want to heat further pans, use a hotplate that is still hot. -
Page 14: Using The Keep Warm Function
Either: a) Touch the boost control “ ”. The cooking zone will revert to its original setting or, b) Touch the slider control. The cooking zone will revert to the level you select. • The function can work in all cooking zones. •... -
Page 15: Flexible Area
2. Either: a) Touch the keep warm control “ ”. The cooking zone will revert to its original setting or, b) Touch and drag the slider control. The cooking zone will revert to the level you select. Flexible Area This area can be used as a single zone or as two different zones, according to your cooking needs. -
Page 16: Locking The Controls
As a single big zone To activate the flexible area as a single big zone, simply press the dedicated keys. The power setting works as any other normal area. If the pot is moved from the front to the rear part (or vice-versa) the flexible area automatically detects the pot’s new position keeping the same power. - Page 17 When the hob is in lock mode, all the controls are disabled except for ON/OFF You can always turn the induction hob off with the ON/OFF control in an emergency, but the hob will be unlocked the next time it is operated.
-
Page 18: Using The Timer
Using the Timer You can use the timer in two different ways: • As a minute minder; In this case, the timer will not turn any cooking zone off when the set time is up. • To turn one or more cooking zones off after the set time is up. Note: The timer can be set up for up to 99 minutes. - Page 19 7. When the selected cooking time is up, the buzzer will sound for 30 seconds, and will display “00“ Setting the timer to turn one or more cooking zones off If the timer is set on one zone: 1. Touch the heating zone selection control corresponding to the zone that you want to set the timer for.
- Page 20 7. When the selected cooking time is reached, the corresponding cooking zone will be switched off automatically. Other cooking zones will keep operating if they have been turned on previously. NOTE: If you want to change the time after the timer is set, you have to start again from step 1.
-
Page 21: Cooking Guidelines
Cooking Guidelines Take care when frying as oil and fat heat up very quickly, particularly if you’re using PowerBoost. At extremely high temperatures oil and fat will ignite spontaneously. This presents a serious fire risk. Cooking Tips • When food comes to the boil, reduce the temperature setting. •... -
Page 22: Heat Settings
Stir-frying 1. Choose a induction compatible flat-based wok or a large frying pan. 2. Have all the ingredients and equipment ready. Stir-frying should be quick. If cooking large quantities, cook the food in several smaller batches. 3. Preheat the pan briefly and add two tablespoons of oil. 4. -
Page 23: Care And Cleaning
Care and Cleaning What? How? Important! Everyday soiling on 1. Switch the power to the • When the power to the cooktop is glass (fingerprints, cooktop off. switched off, there will be no ‘hot marks, stains left by 2. Apply a cooktop cleaner while surface’... -
Page 24: Hints And Tips
Hints and Tips Problem Possible causes What to do The induction hob No power. Make sure the induction hob is cannot be turned on. connected to the power supply and that it is switched on. Check whether there is a power outage in your home or area. -
Page 25: Troubleshooting
In case of malfunction, the induction cooktop may display one of the following error messages: Problem Possible causes What to do F1-F6 Temperature sensor failure Please contact Parmco. F9-FA Please contact Parmco. Temperature sensor of the IGBT failure. Please contact Parmco. The connection between the right display board and the middle display board. -
Page 26: Technical Specifications
Technical Specifications Cooking Hob HO-4-9NF-INDUCT Cooking Zones 5 Zones Supply Voltage 220-240V~50/60Hz Installed Electric Power 10800W Product Size W×D×H(mm) 900x520x60 Cut-out Dimensions A×B (mm) 875 x 495 Dimensions are approximate. Because we continually strive to improve our products we may change specifications and designs without prior notice. -
Page 27: Ventilation Requirements
L(mm) W(mm) H(mm) D(mm) A(mm) B(mm) X(mm) 50 min Make sure the hob is well ventilated and the air inlet and outlet are not blocked. Ventilation requirements: When installing a rangehood above an appliance, all relevant New Zealand building, installation and regulation standards including NZS 5261 must be adhered to. - Page 28 • A suitable isolating switch providing full disconnection from the mains power supply is incorporated in the permanent wiring, mounted and positioned to comply with the local wiring rules and regulations. •The isolating switch must be of an approved type and provide a 3 mm air gap contact separation in all poles (or in all active [phase] conductors if the local wiring rules allow for this variation of the requirements).
- Page 29 Cautions 1. The induction hotplate must be installed by qualified personnel only. 2. The hob cannot be installed directly above a dishwasher, fridge, freezer, washing machine or clothes dryer, as the humidity may damage the hob electronics. 3. The wall and induced heating zone above the table surface must be able to withstand heat.
- Page 30 This appliance is labeled in compliance with European directive 2002/96/EC for Waste Electrical and Electronic Equipment (WEEE). By ensuring that this appliance is disposed of correctly, you will help prevent any possible damage to the environment and to human health, which might otherwise be caused if it were disposed of in the wrong way.
-
Page 31: Warranty
Please retain this Warranty card together with receipt or other proof of purchase date when seeking service during the warranty period • Normal or scheduled maintenance including blocked filters or ducting. • Consumable items such as light bulbs. • Any damage to hobs caused by spills when cooking. • Any breakage or damage of glass items. Please contact Parmco at 09 573 5678 if your • Any damage caused by non recommended product used for cleaning, appliance needs servicing under warranty. Please maintaining, lubricating or similar. have your model number and proof of purchase ready. • Any aspect relating to the installation of the product, or damage caused Warranty repairs must be authorized by Parmco. during installation including blocked access for repair. • Any third party (including reseller) or consequential loss or damage (direct or indirect) however arising. Subject to updates without prior notice, please visit www.parmco.co.nz for E & O.E. 727626112014 the latest version.
Need help?
Do you have a question about the HO-4-9NF-INDUCT and is the answer not in the manual?
Questions and answers