Table of Contents
Advertisement
Quick Links
145x210mm 颜色 K FZ10-10JRH(CB) 说明书 369 20150918
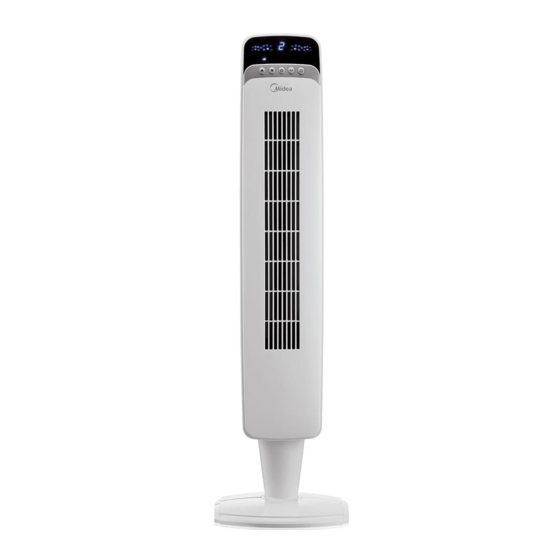
TOWER FAN
OWNER'S MANUAL
TOWER FAN
MODEL:FZ10-10JRH
Please read the instruction manual carefully before use and safekeeping.
MIDEA.COM | 4008899315
GD Midea Environment Appliances Manufacturing CO.,LTD.
Midea Industrial Park, Dongfu Road, Dongfeng Town, Zhongshan, Guangdong, China
Advertisement
Table of Contents

Related Manuals for Midea FZ10-10JRH


Summary of Contents for Midea FZ10-10JRH
- Page 1 145x210mm 颜色 K FZ10-10JRH(CB) 说明书 369 20150918 TOWER FAN OWNER’S MANUAL TOWER FAN MODEL:FZ10-10JRH Please read the instruction manual carefully before use and safekeeping. GD Midea Environment Appliances Manufacturing CO.,LTD. Midea Industrial Park, Dongfu Road, Dongfeng Town, Zhongshan, Guangdong, China MIDEA.COM | 4008899315...
- Page 2 CAUTION Read Rules for Safe Operation and Instructions Carefully. WARNING 1. If the supply cord is damaged, it must be replaced by manufacturer or its service agent or a similarly qualified person in order to avoid a hazard. 2. To protect against the risk of electrical shock, do not immerse the unit, cord or plug in water or other liquid.
- Page 3 PART FIGURE 1. Body 2. Pedestal 3. Base 4. Wing Screws 5. Power cord Note: All the pictures in this manual are for explanation purpose only. Any discrepancy between the real object and the illustration in the drawing shall be subject to the real subject. ASSEMBLY INSTRUCTIONS A.
- Page 4 E. Securing the Cord to the Base • With the fan still on its side, locate the cord holding bracket on the bottom of the base. • Gently pull any slack out of the power cord, and carefully work the cord into the bracket slots and out through the exit hole in the base.
- Page 5 - decreases the fan speed. When the fan is on, press this button to decrease the fan speed. The display screen will show the decrease in speed from 3 (High) to 2 (Medium) to 1 (Low). 5. ADJUSTING TIMER HOURS -increases the timer hours.
- Page 6 HOW TO USE THE REMOTE CONTROLLER CORRECTLY Point the remote controller at the receptor on body of the fan and press the desired button. The remote controller will work at distances of up to roughly five meters and the angle of 30 degree included between right and left from the receptor. The batteries must be removed from the remote controller before it is scrapped and that they are disposed of safely.
Need help?
Do you have a question about the FZ10-10JRH and is the answer not in the manual?
Questions and answers