Table of Contents
Advertisement
•
Read and follow all instructions and safety procedures.
•
Never let play on or walk in the automatic gate area.
•
Keep all gate controls out of the reach of children.
•
Stand clear of a moving gate and never cross the path of a
moving gate.
•
All wiring should only be done by a qualified technician.
•
Always make adjustments and connections with supply power
turned "off".
•
This document does not supersede the full instruction manual
included with each product.
BFT U.S., Inc. 6100 Broken Sound Pkwy., N.W. Suite 14 Boca Raton, FL 33487, U.S.A.
T US: 1 877-995-8155, T: +1 561-995-8155, F: +1 561-995-8160, www.bft-usa.com, info.bft@bft-usa.com
DEIMOS BT KIT UL
QUICK REFERENCE GUIDE
Advertisement
Table of Contents

Related Manuals for BFT DEIMOS BT KIT UL


Summary of Contents for BFT DEIMOS BT KIT UL
-
Page 1: Quick Reference Guide
This document does not supersede the full instruction manual included with each product. BFT U.S., Inc. 6100 Broken Sound Pkwy., N.W. Suite 14 Boca Raton, FL 33487, U.S.A. T US: 1 877-995-8155, T: +1 561-995-8155, F: +1 561-995-8160, www.bft-usa.com, info.bft@bft-usa.com... -
Page 2: Table Of Contents
TABLE OF CONTENTS • DEIMOS BT Kit Components ........3 • Technical specifications ........3 • Spare parts ........4 • Accessories and replacement parts ........4 • Anchoring plate installation ........5 • Operator and rack installation ........6 - 7 •... -
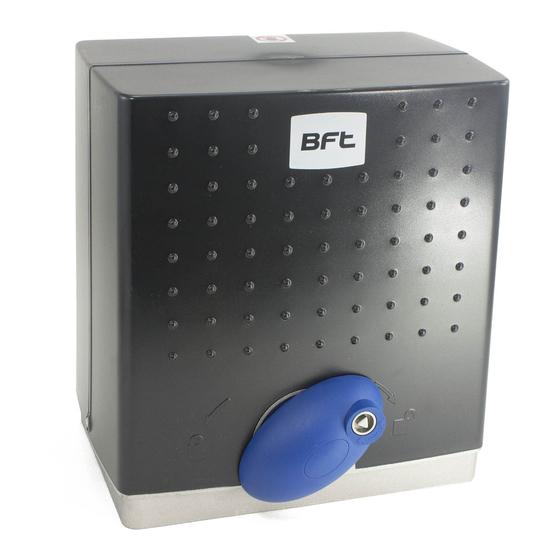
Page 3: Deimos Bt Kit Components
THE DEIMOS BT KITS CONTAIN THE FOLLOWING COMPONENTS Components Deimos BT KIT UL (Ref. # R925228 00003) ANCHORING HOOK HEIGHT ADJUSTMENT PLATE POSITIONING TEMPLATE PLATE M10 NUT M10 WASHER TRANSMITTER - MITTO 2 PHOTOCELLS - FL 130B MANUAL RELEASE KEY - CLS... -
Page 4: Spare Parts
DEIMOS BT SPARE PARTS, ACCESSORIES AND REPLACEMENT PARTS D222262 I098434 I101102 D111754 00001 N999359 I098401 D221651 I098434 I101102 D221826 I101111 I098421 I098401 I098434 I101102 D511318 I098416 I098401 I098404 I098434 I101102 D141382 I098416 I098421 I098501 I098434 I101102 D141379 I098416 I098401 I098404 I098434 I101102 D511184... -
Page 5: Anchoring Plate Installation
ANCHORING PLATE INSTALLATION • Inspect all components of the gate to insure proper manual operation and smooth sliding. • Gate must slide freely and smoothly throughout its travel. • Make sure that mechanical stops preventing the gate from slipping off the upper guide when manually op- erated are present and sound enough. -
Page 6: Operator And Rack Installation
OPERATOR AND RACK INSTALLATION STEP 2 • Position provided nuts (D) and height adjustment plates (B) on the anchoring hooks (A) at least 1” higher than the template plate (C) (Fig. 3). This clearance is very important, in case the V-tracks sags, hav- ing no clearance prevents any future adjustment, the pinion will bear part of the weight of the gate, leading to wear of the rack and pinion teeth and possible damage to pinion shaft and bear-... - Page 7 OPERATOR AND RACK INSTALLATION Lower the operator using nuts so that the play between rack and pinion is between 1 and 2 mm (1/16”) throughout the whole length of the gate (Fig. 7). Check that the gate runs smoothly throughout its whole length. Check that the play between rack and pinion is optimal through- out the whole length of the gate.
-
Page 8: Wiring Instructions
WIRING INSTRUCTIONS CONNECTING THE POWER: neutral (white) • Connect the line wire of the 120 volt power source to ter- minal 34 of the Deimos BT control board. line (black) • Connect the neutral wire of the 120 volt power source to terminal 33 of the Deimos BT control board. - Page 9 • NOTE : on BFT control boards safety contacts are always N.C., multiple safety devices connected to the same contact have to be connected in series. Command contacts are always N.O., multiple command devices connected to the same contact have to be connected in parallel.
- Page 10 WIRING INSTRUCTIONS CHECKING MOTOR DIRECTION: The operator can be installed on the left side or on the right side of the drive way (depending on the sliding gate). In order to have right direction of movement of the gate, proceed with following steps: •...
-
Page 11: Battery Backup Installation
Check that 24 Vdc polarity is respected with photocells and ac- cessory power supply: When in battery mode #13 is + (positive), #12 is – (negative). • On BFT photocells #1 is + (positive), #2 is – (negative): • Check other accessories polarity according to the manufactur- er’s installation manual. -
Page 12: Control Board Quick Programming
NAVIGATING THROUGH THE MENUS: CONTROL BOARD QUICK PROGRAMMING NAVIGATING THROUGH THE MENUS: NAVIGATING THROUGH THE MENUS: + BUTTON - BUTTON OK BUTTON • The “OK” button is used for: switching on the display, confirming changes to the programming, entering the menus. •... - Page 13 CONTROL BOARD QUICK PROGRAMMING SETTING THE FORCE Turn on the display (by pressing twice the “ OK” button). Scroll down (“ -“ button) to “Autoset” menu. The autoset feature will automatically let the control board learn torques required to correctly operate the gate. WARNING: Once “OK”...
-
Page 14: Menu Flow Chart
MENU FLOW CHART TCA (timer to close) [sec.] (default 10 sec., min 3 sec., max 60 sec.) Opening torque [%] (default 80%, min 1%, max 99%) Closing torque [%] (default 80%. min 1%, max 99%) Opening torque slow-down [%] (default 50%, min 1%, max 99%) Closing torque slow-down [%] (default 50%, min 1%, max 99%) Normal opening speed time [sec.] (default 15 sec., min 1sec., max 120 sec.) Normal closing speed time [sec.] (default 15 sec., min 1sec., max 120 sec.) SIow-down speed (deault 0, min slow down 0, max slow down 3) Zone (serial connection – requires SCS1 card) (default 0, min 0, max 127) - Page 15 MENU FLOW CHART ADD START (Program a button of a remote to activate the gate) ADD 2CH (No effect) READ (Check if a remote is in the memory of the re- ceiver and display button #) 02 t1 (remote #2, button #1) ko (remote not in the memory) ERASE 64 WARNING!
-
Page 16: Wiring Diagram
WIRING DIAGRAM BLUE MOTOR CONNECTION TRANSFORMER SECONDARY BLACK N.C. LIMIT SWITCH CONNECTION BROWN N.C. STROBE LIGHT CONNECTION 24 Vdc/25 W max ANTENNA ANTENNA CONNECTION SHIELD 24 Vac/dc 24 Vac POWER SUPPLY TO ACCESSORIES (180 mA max) UL ALARM: UL ALARM the contact closes after 2 consecutive obstruction detections with no limit switch activation. N.O. -
Page 17: Troubleshooting
TROUBLESHOOTING FAULT DIAGNOSTIC CAUSE The LED on the board is OFF Power or transformer connection is loose. Check power and transformer connections. Main fuse (next to 120 Vac input) is blown. Replace fuse. Bad control board. Replace control board. OPERATOR DOES NOT RUN STOP STOP contact is open (21 – 23). Check STOP contact connections. -
Page 18: Notes
NOTES Technical Support: 1-877-995-8155... -
Page 19: Notes
NOTES Technical Support: 1-877-995-8155... - Page 20 Also available from BFT Road barriers Hydraulic underground Hydraulic arm Electromechanical arm Accessories operators operators operators BFT U.S., Inc. 6100 Broken Sound Pkwy., N.W. Suite 14 Boca Raton, FL 33487, U.S.A. T US: 1 877-995-8155, T: +1 561-995-8155, F: +1 561-995-8160, www.bft-usa.com, info.bft@bft-usa.com...
Need help?
Do you have a question about the DEIMOS BT KIT UL and is the answer not in the manual?
Questions and answers