Table of Contents
Advertisement
Quick Links
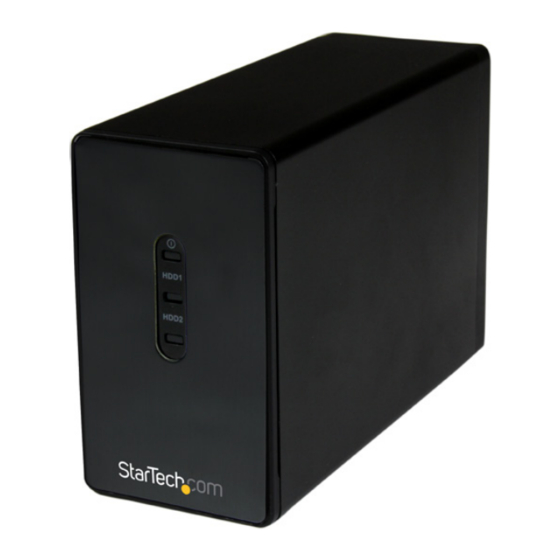
USB 3.0 Dual 2.5" SATA HDD/SSD RAID
Enclosure
S252BU33R
DE: Bedienungsanleitung - de.startech.com
FR: Guide de l'utilisateur - fr.startech.com
ES: Guía del usuario - es.startech.com
IT: Guida per l'uso - it.startech.com
NL: Gebruiksaanwijzing - nl.startech.com
PT: Guia do usuário - pt.startech.com
For the most up-to-date information, please visit: www.startech.com
Manual Revision: 02/05/2015
*actual product may vary from photos
Advertisement
Table of Contents

Related Manuals for StarTech.com S252BU33R


Summary of Contents for StarTech.com S252BU33R
- Page 1 DE: Bedienungsanleitung - de.startech.com FR: Guide de l'utilisateur - fr.startech.com ES: Guía del usuario - es.startech.com IT: Guida per l'uso - it.startech.com NL: Gebruiksaanwijzing - nl.startech.com PT: Guia do usuário - pt.startech.com For the most up-to-date information, please visit: www.startech.com Manual Revision: 02/05/2015...
- Page 2 StarTech.com. Where they occur these references are for illustrative purposes only and do not represent an endorsement of a product or service by StarTech.com, or an endorsement of the product(s) to which this manual applies by the third-party company in question. Regardless of any direct acknowledgement elsewhere in the body of this document, StarTech.com hereby...
-
Page 3: Table Of Contents
Table of Contents Product Diagram ..................1 Front View ..............................1 Rear View ..............................1 Introduction ....................2 Packaging Contents ..........................2 System Requirements ..........................2 Hardware Installation ................2 Technical Support ..................8 Warranty Information ................8 Instruction Manual... -
Page 4: Product Diagram
Product Diagram Front View 1. Power LED 2. Drive 1 activity LED 3. Drive 2 activity LED Rear View 1. Built-in fan 2. Power switch 3. USB 3.0 port 4. Power adapter port Instruction Manual... -
Page 5: Introduction
Introduction Packaging Contents • 1 x USB 3.0 Dual 2.5” SATA HDD/SSD RAID Enclosure • 1 x USB 3.0 cable • 1 x USB to Power Cable (Type H Barrel) • 1 x Universal Power Adapter (NA/EU/UK/AUS) • 1 x Installation screw kit •... - Page 6 NOTE: For brand new out of the box installations, this step is not required as the screws are not installed. 2. Grasp the back panel and gently slide it outward away from the enclosure to reveal the drive tray. Instruction Manual...
- Page 7 3. Place the drive tray on its side, so the green set RAID button is facing upward. Green set RAID button 4. Slide a 2.5in HDD/SSD into each of the drive trays, so that the SATA plug on the drives line up with the SATA reciprocals on each of the drive bays. Instruction Manual...
- Page 8 5. Fix the drives into place by using a Philip’s head screw driver to drive eight of the drive screws (silver) into each of the drive mounting holes on the drive tray (four on either side). 6. Set your desired RAID configuration. The RAID mode dip switches (1 &...
- Page 9 RAID Mode Description Switch 1 Switch 2 RAID 0 Striping - Improves system performance Mirror – Creates a redundant drive on the RAID1 second drive for security Spanning – Creates a large single drive volume consisting of both drives. Just a Bunch of Disks – Allows access to both JBOD drives individually Setting Your RAID Configuration...
- Page 10 d) Your RAID configuration has now been set. Note: To complete installation, power off the drive tray by placing the power switch in the “off” position, and disconnecting the power adapter. 7.Slide the drive tray back into the enclosure, and replace the four screws on the back panel using a Philip’s head screw driver.
-
Page 11: Technical Support
Limitation of Liability In no event shall the liability of StarTech.com Ltd. and StarTech.com USA LLP (or their officers, directors, employees or agents) for any damages (whether direct or indirect, special, punitive, incidental, consequential, or otherwise), loss of profits, loss of business, or any pecuniary loss, arising out of or related to the use of the product exceed the actual price paid for the product. - Page 12 StarTech.com is an ISO 9001 Registered manufacturer of connectivity and technology parts. StarTech.com was founded in 1985 and has operations in the United States, Canada, the United Kingdom and Taiwan servicing a worldwide market.
Need help?
Do you have a question about the S252BU33R and is the answer not in the manual?
Questions and answers