IOGear GCL1908 Quick Start Manual
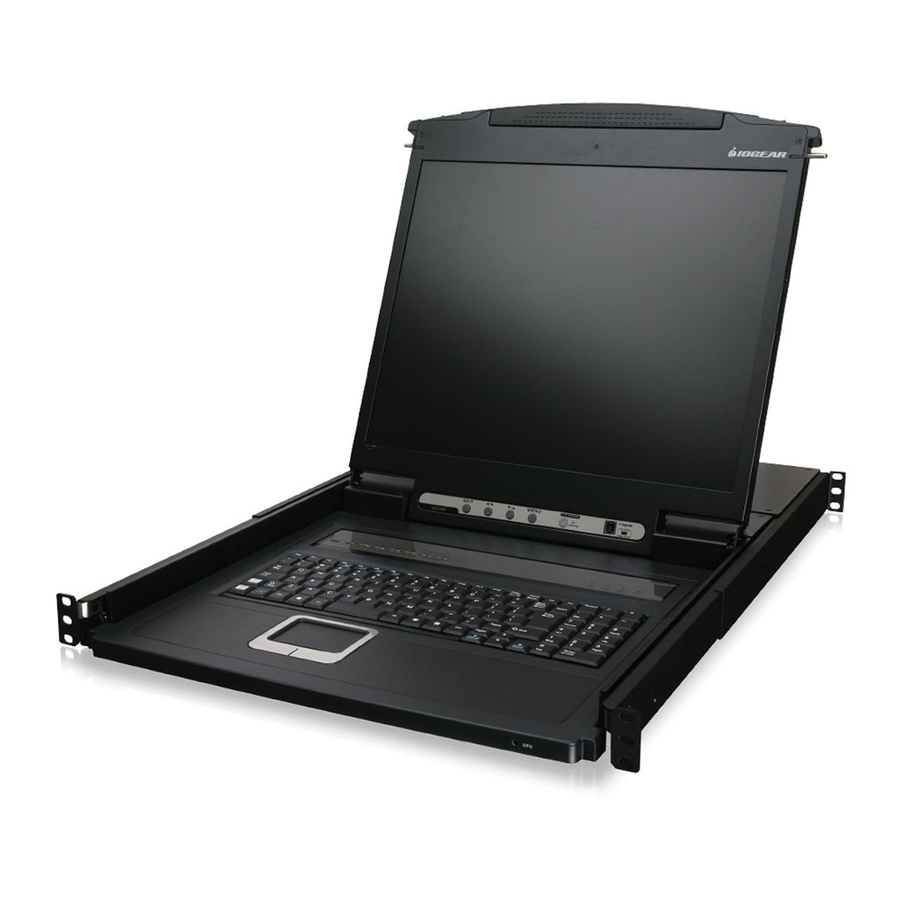
8/16-19” lcd kvm switch
Hide thumbs
Also See for GCL1908:
- User manual (81 pages) ,
- Quick start manual (11 pages) ,
- User manual (81 pages)
Table of Contents
Advertisement
Quick Links
Download this manual
See also:
User Manual
Advertisement
Table of Contents

Related Manuals for IOGear GCL1908


Summary of Contents for IOGear GCL1908
- Page 1 Quick Start Guide 8/16-19” LCD KVM Switch GCL1908 / GCL1916 PART NO. Q1323 / Q1324 www.iogear.com...
-
Page 2: Package Contents
Rear View: 1. Power Socket 2. Power Switch 3. KVM Port Section 4. Grounding Terminal Note: The GCL1916 is pictured above. The GCL1908 rear panel is the same as the GCL1916, except that it has 8 KVM ports instead of 16. -
Page 3: Hardware Installation
Hardware Installation Standard Rack Mounting: A standard rack mounting kit is provided with your GCL1908 / GCL1916 and can be mounted in 1U of rack space. The following diagram shows the required components to mount the LCD KVM to the rack. - Page 4 After the L brackets have been secured, tighten the front bracket screws. Grounding Use a grounding wire to ground the GCL1908 / GCL1916 by connecting one end of the wire to the grounding terminal, and the other end of the wire to a suitable grounded object.
-
Page 5: Open/Close Console
Open/Close Console Opening the Console The GCL1908 / GCL1916's console is located under the top cover. To access the console, slide the console module out and raise the cover. Note: As a safety precaution, to keep the console from accidentally sliding out, the console is locked into the In position. -
Page 6: Single Level Installation
Single Level Installation Please make sure the computers are powered off before you start. Step 1 Connect the power cord to the power outlet and the power socket of the LCD KVM. PS/2-USB PS/2-USB Step2 Connect a USB KVM Cable (with a green connector) or PS/2 KVM Cable (with a yellow connector) from the KVM switch to each of your computers. -
Page 7: Two Level Installation
Two Level Installation To control even more computers, up to 8/16 additional switches can be cascaded from the first GCL1908/GCL1916. As many as 128 (Cascaded with GCS1808) or 256 (Cascaded with GCS1716) computers can be controlled from a single console in a complete cascade installation. - Page 8 On-Screen Display (OSD) Operation OSD Functions OSD functions are used to configure and control the OSD. For example, you can rapidly switch to any port, scan selected ports, limit the list you wish to view, designate a port as a quick view port, create or edit a port name, or make OSD setting adjustments.
-
Page 9: Hotkey Summary Table
Invokes Skip Mode and skips from the cur- to it. [→] Invokes Skip Mode and skips from the cur- rent port to the next accessible port Note: For completed operation setting method, please download the user manual from IOGEAR support website. -
Page 10: Compliance Information
NEED ASSISTANCE SETTING UP THIS PRODUCT? Make sure you: 1. Visit www.iogear.com for more product information 2. Visit www.iogear.com/support for live help and product support Warranty Information This product carries a 3 Year Limited Warranty. For the terms and conditions of this warranty, please go to http://www.iogear.com/support/warranty...
Need help?
Do you have a question about the GCL1908 and is the answer not in the manual?
Questions and answers