Advertisement
Quick Links
BEFORE BEGINNING TO BUILD...................................2
SAMPLE
STEP................................................................3
REQUIRED TOOLS .........................................................4
WARRANTY INFORMATION ..........................................5
KYOZ7125 No. 40602
PREPARING THE RADIO SYSTEM ...............................5
ASSEMBLY................................................................6-26
REPLACEMENT
PARTS...............................................26
OPERATION.................................................................27
Entire Contents © Copyright 1996
Advertisement

Related Manuals for Kyosho Seabreeze 600


Summary of Contents for Kyosho Seabreeze 600
- Page 1 BEFORE BEGINNING TO BUILD........2 PREPARING THE RADIO SYSTEM .......5 SAMPLE STEP..............3 ASSEMBLY..............6-26 REQUIRED TOOLS ............4 REPLACEMENT PARTS..........26 WARRANTY INFORMATION ..........5 OPERATION..............27 KYOZ7125 No. 40602 Entire Contents © Copyright 1996...
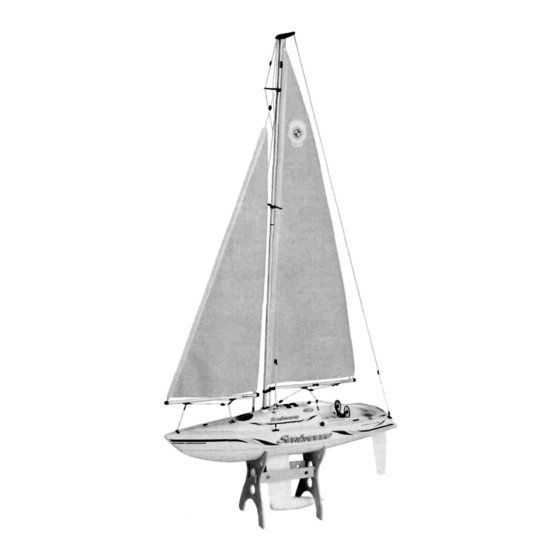
- Page 2 Please Note: Your hobby dealer cannot accept a model kit for return after assembly has begun. • The Kyosho Seabreeze 600 is a sophisticated radio controlled sailboat. Sailboats are no harder to operate than any other boat. With time and practice, you will come to enjoy the serenity of operating sailboats.
-
Page 3: Symbol Guide
To help you get acquainted with how to use this manual, a sample step is shown below. Take a few minutes to study this step so that you understand what some of the symbols mean. Below the sample step you will find a symbol guide. A similar symbol guide will be shown at the bottom of each page of assembly steps. - Page 4 Remove all flashing from parts before assembly, as Thick Cyanoacrylate Glue (Such shown in the example below. as Great Planes Pro'" CA+ GPMR6008) Rubbing Alcohol THESE ITEMS ARE REQUIRED TO RUN THE SEABREEZE 600 Use a sharp INCORRECT hobby knife Too much to trim the removed.
- Page 5 • For 90 days after you purchase your Seabreeze 600, Kyosho will either Repair Services Available Anytime: repair or replace, at no charge, any incorrectly made part. • After the 90-day warranty has expired, you can still have your Seabreeze •...
- Page 6 ASSEMBLE STAND Remove the die-cut parts from the plywood sheet and assemble as shown using epoxy. PREPARE HULL Carefully remove any flashing from the hull using a sharp hobby knife. Drill the holes using the sizes and locations shown. Drill hole to the specified Apply 6-min.
- Page 7 Attach the fittings as shown below. INSTALL DECK FITTINGS INSTALL HULL GUIDES Important information. Apply 6-min. epoxy. Apply thick CA. SYMBOL GUIDE...
-
Page 8: Install Servos
INSTALL SERVOS INSTALL BATTERY Important information. Apply thick CA. Not included. SYMBOL GUIDE... - Page 9 INSTALL RECEIVER INSTALL RUDDER Part must move freely Apply thick CA. Assemble in this order. SYMBOL GUIDE without binding. Remove shaded portion.
- Page 10 Prepare the rudder control linkage and install as shown. INSTALL RUDDER LINKAGE INSTALL SAIL CONTROL Make a knot. Remove shaded portion. Not included. SYMBOL GUIDE...
- Page 11 INSTALL SAIL CONTROL HORN PREPARE JIB SAIL LINES Apply thick CA. Make a knot. Not included. SYMBOL GUIDE...
- Page 12 INSTALL GUIDE RING LINES PREPARE CABIN Drill hole to the specified Repeat this process as Make a knot. SYMBOL GUIDE diameter. many times as specified. Remove shaded portion.
- Page 13 INSTALL CABIN FITTINGS INSTALL KEEL Apply thick CA. Apply 6-min. epoxy. Important information. SYMBOL GUIDE...
- Page 14 PREPARE SAILS INSTALL SAIL LINES Remove shaded portion. Drill hole to the specified Make a knot. SYMBOL GUIDE diameter.
- Page 15 PREPARE MAIN BOOM Prepare the main boom as shown in the diagram. PREPARE UPPER MAIN MAST Important information. Apply thick CA. SYMBOL GUIDE...
- Page 16 PREPARE LOWER MAIN MAST ATTACH MAIN SAIL Wrap the rigging line around the cleat at least 8 times before securing. Attach the main sail as shown. Important information. SYMBOL GUIDE Part must move freely Apply CA. without binding.
- Page 17 ADJUST MAIN SAIL SECURE MAIN SAIL Attach MAIN SAIL to the MAST as shown in the diagrams. Important information. SYMBOL GUIDE Make a knot. Apply CA.
- Page 18 PREPARE JIB BOOM ATTACH JIB SAIL AND BOOM Important information. Apply CA. SYMBOL GUIDE...
- Page 19 INSTALL SUPPORT LINES Prepare the mast rigging according to the diagram. Make a knot. Repeat this process as SYMBOL GUIDE many times as specified.
- Page 20 INSTALL MAST SUPPORT LINES Attach the rigging cord prepared in the previous step as shown. Note the lengths and attachment points of each line. Make a knot. SYMBOL GUIDE...
- Page 21 INSTALL UPPER JIB LINE Install the upper jib rigging by passing the rigging cord through the JIB ANCHOR and tying it to the MAST STOPPER. MAST STOPPER JIB ANCHOR SYMBOL GUIDE Make a knot.
- Page 22 Attach the SNAP RINGS to the INSTALL AND ADJUST MAIN RIGGING DECK FITTINGS. Adjust the sails as shown. SYMBOL GUIDE Important information.
- Page 23 ADJUST SAILS FRONT OF BOAT SAILS CLOSED Use the following SAILS OPENED diagram to adjust the sails. SAIL SAIL CONTROL Both the main and jib sails Both the main and jib sails CONTROL should remain open 5° should open to around when fully closed.
- Page 24 PLACE DECALS • Apply numbered decals in the positions shown. • Decal numbers in parentheses are placed on the opposite side. • Decals without numbers can be placed anywhere.
- Page 25 MAST ADJUSTMENT A sailboat can be set up so that it has a tendency to either turn into the wind (weather helm) or out of the wind (lee helm). Both properties can be changed by adjusting the rigging. It is suggested to adjust for a "weather helm"...
- Page 26 DIRECTIONAL SAILING WIND DIRECTION CLOSED CLOSED HAUL HAUL ABEAM ABEAM QUARTER QUARTER RUNNING Starboard Track: Sails Port Track: Sails are on the right of the hull. are on the left of the hull.
- Page 27 If you have followed all of the previous instructions and find Your Seabreeze 600 will often take on a little water, everything to be operating properly, your Seabreeze 600 should especially when running in rough water or when making now be ready to run! Here are the procedures that should be very tight turns.
Need help?
Do you have a question about the Seabreeze 600 and is the answer not in the manual?
Questions and answers