Table of Contents
Advertisement
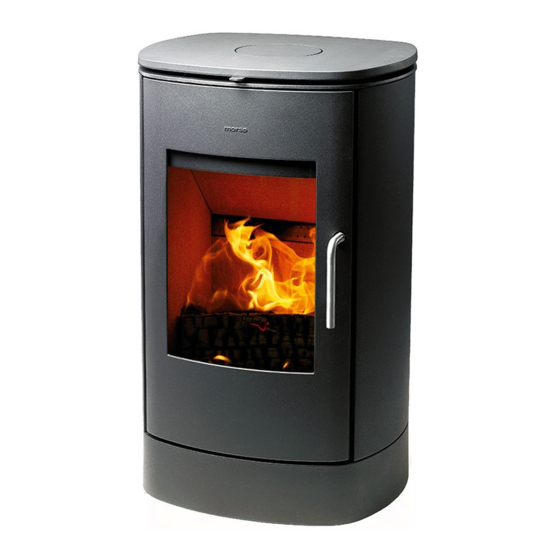
Installation and Operating Instructions
8100 series
For use in North America
Read this entire manual before you install and use your new room heater. If this room heater is
not properly installed, a house fire may result. To reduce the risk of fire, follow the installation
instructions. Failure to follow instructions may result in property damage, bodily injury, or
even death.
Contact local building officials about restrictions and installation/inspection-requirements
in your area.
Save these instructions
MORSØ JERNSTØBERI A/S . DK-7900 NYKØBING MORS
E-Mail: stoves@morsoe.com · Website: www.morsoe.com
A French version of the manual can be downloaded at www.morsona.com
1
Advertisement
Table of Contents


Need help?
Do you have a question about the 8140 and is the answer not in the manual?
Questions and answers