
Related Manuals for Kramer VP-425


Summary of Contents for Kramer VP-425
-
Page 1: User Manual
K R A ME R E LE CT R O N IC S L T D . USER MANUAL MODEL: VP-425 PC / Component to HDMI Scaler P/N: 2900-300111 Rev 2... -
Page 3: Table Of Contents
Connecting the VP-425 PC / Component to HDMI Scaler Controlling the VP-425 Controlling via the Front Panel Buttons Using the OSD Menu Technical Specifications Figures Figure 1: VP-425 PC / Component to HDMI Scaler Figure 2: Connecting the VP-425 PC / Component to HDMI Scaler VP-425 – Contents... -
Page 4: Introduction
Room Connectivity; GROUP 10: Accessories and Rack Adapters and GROUP 11: Sierra Video Products. Congratulations on purchasing your Kramer VP-425 PC / Component to HDMI Scaler, which is designed to let you control an A/V system with ease, in a multimedia classroom or conference room. -
Page 5: Getting Started
• Avoid interference from neighboring electrical appliances that may adversely influence signal quality • Position your Kramer VP-425 away from moisture, excessive sunlight and dust Caution: No operator serviceable parts inside the unit Warning: Use only the Kramer Electronics input power wall... -
Page 6: Overview
• An external 5V DC power source, making it suitable for field operation You can control your VP-425 directly via the front panel push buttons and the on-screen display (OSD). The VP-425 is housed in a compact MegaTOOLS™ enclosure, letting 2 units to be rack mounted side-by-side in a 1U rack space with the optional RK-T2B universal rack adapter. -
Page 7: About Hdmi
It delivers the maximum high-definition image and sound quality in use today. Note that Kramer Electronics Limited is an HDMI Adopter and an HDCP Licensee. -
Page 8: About Hdcp
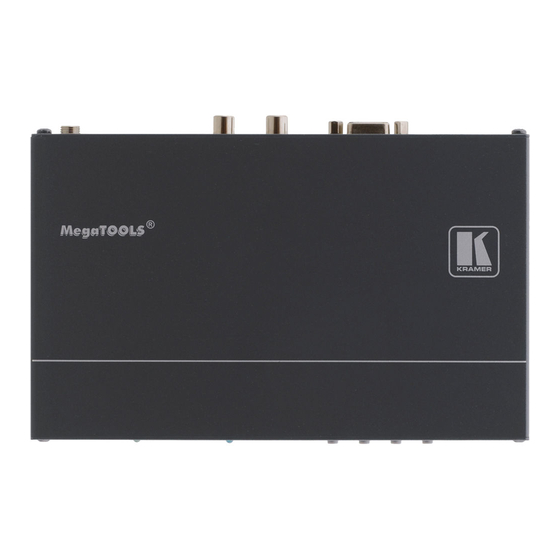
To protect copyright holders (such as movie studios) from having their programs copied and shared, the HDCP standard provides for the secure and encrypted transmission of digital signals. D efining the VP-425 PC / Component to HDMI Scaler Figure 1: VP-425 PC / Component to HDMI Scaler Feature... -
Page 9: Connecting The Vp-425 Pc / Component To Hdmi Scaler
3. Connect the HDMI OUT 15-pin HD connector to an HDMI acceptor (for example, an LCD display). 4. Connect the 5V DC power adapter to the power socket and connect the adapter to the mains electricity (not shown in Figure VP-425 - Connecting the VP-425 PC / Component to HDMI Scaler... -
Page 10: Figure 2: Connecting The Vp-425 Pc / Component To Hdmi Scaler
Figure 2: Connecting the VP-425 PC / Component to HDMI Scaler VP-425 – Connecting the VP-425 PC / Component to HDMI Scaler... -
Page 11: Controlling The Vp-425
The front panel buttons (see Section 5.1) • The OSD menu (see Section 5.2) Controlling via the Front Panel Buttons The VP-425 includes the following front panel buttons: • MENU, ENTER, -, and + • FREEZE • RESET TO XGA/720p Using the OSD Menu Press the menu button to enter or close the OSD menu. - Page 12 5. Press ENTER to set the value. The contrast value parameter changes back to white. 6. To return to normal operation, highlight EXIT and press ENTER; press MENU; or wait until the menu times out. VP-425 – Controlling the VP-425...
-
Page 13: The Main Menu
To reset to 720p press the – and MENU buttons simultaneously for about 2 seconds INFORMATION Displays the input and output resolution (via the INFO display) the SINK connector type and model, the native resolutions and the software version EXIT Select to exit the menu VP-425 - Controlling the VP-425... - Page 14 Select the information shown on the screen during operation: ON - the information is shown permanently OFF - the information is not shown INFO - the information is shown for the time period set in INFO. TIMEOUT following any change in the resolution VP-425 – Controlling the VP-425...
-
Page 15: Technical Specifications
18.8cm x 11.4cm x 2.45cm (7.4” x 4.5” x 0.98”) W, D, H WEIGHT: 0.66kg (1.45lbs) approx. ACCESSORIES: Power supply OPTIONS RK-T2B 19" rack adapter Specifications are subject to change without notice Go to our Web site at http://www.kramerelectronics.com to access the list of resolutions VP-425 - Technical Specifications... - Page 16 VP-425...
- Page 17 For the latest information on our products and a list of Kramer distributors, visit our Web site where updates to this user manual may be found. We welcome your questions, comments, and feedback. Web site: www.kramerelectronics.com E-mail: info@kramerel.com SAFETY WARNING...
Need help?
Do you have a question about the VP-425 and is the answer not in the manual?
Questions and answers