Table of Contents
Advertisement
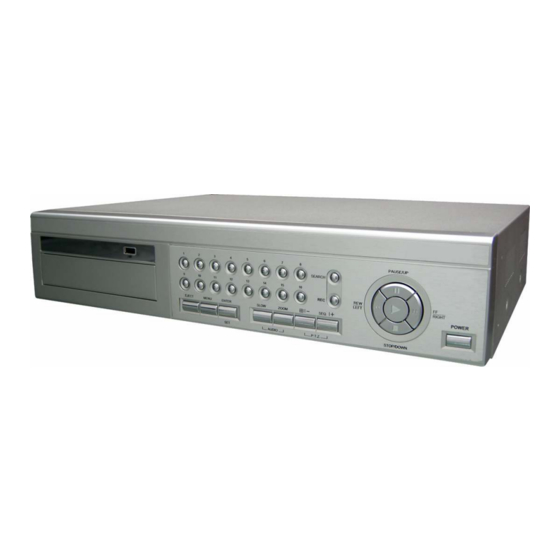
208Z
HIGH-END SERIES
ROHS AND WEEE COMPLIANCE
All lead-free products offered by the company comply with the requirements of the European law on
the Restriction of Hazardous Substances (RoHS) directive, which means our manufacture processes
and products are strictly "lead-free" and without the hazardous substances cited in the directive.
The crossed-out wheeled bin mark symbolizes that within the European Union the product must be
collected separately at the product end-of-life. This applies to your product and any peripherals
marked with this symbol. Do not dispose of these products as unsorted municipal waste.
715ZC, 717ZC / 715ZD, 717ZD_QUICK / 715Z, 717Z_V1.7
Advertisement
Table of Contents

Subscribe to Our Youtube Channel
Related Manuals for Avtech AVD715ZC


Summary of Contents for Avtech AVD715ZC
- Page 1 208Z HIGH-END SERIES ROHS AND WEEE COMPLIANCE All lead-free products offered by the company comply with the requirements of the European law on the Restriction of Hazardous Substances (RoHS) directive, which means our manufacture processes and products are strictly “lead-free” and without the hazardous substances cited in the directive. The crossed-out wheeled bin mark symbolizes that within the European Union the product must be collected separately at the product end-of-life.
-
Page 2: Product Description
QUICK INSTALLATION 1. OVERVIEW 1.1 Product Description With the high storage capacity feature, this MPEG-4 DVR model is designed to accommodate up to 3 HDDs, or accommodate 2 HDDs and connect 1 independent disk array depending on your needs. To quickly backup, a CD or DVD writer (optional) and USB interface are built in for your choices except for network backup. -
Page 3: Setup And Connections
QUICK INSTALLATION 3. SETUP AND CONNECTIONS 3.1 Install HDD Carefully follow the steps below to ensure correct HDD installation. Note: The PCB side of the HDD must face upward, shown as the picture below. Step 1: Loosen the screws on the upper cover and open the upper cover of the DVR Step 2: Screw out the HDD bracket. -
Page 4: Normal Camera Connection
QUICK INSTALLATION 3.2 Camera Connection The cameras must be connected and power-supplied before the DVR is turned on. For detailed DVR video input / output ports, please refer to section “2. REAR PANELS” at page 1. For detailed external I/O port description, please refer to the section “5. -
Page 5: External Device Connections (Optional)
QUICK INSTALLATION 3.3 External Device Connections (Optional) 3.3.1 VGA Converter This optional peripheral (VGA Converter) allows your DVR to have VGA output function. For the connection method, please refer to the following figure: 3.3.2 Independent Disk Array For the connected IDA to be correctly detected by your DVR, please don’t install HDD in the “HDD3” position (For connection details, please refer to "3.1 Install HDD"... -
Page 6: Power Setup
QUICK INSTALLATION 3.4 Power Setup This device should be operated only with the type of power source indicated on the manufacturer’s label. Connect the indicated AC power cord to the power adapter, and plug into an electrical outlet. “POWER” LED will be on as red. Press “POWER”... -
Page 7: Ddns Apply
QUICK INSTALLATION Install the supplied AP software on your NB/PC. Then, log into the DVR with the supplied AP software for the following default DVR settings. ‧ The DVR default IP address: 192.168.1.10 ‧ The DVR default account / password: admin ‧... - Page 8 QUICK INSTALLATION ‧ Then, you will see the screen “Account Created”, and Dyndns will email the instructions to your specified E-mail address for enabling your account. You must complete the procedure according to the instructions in the mail. That is to must visit the confirmation address within 48 hours of the time that the e-mail was sent to complete the account creation process.
- Page 9 QUICK INSTALLATION ‧ Click ”Add Host Services”. ‧ Click ”Add Dynamic DNS Host”. ‧ Fill in and choose the desired host name. Page 8...
- Page 10 QUICK INSTALLATION ‧ The host name is created. You will be connected to the corresponding IP address whenever you enter this hostname. 3.6.3 Dynamic IP - - - - PPPOE 1) Build a Local Area Network (LAN) between DVR and PC/NB with network cable: Your NB/PC and DVR must be under the same network domain to build the area network.
- Page 11 QUICK INSTALLATION 4) Login your DVR via an Ethernet or dial-up network.: After setup the network information of the DVR, you can type DDNS host name and default user name and password in the supplied AP software login page to log into your DVR remotely. 3.6.4 Dynamic IP -...
-
Page 12: Password And User Name Setting
QUICK INSTALLATION 3) After setting, please press “APPLY” button to confirm and finish the setting. 4) Login your DVR via an Ethernet or dial-up network: After setup the network information of the DVR, you can type DDNS host name and default user name and password in the supplied AP software login page to log into your DVR remotely. - Page 13 QUICK INSTALLATION 4. RECORDING This device offers three recording modes: manual record, event record and timer record. If the power is off accidentally, the recorded video data will not be lost and is safely stored in the HDD. The device will return to the original recording status after the power is on again.
-
Page 14: Pin Configuration
5. PIN CONFIGURATION When the magnetic contact is opened, the alarm will be triggered and the recording is on. At the same time, COM connects with NO and the siren with strobe starts wailing and flashing. NOTE: Please go to MENU -> ADVANCE -> DETECTION -> DETECTION SETUP, and set ALARM to LOW on the local machine. - Page 15 6. MENU TREE Page 14...
Need help?
Do you have a question about the AVD715ZC and is the answer not in the manual?
Questions and answers