Table of Contents
Advertisement
Quick Links
Advertisement
Table of Contents

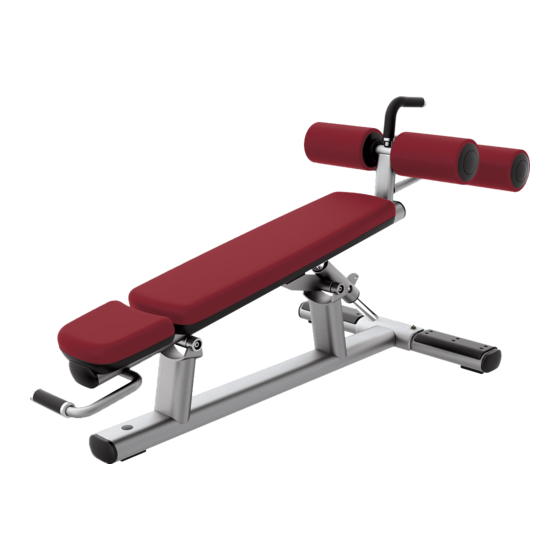
Summary of Contents for Life Fitness Signature Signature Adjustable Decline Bench
- Page 1 Signature Adjustable Decline Bench Owners Manual...
- Page 2 Safety & Warranty It is the sole responsibility of the purchaser of LIFE FITNESS products to read the owner's manual, warning labels and instruct all individuals, whether they are the end user or supervising personnel on proper usage of the equipment.
- Page 3 FOUND ON THE FRAME FOUND AT MOVING PARTS...
- Page 4 90 days on upholstery and any items not specified. Life Fitness will ship to you at our expense, any repair parts covered by the warranty as stated. If the Product is deemed not repairable by Life Fitness authorized personnel, we reserve the right to replace any or all of the Product at our option within the stated warranty period.
- Page 5 4. Insure the Product, and 5. Include a letter explaining the defect or problem and a copy of your proof of purchase if you believe the service is covered by warranty Life Fitness World Headquarters Attn: CSS Help Desk 5100 N. River Rd.
-
Page 6: Assembly Instructions
Signature Adjustable Decline Bench Assembly Instructions Item Description Roller Pad Fender Washer M10 X 25mm Bolt Roller Pad Cap Head Pad Back Pad Back Frame M10 X 35mm Bolt 3/8” SAE Washer Base Support Frame Base Frame M10 Nylock Nut Seat Adj. - Page 7 1. Slide one ROLLER PAD (1) onto one PAD SHAFT (A) until it contacts the pre-installed SHAFT COLLAR (B). Secure the ROLLER PAD using one FENDER WASHER (2) and one M10 X 25mm BOLT (3) as shown. Tighten the BOLT securely. Insert one ROLLER PAD CAP (4) onto the ROLLER PAD as shown.
- Page 8 3/8" SAE WASHERS (9) as shown. Tighten the BOLTS securely. 7. Install 1" HOLE PLUGS (18) into all open bolt holes. 2007 Life Fitness, a division of Brunswick Corporation. All rights reserved. © Life Fitness is a registered trademark of Brunswick Corporation.


Need help?
Do you have a question about the Signature Signature Adjustable Decline Bench and is the answer not in the manual?
Questions and answers