Advertisement
Table of Contents
Advertisement
Table of Contents

Related Manuals for Life Fitness Signature Signature Smith Machine


Summary of Contents for Life Fitness Signature Signature Smith Machine
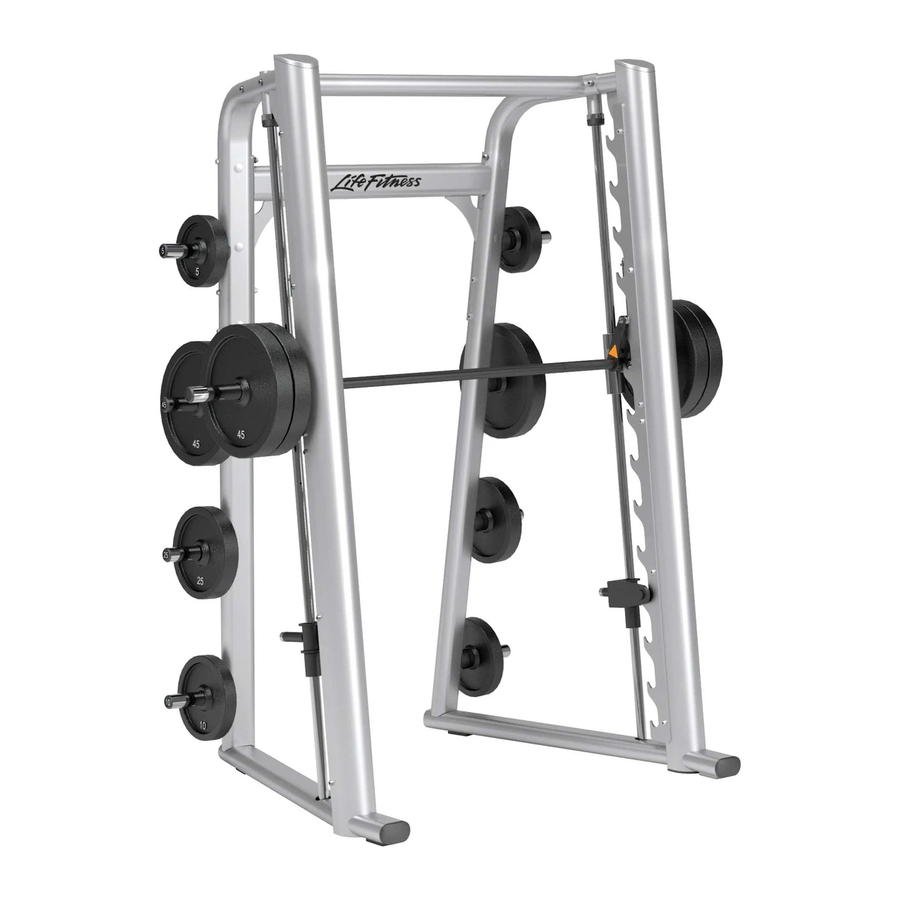
- Page 1 Signature Smith Machine Owners Manual...
-
Page 2: Safety And Warranty
CHECK FOR DAMAGED PARTS DO NOT use or permit the use of any equipment that is damaged or has worn or broken parts. For all LIFE FITNESS equipment, use only replacement parts supplied by LIFE FITNESS. MAINTAIN LABELS AND NAMEPLATES: Do not remove labels for any reason. Labels contain important information. If unreadable or missing, contact LIFE FITNESS for a replacement. -
Page 4: Limited Warranty
90 days on upholstery and any items not specified (including labor). Life Fitness will ship to you at our expense, any repair parts covered by the warranty as stated. If the Product is deemed not repairable by Life Fitness authorized personnel, we reserve the right to replace any part or the entire Product at our option within the stated warranty period. -
Page 5: How To Get Parts & Service
Insure the Product, and Include a letter explaining the defect or problem and a copy of your proof of purchase if you believe the service is covered by warranty Life Fitness World Headquarters Attn: CSS Help Desk 5100 N. River Rd. - Page 6 The grips are retained with aluminum collars, which eliminates the tendency of the grips to slide off the handle. 5. Equipment Anchoring: All machines have holes in the feet, these allow easy anchoring to the floor. Life Fitness recommends that all machines be anchored to the floor to minimize the possibility of tipping.
-
Page 7: Tools Required
Signature Smith Machine Assembly Instructions Item Description Left Side Frame Right Side Frame Back Brace M10 X 130mm Bolt 3/8" Washer 1/4" Spacer (.82” OD) M10 Socket Head Nut M10 X 25mm Bolt 1" Hole Plug M10 Hex Nylock Nut Front Brace Linear Bearing Left Carriage... -
Page 8: Side Frame
Signature Smith Machine Assembly Instructions BE SURE TO SELECT A LEVEL LOCATION FOR ASSEMBLY. THE SIGNATURE SMITH MACHINE MUST REST LEVEL AND IN COMPLETE CONTACT WITH THE FLOOR. 1. With the help of another person, erect the LEFT and RIGHT SIDE FRAMES (1 &... - Page 9 4. Insert two LINEAR BEARINGS (12) into the ends of the RIGHT CARRIAGE (15), secure the LINEAR BEARINGS with one SNAP RING (14) at each bearing. NOTE: Leave the cardboard sleeve in the bottom LINEAR BEARING, remove the cardboard sleeve from top bearing. Repeat the procedure on the LEFT CARRIAGE (13).
- Page 10 Signature Smith Machine Assembly Instructions 6. Loosen the four set screws on the pre-assembled 1.25" SHAFT COLLARS (C) located at the top of the SIDE FRAMES. 7. With the help of another person and the LIFT BAR ASSEMBLY (D) oriented as shown, position it near the bottom of the GUIDE RODS (E).
- Page 11 When all of the above criteria have been met, tighten the JAM NUT (18) and continue to complete the installation. 15. Install 1" HOLE PLUGS (9) into all open bolt holes. 16. Cycle the machine to ensure smooth LIFT BAR operation up and down. Counterweight Cable Adjustment If the CABLE is still too tight after maximum ROD END adjustment, the CABLE END on the COUNTER- WEIGHT side will need to be adjusted.
- Page 12 For parts and service call Customer Support Services at (800)351-3737 or (847)451-0036, Monday through Friday 8:00 a.m. to 6:00 p.m. Central Standard Time. Please have available your name, address and serial number of your product. © 2007 Life Fitness, a division of Brunswick Corporation. All rights reserved. Life Fitness is a registered trademark of Brunswick Corporation. 10/12/07...
Need help?
Do you have a question about the Signature Signature Smith Machine and is the answer not in the manual?
Questions and answers