Table of Contents
Advertisement
Quick Links
Download this manual
See also:
Owner's Manual
Advertisement
Table of Contents

Related Manuals for moon 860A Evolution Series


Summary of Contents for moon 860A Evolution Series
- Page 1 860A Evolution Series Dual-mono Power Amplifier Owner’s Manual...
- Page 2 860A Evolution Series...
-
Page 3: Important Safety Instructions
Owner’s Manual Important Safety Instructions Read these instructions. receptacles, and the point where they exit from the apparatus. Unplug mains cord during Keep these instructions. transportation. Heed all warnings. 11. Only use attachments and accessories specified by Follow all instructions. the manufacturer. - Page 4 MOON 860A, immediately disconnect it from component. To completely disconnect this the AC mains and take it to your MOON dealer apparatus from the AC mains, disconnect the for a complete check-up. power supply cord plug from the AC receptacle.
-
Page 5: Table Of Contents
Owner’s Manual Table of Contents Introduction Unpacking Installation & Placement Rear Panel Connections Connecting the 860A Balanced Operation Bridged-Mono Operation Operating the 860A Troubleshooting Remote Operation Specifications www.simaudio.com Simaudio Ltd., 1345 Newton Road Boucherville, Québec J4B 5H2 CANADA Date Code: 20150805... -
Page 6: Introduction
RS-232 port for i) full unsolicited bidirectional feedback in custom installation setups and ii) firmware updates. Before setting up your new MOON 860A, we encourage you to please read this manual thoroughly to properly An oversized power supply. -
Page 7: Unpacking
The customized packaging is specially designed to protect the 860A from any potential damage during transit. Please write the serial number of your new MOON 860A in the space provided below for future reference. Serial Number Installation & Placement... -
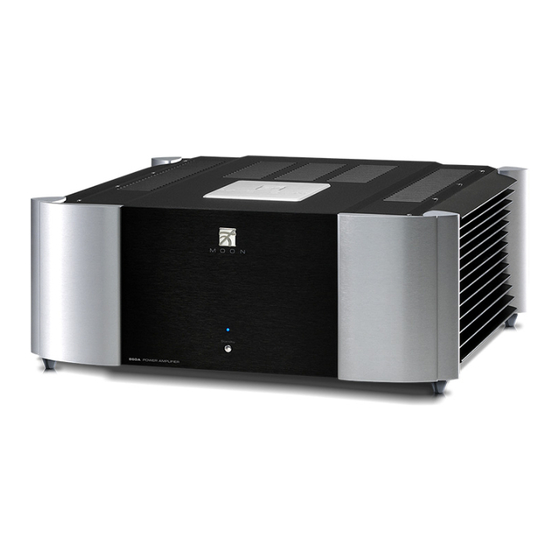
Page 8: Rear Panel Connections
Series Rear Panel Connections Figure 1: Rear panel of MOON 860A The rear panel will look similar to Figure 1 (above). Each channel has one balanced (differential) input on an XLR connector and one unbalanced (single-ended) input on a RCA connector. There is no switch to toggle from balanced mode to single-ended mode. -
Page 9: Connecting The 860A
Connect your speakers, with the cables of your differential power amplifier such as the MOON 860A, choice, to the 860A’s speaker binding posts. Take any noise picked up by the interconnect will be care to respect the polarity (“+”... -
Page 10: Bridged-Mono Operation
Bridged-Mono Operation Speaker From Preamplifier Figure 3: Bridged-Mono operation of the MOON 860A Dual-Mono Amplifier If wish to operate the MOON 860A Dual-Mono Power positive terminal of each output binding post (exactly as in figure 3) for the loudspeaker connection. If you are... -
Page 11: Operating The 860A
Left Channel Over-heating ....LED blinks 4 times Right Channel Over-heating ....LED blinks 5 times Turning on your MOON 860A for the first time Unknown Problem ......... LED blinks 6 times Prior to turning the amplifier on for the first time, make sure that every cable is properly connected to avoid any problems. -
Page 12: Remote Operation
860A Evolution Series Remote Operation Figure 4: Remote Operation with 12V Trigger In figure 4 we have a 740P Preamplifier and 860A amplifier connected together via their respective 12V triggers; The 12V trigger output on the 740P is connected to the 12V trigger input on the 860A (using a 1/8” mini-jack cable). -
Page 13: Specifications
A/AB Input Impedance 47,500Ω Input Sensitivity 1100mV Output Device Type MOON Bipolars – 12 per channel 200 Watts per channel Output Power at 8Ω Output Power at 4Ω 400 Watts per channel Output Power – Bridged Mono at 8Ω 800 Watts... - Page 14 860A Evolution Series...
Need help?
Do you have a question about the 860A Evolution Series and is the answer not in the manual?
Questions and answers