Table of Contents
Advertisement
Quick Links
Advertisement
Table of Contents

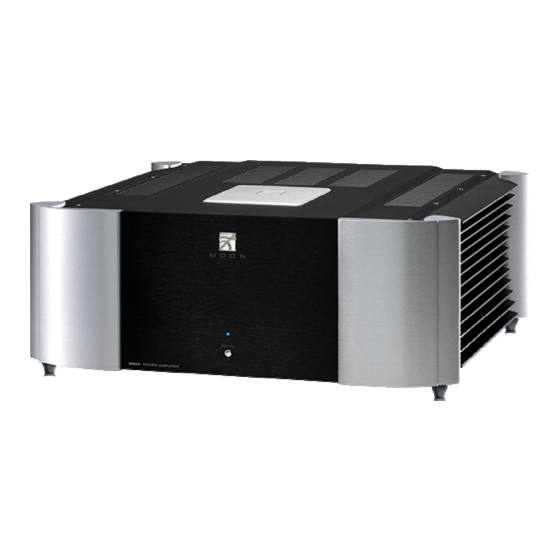
Summary of Contents for moon Evolution 860A
- Page 1 Owner’s Manual Evolution Series 860A Dual-Mono Power Amplifier...
-
Page 3: Important Safety Instructions
860A Dual-Mono Power Amplifier Important Safety Instructions Read these instructions. Keep these instructions. Heed all warnings. Follow all instructions. Do not use this apparatus near water. Clean only with a dry cloth. Do not block ventilation openings. Install in accordance with the manufacturer’s instructions. - Page 4 To prevent shock hazard, all three connections must ALWAYS be used. Connect the MOON 860A only to an AC source of the proper voltage; Both the shipping box and rear panel serial number label will indicate the correct voltage. Use of any other voltage will likely damage the unit and void the warranty AC extension cords are NOT recommended for use with this product.
-
Page 5: Table Of Contents
Table of Contents Introduction ............. 6 Unpacking............7 Installation & Placement ........7 Rear Panel Layout ..........8 Connecting the 860A ......... 9 Balanced Operation ........... 9 Bridged-Mono Operation ........10 Operating the 860A ......... 11 Troubleshooting ..........11 Remote Operation ..........12 Specifications .......... -
Page 6: Introduction
The performance of your 860A will continue to improve during the first 300 Your MOON 860A Dual-Mono Power Amplifier incorporates many significant design features to achieve its “world-class” level of performance. This is an abbreviated list of the more important features: Proprietary “Lynx”... -
Page 7: Unpacking
860A from any potential damage during packaging, storing it in a safe, dry place in case transit. Please write the serial number of your new MOON 860A in the space provided below for future reference. Serial No.: ________________ Installation & Placement... -
Page 8: Rear Panel Layout
860A Dual-Mono Power Amplifier Rear Panel Layout Figure 1: Rear panel of Moon 860A Dual-Mono Amplifier The rear panel will look similar to Figure 1 (above). inputs, you must first remove the factory Each channel has one balanced (differential) input installed “dummy”... -
Page 9: Connecting The 860A
860A directly into a dedicated AC outlet and by warranty. avoid using an extension cord. If you have the time and willingness, consider installing a superior quality AC wall outlet such as a hospital Don’t hesitate to use high quality interconnect... -
Page 10: Bridged-Mono Operation
860A Dual-Mono Power Amplifier Bridged-Mono Operation Figure 3: Bridged-Mono operation of the MOON 860A Dual-Mono Amplifier If wish to operate the MOON 860A Dual-Mono output binding post (exactly as in figure 3) for the Power Amplifier as a monoblock amplifier, it can be loudspeaker connection. -
Page 11: Operating The 860A
(direct current) from any input. If your 860A power amplifier turns itself off or will not power up, there If your 860A still doesn’t power up, turn off the may very well be DC present in one (or more) of the main power switch and check the AC fuse. -
Page 12: Remote Operation
Remote Operation Remote Operation Figure 4: Remote Operation with 12V Trigger In figure 4 we have a 740P Preamplifier and 860A (using a 1/8” mini-jack cable). When you turn on the amplifier connected together via their respective 12V 740P via remote control (or its Standby button), the triggers;... -
Page 13: Specifications
Jack......3.5mm microphone jack Input Impedance ..1kΩ Current Consumption ... 12mA NOTE: If you require the RS-232 codes for your MOON 860A, please contact Simaudio directly by email (service@simaudio.com) or toll-free telephone (877-980-2400). Fuse Replacement: For the 120V version use a 8A fast blow (3AG size).


Need help?
Do you have a question about the Evolution 860A and is the answer not in the manual?
Questions and answers