
Related Manuals for RODE Microphones The Classic II


Summary of Contents for RODE Microphones The Classic II
- Page 1 The Classic II Instruction Guide RØDE STUDIO CONDENSER MICROPHONES...
- Page 2 We know that it will serve you well for many years and provide you with a Performance you will be proud of. The Classic II was developed from the original RØDE Classic, which has itself become the ‘ preferred’ valve microphone of many professional engineers and musicians.
-
Page 3: Specifications
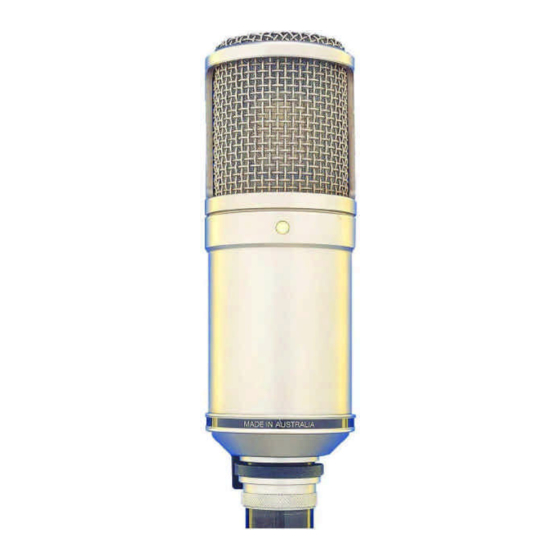
FEATURES: • Valve Preamplifier using the 6072 Twin Triode • New 1” Capsule with Edge-Terminated Gold sputtered Diaphragm • Custom designed JENSEN Transformer • -10dB and –20dB Pads (Switched from Power Supply) • 2 Position High-Pass-Filter (Switched from Power Supply) •... -
Page 4: Power Supply
CLASSIC Microphone ACCESSORIES: Power Supply Mains Power Cable 10m (30’ ) Multicore Cable SM2 Shock Mount Suspension M2 Stand Adaptor Custom Aluminium Flight Case Power Supply (SACLII-PS) (SACLII-SM) Stand Adaptor Flight Case (SACLll-SA) (ZPK014) Multicore Power Cable (SACLll-MC) (SACLll-PL) - Page 5 NOTE: There are NO user-serviceable parts inside the Classic II supply, but there ARE potentially lethal voltages. If the supply does not work correctly, you should consult either the dealer you purchased the microphone from, or a qualified electronic technician. DO NOT under any circumstances open the unit yourself.
- Page 6 Before using the CLASSIC II: • Ensure the classic II has been set to the correct voltage as used in your country. (This will be indicated by the attached label). • The back panel of the CLASSIC II Power5 Supply has a Mains Input Socket which includes a Switch, a Fuse and a Voltage Selector (see below).
- Page 7 Power Supply. Having the white dot on the male plug facing upwards will assist in aligning the pins correctly (see 1). 2. The Classic II can be mounted either in the Shock Mount or the Stand Adaptor. Your choice of Mount should be screwed firmly onto a stable microphone stand.
- Page 8 5. You can now activate the Mains Power Switch, but you should allow several minutes for the Classic II to ‘ warm up’ and stabilize before you begin recording. This slow ‘ warm up’ will extend the life of the valve.
- Page 9 There is an Earth Lift switch on the back of the Classic II Power Supply. (see 3.) Earth Lift Switch This switch enables you to remove an Earth Loop should one occur. An earth loop shows itself as a mains frequency hum when two devices...
- Page 10 NEVER REMOVE THE MAINS EARTH Doing so can have lethal consequences ACTUNG: LEBBENSGEFAHR! ENTFERNE NIEMALS DEN SCHUTZLEITER NON SCOLLEGATE IL FILO DI TERRA Potrebbe essere molto pericoloso per il rischio di scosse elettriche RELIEZ IMPERATIVEMENT L’ ALIMENTATION A LA PRISE TERRE sous risque mortel d’...
-
Page 11: Warranty Service
Warranty Service All RØDE products are warranted for one year from date of purchase and the warranty card should be used to register that purchase. The warranty covers parts and labour that may be required to repair the microphone during the warranty period.
Need help?
Do you have a question about the The Classic II and is the answer not in the manual?
Questions and answers