RODE Microphones NT1-A Instruction Manual
Microphones
Hide thumbs
Also See for NT1-A:
- User manual ,
- Instruction manual (33 pages) ,
- Quick start manual (9 pages)
Advertisement
Quick Links
Advertisement

Subscribe to Our Youtube Channel
Related Manuals for RODE Microphones NT1-A


Summary of Contents for RODE Microphones NT1-A
- Page 1 NT1-A Instruction Manual www.rodemic.com ( EMC, LVD )
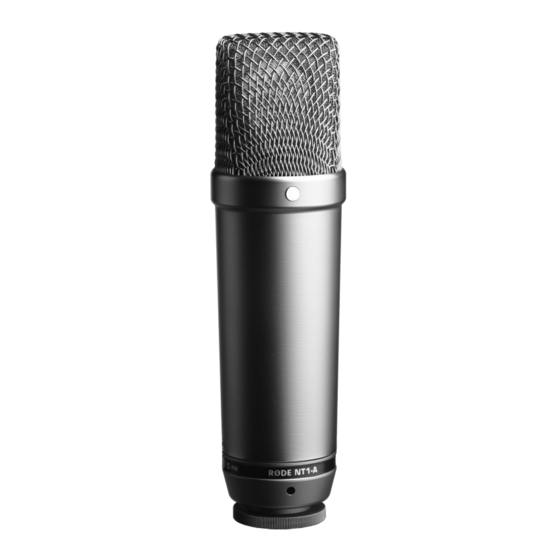
- Page 2 NT1-A studio condenser microphone. We’re proud to say that the NT1-A has become an industry standard - providing the warmth, extended dynamic range, clarity and high SPL capability usually only featured by some of the most expensive microphones.
-
Page 3: Specifications
Specifi cations Acoustic Externally polarised 25mm (1”) Principle: condenser Active JFET impedance converter with Electronics: bipolar output buffer Directional Cardioid Pattern: (see graph) Frequency 20Hz ~ 20,000Hz Range: (see graph) Output 100Ω Impedence: Sensitivity: -31.9dB re 1V/Pa @ 1kHz (25mV/Pa @ 94dB SPL) ±2dB @ 1kHz Equivalent Noise: 5dBA SPL (per IEC651) - Page 4 Specifi cations Frequency Response Polar Response – – – Accessories SM6 shock mount (including studio grade pop shield) Premium XLR cable Microphone sleeve/ dust cover - 4 -...
-
Page 5: Supplying Power
• Connect all cables before applying power to the microphone and never remove the microphone cable while the power is connected. • The NT1-A requires P48 volts or P24 volts phantom power. • If the mixer or preamp does not contain this phantom power requirement, then an external phantom power supply is needed. -
Page 6: Microphone Placement
Microphone Placement • The gold dot on the face of the NT1-A indicates the front of the microphone, and the pick-up area of the cardioid pattern. Please be sure to have the side with the dot facing the sound source you wish to record. - Page 7 Recording vocals • We strongly recommend using the suppled popshield attachment for all vocal recording. This aids in minimising plosive sounds (hard ‘P’, ‘B’, ‘T’ and ‘K’ sounds) that produce a sudden jet of air which can cause the capsule to overload and produce a ‘popping’...
- Page 8 Recording electric guitar/bass • To mic up a guitar or bass amplifi er (as opposed to direct input of that instrument) a microphone may be placed close to the loudspeaker of the amplifi er, directed slightly to the side (off-axis) of the speaker. •...
- Page 9 (like the NT5 or NT55) close to the guitar, with a large capsule microphone like the NT1-A at a distance of around a metre. The individually captured sounds recorded by each microphone can then be mixed as desired.
- Page 10 Recording drums • There are various ways to record drum kits. Single mics ‘overhead’, multiple mics (X/Y or spaced pair) or multiple mics close to individual drums and cymbals (‘close miking’). • To record a kit using a single microphone we suggest that you begin by placing the mic above the direct centre of the kit at the same height as the kit is wide (see below), with the front of the...
- Page 11 Storage • After use the NT1-A should be removed from its shock mount, wiped with a dry, soft cloth and placed in the supplied protective sleeve/dust cover. • Alternatively if the mic is being used regularly, we strongly suggest you cover the mic with the supplied protective sleeve/dust cover.
-
Page 12: Warranty
Warranty microphones are warranted for one year from date of purchase. You can extend that to a full ten years if you register online at www.rodemic.com. The warranty covers parts and labour that may be required to repair the microphone during the warranty period.
Need help?
Do you have a question about the NT1-A and is the answer not in the manual?
Questions and answers