RODE Microphones VideoMic Instruction Manual
Hide thumbs
Also See for VideoMic:
- Instruction manual (12 pages) ,
- Quick start manual (2 pages) ,
- Instruction manual (7 pages)
Advertisement
Quick Links
Advertisement

Subscribe to Our Youtube Channel
Related Manuals for RODE Microphones VideoMic


Summary of Contents for RODE Microphones VideoMic
- Page 1 VideoMic Instruction Manual www.rodemic.com ( EMC, LVD ) N3594...
- Page 2 The VideoMic is a very special product. Like many great inventions, it is the result of a need that was not being met. I bought a high quality MiniDV camera, and went looking for a shotgun mic.
-
Page 3: Specifications
Specifi cations Line plus Gradient Acoustic Principle: Super-Cardioid Directional Pattern: 40Hz ~ 20,000Hz Frequency selectable High Pass Filter Range: (HPF) @ 80Hz 12dB/octave (see graph) 200Ω Output Impedence: -38dB re 1V/Pa @ 1kHz Sensitivity: (12.6mV/Pa @ 94dB SPL) ±2dB @ 1kHz Equivalent Noise: 20dBA SPL (per IEC651) 114dB (per IEC651) -
Page 4: Frequency Response
Specifi cations Frequency Response 20 Hz 1000 10 000 20 000 Polar Responses 0˚ +5.0 -2.0 -4.0 -6.0 -8.0 -10.0 -12.0 -14.0 -16.0 -18.0 -20.0 -22.0 -24.0 270˚ -25.0 90˚ dB rel. 1V/Pa 180˚ Super-Cardioid - 250Hz 0˚ +5.0 -2.0 -4.0 -6.0 -8.0... - Page 5 (ANSI:1604A or IEC:6LR61). We recommend you use either Alkaline or Lithium batteries for the longest continuous operating time. • The VideoMic will run continuously for over 100 hrs with a good quality Alkaline battery. It is however important to understand that battery performance can vary dramatically with ambient temperature and shelf life.
-
Page 6: Installing The Battery
Installing the battery • To install the battery, simply place your thumb on the ribbed section of the cover, in front of the gold circle (fi gure 1). Figure 1 - Sliding open the battery cover Press down gently and slide back the cover until it is fully removed (fi... - Page 7 (fi gure 5). Now turn the knurled ring in a clockwise direction, gently tightening it so the VideoMic base is seated fi rmly in place. The actual microphone will exhibit - 7 -...
- Page 8 (fi gure 6). Figure 6 - Correctly mounting the cable • The VideoMic delivers a mic level signal to the video camera via a stereo mini jack audio lead. The mini jack should be connected to the camera via the camera’s “Audio-In”...
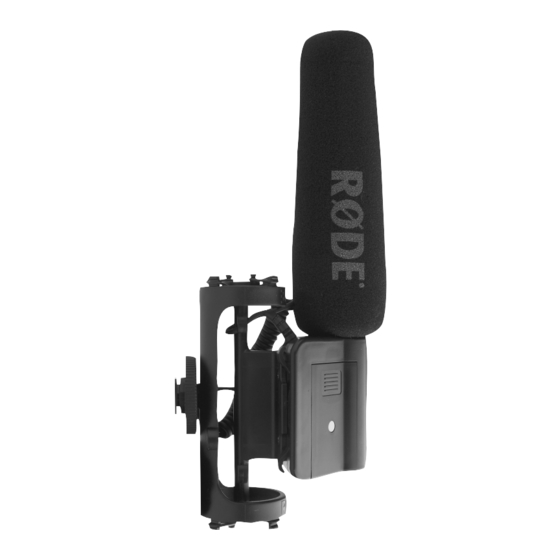
- Page 9 VideoMic controls • Now that you have the VideoMic securely fastened to your camera and the audio output lead connected, you can switch the mic on. On/Off & High Pass Filter Switch • The power/HPF switch is located on the end of the mic body (fi...
- Page 10 PAD Switch • The VideoMic comes with a three position PAD switch which is located in the battery compartment (fi gure 9). Figure 9 - Locating the PAD Switch...
-
Page 11: General Operation
• Regular use of the VideoMic will provide you with better results as you become more familiar with its sound and pick-up characteristics. - Page 12 Warranty products are warranted for one year from date of purchase. You can extend that to a full ten years if you register online at www.rodemic.com. The warranty covers parts and labour that may be required to repair the microphone during the warranty period.
Need help?
Do you have a question about the VideoMic and is the answer not in the manual?
Questions and answers