Advertisement
Quick Links
Advertisement

Subscribe to Our Youtube Channel
Related Manuals for RODE Microphones NT3


Summary of Contents for RODE Microphones NT3
- Page 1 Instruction Manual www.rodemic.com ( EMC, LVD )
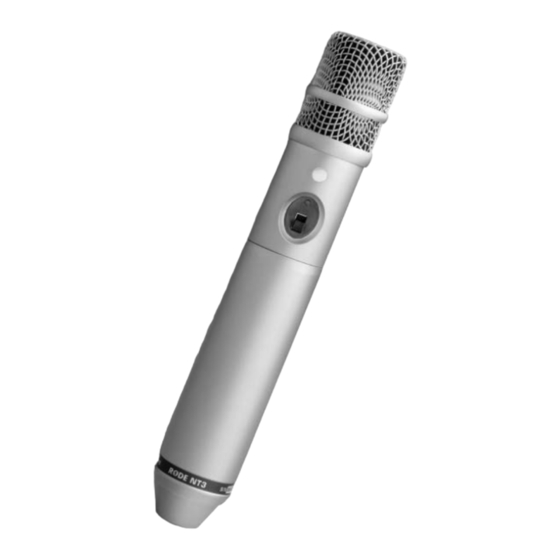
- Page 2 Introduction Thank you for investing in the NT3 studio condenser microphone. Stylish and modern, the NT3 is a studio and location workhorse. With both P48 phantom power and internal 9V battery operation, this condenser microphone is at home anywhere. Intended for studio, stage and location work, this...
-
Page 3: Specifications
Specifi cations Acoustic Externally polarised 19mm (¾”) Principle: condenser Active JFET impedance converter Electronics: with bipolar output buffer Directional Cardioid Pattern: (see graph) Frequency 20Hz ~ 20,000Hz Range: (see graph) Output 200Ω Impedence: Sensitivity: -39dB re 1V/Pa @ 1kHz (12mV/Pa @ 94dB SPL) ±2dB @ 1kHz Equivalent Noise: <16dBA SPL (per IEC651) - Page 4 Specifi cations Frequency Response Polar Response – – – Accessories Wind shield Zip pouch Stand mount with 3/8” - 5/8” thread adaptor - 4 -...
- Page 5 • Designed & manufactured in Australia • Full 10 year warranty* Powering the NT3 • The NT3 can be powered by either phantom power or 9 volt battery (see specifi cations). • Most professional mixing consoles include a 48v phantom power supply, however in the case that one does not a separate power supply may be used.
- Page 6 • When using NT3 on battery power, it is a good idea to keep the microphone in the off position when not in use. This will save battery power and increase the battery life.
- Page 7 To fi t the battery: 1. Unscrew the lower section of the body to reveal the battery cavity. Unscrewing NT3 body 2. Flip open the battery clip so that it doesn’t interfere with loading the battery. 3. Insert the battery into the cavity, inserting the bottom fi...
- Page 8 Using the NT3 • A stand mount clip (RM3) is included with your NT3, and should be used to connect the NT3 fi rmly and safely to a stable microphone stand. • Always use a high quality microphone cable and ensure that it is wired Pin 1 screen, Pin 2 (+), Pin 3 (-).
- Page 9 (as above) then EQ and effects such as reverb or indeed any signal processing can be used for enhancement, but should be used sparingly. • When used as a vocal mic, the NT3 will be potentially subject to moisture, which should be avoided when using condenser microphones. We recommend the use of the included windshield to minimise any moisture build up.
- Page 10 • The low frequency of the NT3 extends to below 20Hz which is an attractive quality for most recording situations, however in a live situation you may wish to reduce these frequencies when using it as a vocal mic. If you have a high pass fi lter/bass roll-off then switch it in.
- Page 11 Storage • After use the NT3 should be removed from its shock mount, wiped with a dry, soft cloth and placed in its protective zip pouch with the supplied moisture-absorbent crystals. • Be sure to place the moisture-absorbent crystals (supplied) at the head of the microphone(s), so as to absorb any moisture present.
-
Page 12: Warranty
Warranty microphones are warranted for one year from date of purchase. You can extend that to a full ten years if you register the microphone online at www.rodemic.com. The warranty covers parts and labour that may be required to repair the microphone during the warranty period.
Need help?
Do you have a question about the NT3 and is the answer not in the manual?
Questions and answers