
Summary of Contents for La Germania LUG03-90-S
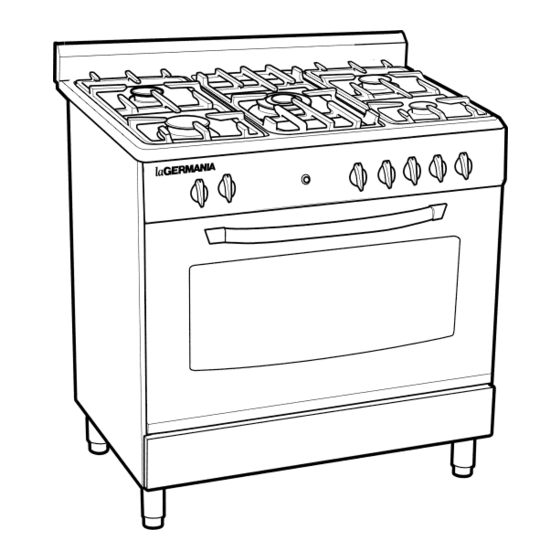
- Page 1 LUG03-90-S MODEL LUG03-90-S UPRIGHT COOKER Installation instructions This cooker is approved for use with Natural and Propane gases Part No: W1435-1 User instructions Leave instructions with the owner Revision Q- 2008...
-
Page 2: Table Of Contents
Contents Contents Important information ❍ Introducing your new cooker ❍ Notes on disposal ❍ Before connecting your new cooker ❍ Safety considerations Installation instructions ❍ Statutory regulations ❍ Gas supply ❍ Electrical supply ❍ Instructions ❍ Vertical clearances ❍ Overhead clearances ❍... - Page 3 Natural Gas data plate Oven/grill operation 15-17 ❍ Accessories ❍ First time use ❍ Cooling fan ❍ Shelf positions ❍ Grill operation ❍ Thermostat operation ❍ Automatic ignition ❍ Manual ignition ❍ Cooking tips Cooking chart 18-19 LP gas data plate Trouble shooting guide 20-21 Cleaning...
-
Page 4: Important Information
Service information Important information Introducing your new cooker Wiring diagrams We thank you and congratulate you on your choice. This carefully designed product, manufactured with the highest quality materials, has been carefully tested to satisfy all your cooking demands. We therefore request that you read and follow these easy instructions which will allow you to obtain excellent results right from the start. -
Page 5: Safety Considerations
To replace the oven door outer glass panel diagram provided, and should be entrusted to a licensed 1. Remove oven door as per heading ‘To remove the oven door’. specialist. In the event of a damage that occurs as a result of improper connection, the warranty will be void. -
Page 6: Installation Instructions
Installation instructions Statutory regulations To replace electronic ignition module This appliance shall be installed in accordance with the Follow procedure described as per the heading ‘Access to under manufacturer’s installation instructions, local gas fitting hob area’. regulations, municipal building codes, electrical wiring 1. -
Page 7: Side Clearances To Vertical Surfaces
6. Feed the thermostat bulb down the rear cavity and through Side clearances to vertical surface:- the access hole in the rear oven wall. Clip bulb into the two If the distance measured from the periphery of the nearest burner retaining brackets. -
Page 8: Electric & Gas Connection
Electric & gas connection combination. Burner flames should be clear blue, with no yellow Electric connection tipping. If the burners show any abnormality check that burner The electric lead and plug are for connection onto a 10 Amp heads are correctly located. If satisfactory performance can not socket. -
Page 9: Energy Consumption
Service instructions Always disconnect the gas supply and power before servicing Energy consumption the cooker. Burners Gas type Pressure (kPa) Injector (mm) Mj/hr Watts After service always check connections for gas soundness at connections with soapy water. NEVER use a naked flame to check Small Natural 0.90... -
Page 10: Support Legs
Support legs The cooker is fitted with four transit supports. (One for each Cleaning oven glass door corner). The oven door may be removed for cleaning. To remove the oven door follow these steps: 1. Open the door fully. 2. Lift the two levers forward as shown in figure below left. 3. -
Page 11: Anti-Tilt Restraint
Cleaning Anti -tilt restraint Cleaning hob ❍ Once the appliance is cold, clean it with a sponge and soapy water. Remove any spills immediately. This will avoid unnecessary effort later. ❍ Allow burners and trivets to cool down before cleaning them. ❍... -
Page 12: Upstand Installation
Upstand installation The upstand is located at the top rear of the cooker The upstand is fixed along the rear of the cooker hob. Fixing Food cooking too quickly Oven temperature set too high Check oven chart, lower temperature points for locating the upstand are at either end of the hob. Pan used larger than recipe required Allow less time or use smaller pan Thermostat too high - faulty... -
Page 13: Cooktop Operation
Cooktop operation Trouble shooting guide Problem Possible cause Action Control panel lay-out For cookers fitted with the glass lid please This model is equiped with electronic ignition to all burners. Burners don’t light Power to appliance turned off Turn on power supply note that the lid must always be in the open Oven burner difficult... -
Page 14: Cooktop Burners Adjustment
1. To operate the individual cooktop burners depress the appropriate control knob and turn anti-clockwise to the spark ignition symbol. Push to activate the electronic ignition. 2. Once the flame is established turn control kob to the desired Custard tart - in glass or metal 20 mins on gas mark 7 then reduce setting. -
Page 15: Contents
Cooking chart Oven/grill operation Thermostat Shelf Approx. cooking time Accessories For cookers fitted with setting position and comment the glass lid please ❍ 1 universal pan and wire grid note that the lid must ❍ 2 wire shelves always be in the open Biscuits ❍... -
Page 16: Thermostat Operation
seconds. This allows time for the flame control to operate The oven door must be closed when operating the grill. and the flame to remain alight. 1. Turn the oven/grill combination control knob clock-wise to 3. If the flame extinguishes wait 5 minutes for the unburnt gas to the grill position.
Need help?
Do you have a question about the LUG03-90-S and is the answer not in the manual?
Questions and answers