Morso 1412 Instructions For Installation And Use Manual
Cast-iron stoves
Hide thumbs
Also See for 1412:
- Supplementary installation & operation instructions (12 pages) ,
- Manual (2 pages)
Advertisement
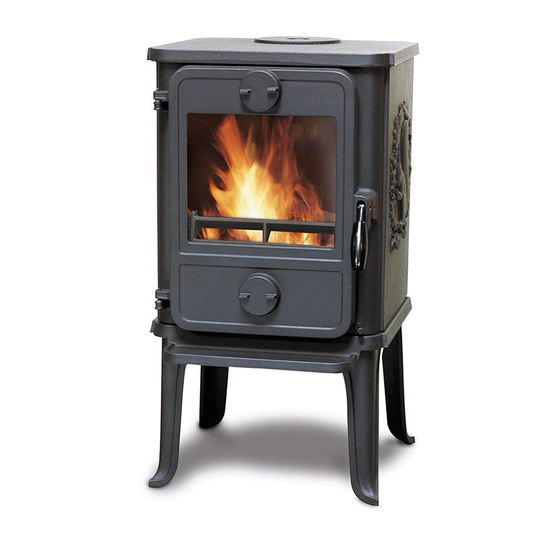
Instructions for Installation and Use
1412, 1442 & 1452
EN 13240
(74,6% efficiency)
Distributed by: Morsø UK
Valley Drive · Swift Valley · Rugby, Warks CV21 1TW · England
MORSØ JERNSTØBERI A/S . DK-7900 NYKØBING MORS
MORSØ JERNSTØBERI A/S . DK-7900 NYKØBING MORS
E-Mail: stoves@morsoe.com · Website: www.morsoe.com
E-Mail: stoves@morsoe.com · Website: www.morsoe.com
Advertisement
Table of Contents


Need help?
Do you have a question about the 1412 and is the answer not in the manual?
Questions and answers