Heatmiser DT User Manual
Slimline series
Hide thumbs
Also See for DT:
- Operating instructions manual (27 pages) ,
- Operating instructions manual (13 pages) ,
- Operating instructions manual (33 pages)
Table of Contents
Advertisement
Quick Links
Advertisement
Table of Contents

Related Manuals for Heatmiser DT


Summary of Contents for Heatmiser DT
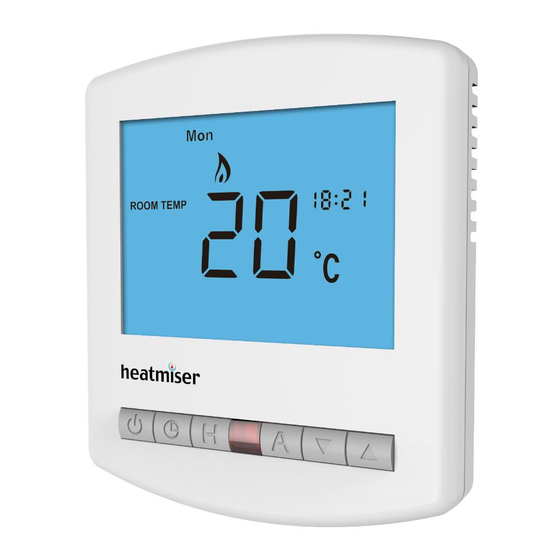
- Page 1 Model: DT / DT-N Model: DT / DT-N...
-
Page 2: Table Of Contents
Table of Contents Model: DT / DT-N Product Image Table of Contents What is a Room Thermostat? Installation Procedure LCD Display Temperature Display Locking the Thermostat Setting the Temperature Frost Protection Power On / Off Optional Features 14-16 Re-calibrating the Thermostat... -
Page 3: What Is A Room Thermostat
– say 18°C , and then turn it up by 1°C each day until you are comfortable with the temperature. You won’t have to adjust the thermostat further. Any adjustment above this setting will waste energy and cost you more money. Slimline Series Model: DT / DT-N... -
Page 4: Installation Procedure
Terminate the thermostat as shown in the diagrams on pages 18-22 of this booklet. Step 3 Screw the thermostat back plate securely into the back box. Step 4 Clip the front of the thermostat back onto the thermostat back plate. Slimline Series Model: DT / DT-N... -
Page 5: Lcd Display
Set - Indicates when changes are being made to programs or temperature set points. Current Temp - Indicates the current sensor temperature. Keypad Lock Indicator - Displayed when the keypad is locked. Units of Temperature - Degrees Celsius or Fahrenheit. Slimline Series Model: DT / DT-N... -
Page 6: Temperature Display
Note: The keypad lock indicator is only displayed when the lock is active. This is the current room temperature. This is the temperature you are trying to achieve in your home. Keypad Lock Indicator Slimline Series Model: DT / DT-N... - Page 7 Should the heating be turned on whilst in frost mode, the flame icon will be displayed. Press A to confirm settings and return to main display ..........To cancel the frost protect mode, press the Power button once again. Frost Protection Mode Enabled Set Temperature Set Icon Slimline Series Model: DT / DT-N...
- Page 8 This limit is also applicable when the thermostat is locked and so allows you to give others limited control over the heating *See Feature 3 on page 14 system. Slimline Series Model: DT / DT-N...
-
Page 9: Frost Protection
Use the Clock button to cycle through the features ..........• Use the Up/Down keys to change the setting ............ • Press A to confirm settings ....................• Press the Power button once to turn the thermostat back ON ......Slimline Series Model: DT / DT-N... -
Page 10: Re-Calibrating The Thermostat
All of the icons will be displayed on screen ............• When the icons have disappeared from the screen, the thermostat has been successfully reset. • Press the Power button once to turn the thermostat back ON ......Slimline Series Model: DT / DT-N... -
Page 11: Wiring Diagrams
VOLT FREE TO BOILER LIVE 230V SUPPLY IN LIVE NEUTRAL 230V SUPPLY IN TO BOILER LS & LR ARE NORMALLY THE NEUTRAL NEUTRAL ROOM THERMOSTAT CONNECTIONS LS & LR ARE NORMALLY THE HEATING VALVE ROOM THERMOSTAT CONNECTIONS Slimline Series Model: DT / DT-N... - Page 12 Wiring Diagram - Wiring Diagram - DT-N to UH1 DT-N to PRC Volt Free Switching Voltfree Switching With the Heatmiser PRC DT-N DT-N Recommendations 12VDC Connecting DT-N to the UH1 Max Cable Size - 1.5MM 12VDC Network Back Box Depth - 35MM...
- Page 13 Heating Professionals: Request a copy of our product installation guide containing detailed technical specifications for our complete product range: www.heatmiser.com/guide Want More Information? Call our support team on: +44 (0)1254 669090 Or view technical specifications directly on our website: www.heatmiser.com...
Need help?
Do you have a question about the DT and is the answer not in the manual?
Questions and answers