Truma Saphir comfort IR Operating Instructions And Installation Instructions
Motorhome ac
Hide thumbs
Also See for Saphir comfort IR:
- Operating and installation manual (76 pages) ,
- Operating instructions manual (54 pages) ,
- Operating and installation instructions (52 pages)

Related Manuals for Truma Saphir comfort IR


Summary of Contents for Truma Saphir comfort IR
- Page 1 Saphir comfort IR (Australia) Operating instructions Page 2 Installation instructions Page 8 To be kept in the vehicle!
-
Page 2: Table Of Contents
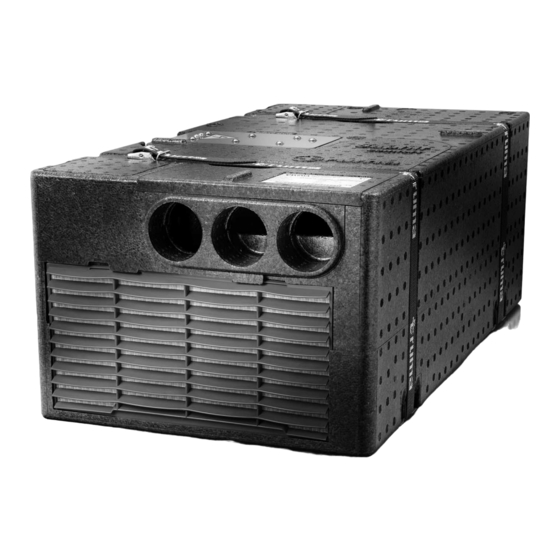
Air-conditioning unit Saphir comfort IR (Australia) COOL AUTO °C AUTO COMFORT MED. HIGH TCMP. TIMC MODC TIMCR RCSCND ON / OFF Saphir Installation example 1 Air-conditioning unit Saphir comfort IR 2a Supply air intake 2b Supply air outlet 3a Circulatory air return... -
Page 3: Symbols Used
Symbols used Notes for the use of air-conditioners – The Saphir comfort IR air conditioning unit is designed for This symbol indicates possible hazards. minimal power consumption. Nevertheless, you should check before taking the system into operation whether the camping site has adequate fuses (min. 4.2 A). -
Page 4: Operating Instructions
(e.g. with a ballpoint pen). 1. Switch the Saphir comfort IR on using button “g” on the remote control. The previous operating mode that was select- Saphir ed using the remote control is automatically used. -
Page 5: Maintenance
Maintenance Changing the battery in the remote control Located on the front side of the unit is a fluff filter (n) and a Please be sure to use leak-proof micro-batteries only, type particle filter (p) for cleaning the air in the room. LR 3, AM4, AAA, MN 2400 (1.5 V). -
Page 6: Technical Data
Truma Gerätetechnik GmbH & Co. KG outlet P.O. Box 1252 85637 Putzbrunn / Munich Condenser Germany Designation Circulating Saphir comfort IR, Comfort air conditioner air suc- Area of operation tion intake Small areas, mobile and stationary from inside Supply air Number of installation units... -
Page 7: Truma Warranty Policy
– The company will only provide service on presentation of proof of purchase, on either the Truma product, or the Caravan / RV / Pleasure Craft in which the Truma product has been installed, to any authorised service agent. The pur- chaser must allow the service agent to photocopy the proof of purchase to facilitate his claim to the manufacturer. -
Page 8: Installation Instructions
Installation instructions 940 mm 30 mm 20 mm 290 mm 440 mm 200 mm 20 mm Fig. A Minimum installation dimensions for standard installation Fig. B Side view with the electrical connections Fig. C Standard installation of the air-conditioning unit... -
Page 9: Location Selection
4. Remove template and cut out the marked floor openings. – modifications to the unit (including accessories), – failure to use original Truma parts as replacement parts and Before drilling, always check for underlying/concealed accessories, cables, gas lines, frame sections and the like! –... -
Page 10: If Space Is Restricted
Slide the cold air ducts (10) into the cold air emitters of the ets (3) and the 2 front and rear retaining brackets (2 – leg must unit and route to the air outlet nozzles. Truma can supply a be on the outside!). -
Page 11: Declaration Of Conformity
EN55014-1:2000+A1:2001+A2:2002; EN61000-3-2:2000; ing unit and connect to the unit at the side. EN61000-3-3:1995+A1:2001; EN55014-2:1997+A1:2001; EN61000-4-2:1995+A1:1998+A2:2001; Truma offers side parts (18) in eight different colors for EN61000-4-4:1995+A1:2001+A2:2001; finishing the cover frames (17) in a visually pleasing way. EN61000-4-5:1995+A1:2001; EN61000-4-6:1996+A1:2001; Please ask your dealer. - Page 12 In Australia, always notify the Dometic Service Centre if problems are encountered; in other countries the relevant service partners should be contacted (see Service Booklet or www.truma.com). Having the equipment model and the serial number ready (see type plate) will speed up processing.
Need help?
Do you have a question about the Saphir comfort IR and is the answer not in the manual?
Questions and answers