Firenzo Contessa Instructions For Installation Manual
Hide thumbs
Also See for Contessa:
- Manual (10 pages) ,
- User instructions (9 pages) ,
- Installation and operation manual (17 pages)

Related Manuals for Firenzo Contessa


Summary of Contents for Firenzo Contessa
-
Page 1: Instructions For Installation
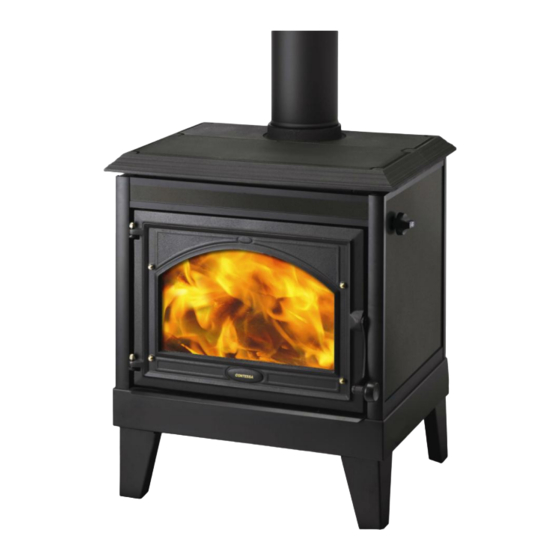
Instructions for Installation Contessa Freestanding Woodburner Firenzo Woodfires UK Limited 98 Niven Street, Napier 4142, New Zealand Website: www.firenzo.co.uk CI-2013-05-14... -
Page 2: Table Of Contents
6.7 Use of operating tools 6.8 CO Alarms 7. Installing the stove Your new Firenzo stove is EN 13240 and approved for the burning of well-seasoned wood logs in UK Smoke Control Areas HETAS Ltd Approval These appliances have been approved by HETAS Ltd as an intermittent operating appliance for burning wood logs only. -
Page 3: The Chimney
Distances from combustibles To rear To sides 2.0 Installing this Firenzo stove 2.1 Health and safety precautions Special care must be taken when installing the stove such that the requirements of the Health and Safety at Work Act are met. -
Page 4: The Chimney
3.1Size of flue in chimneys Size of Flue in Chimneys Installation Minimum flue size Fireplace with an opening of up to 500mmX500mm 200mm diameter or rectangular/square flues having the same cross-sectional area and a minimum dimension not less than 175mm. Fireplace with an opening in excess of 500mmX500mm or a See paragraph 2.7 of the ADJ. -
Page 5: Draught Conditions
3.3 Draught conditions If smoke comes out of the stove when the fire door is opened, it will be due to the poor draught in the chimney. This type of stove requires at least 12 Pa of chimney draught to achieve satisfactory combustion and to prevent smoke from escaping. -
Page 6: Floor Protector Requirements
A = 150mm B = 345mm C = 220mm NB Clearances are measured from the edge of the top castings. 5.1 Floor protector requirements This appliance has been tested as required under ADJ Page 37 Item 2.23a and maximum temperature rise recorded at 37°C. -
Page 7: Commissioning And Handover
If there is no existing chimney then any new system must be to the designation described above and in accordance with Building Regulations Approved Document J. A single wall metal fluepipe is suitable for connecting the stove to the chimney but is not suitable for use as the complete chimney. -
Page 8: Installing The Stove
7. Installing the stove Remove all outer packaging and carefully dispose. Remove both front and rear top castings affixed to pallet and carefully set aside. Carefully lift fire into approximate position on the floor protector. Fit front and rear top castings on to fire box ensuring they fit snuggly down on the top rope seals. Finally, accurately position fire ensuring all necessary safety clearances are adhered to along with the correct alignment of the flue system to the spigot outlet.
Need help?
Do you have a question about the Contessa and is the answer not in the manual?
Questions and answers