Sign In
Upload
Download
Table of Contents
Contents
Add to my manuals
Delete from my manuals
Share
URL of this page:
HTML Link:
Bookmark this page
Add
Manual will be automatically added to "My Manuals"
Print this page
×
Bookmark added
×
Added to my manuals
Manuals
Brands
LG Manuals
Security Camera
LV902
Instruction manual
LG LV902 Instruction Manual
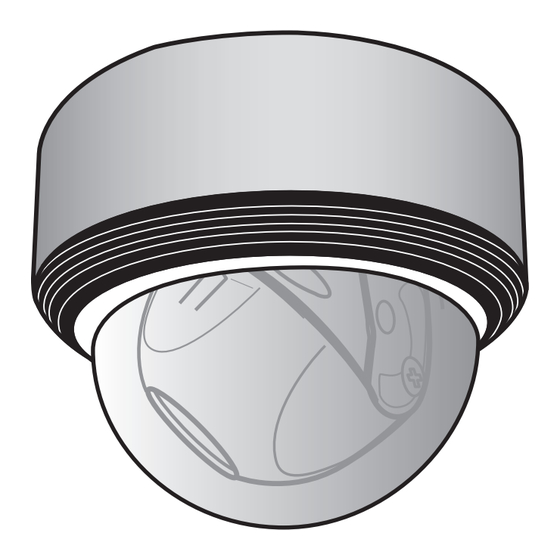
Color video camera
Hide thumbs
1
2
3
4
Table Of Contents
5
6
7
8
9
10
11
12
13
14
15
16
17
18
19
20
21
22
23
24
25
26
27
28
29
30
31
32
33
34
35
36
page
of
36
Go
/
36
Contents
Table of Contents
Bookmarks
Table of Contents
Instruction Manual
Important Safety Instructions
Table of Contents
Features
Cautions for Safe Operation
Part Names and Functions
B y
Connections
-
Disassembly of the Camera
Installation
Image Adjustment
Menu Operation
Camera Identification Settings
Exposure Settings
White Balance Settings
Day/Night Setting
Motion Detection Setting
3D-DNR Setting
R-
-
Privacy Setting
Or
Special Menu Settings
Reset Settings
Specifications
Advertisement
Quick Links
Download this manual
Color Video Camera
Instruction Manual
Models : LV903
LV902
LV901
Before installing, operating or adjusting this
product, please read this instruction booklet
carefully and completely.
Table of
Contents
Previous
Page
Next
Page
1
2
3
4
5
Advertisement
Table of Contents
Need help?
Do you have a question about the LV902 and is the answer not in the manual?
Ask a question
Questions and answers
Related Manuals for LG LV902
Security Camera LG LVC-A910 Operating Instructions Manual
The power zoom color video camera (54 pages)
Security Camera LG LVC-C500 Operating Instructions Manual
Power zoom color video camera is designed for use in monitoring system (72 pages)
Security Camera LG LV901 Instruction Manual
Color video camera (36 pages)
Security Camera LG LT303 Owner's Manual
Dome camera (32 pages)
Security Camera LG LCD5300R-BN Owner's Manual
Ir dome camera (2 pages)
Security Camera LG LW5224R Owner's Manual
(57 pages)
Security Camera LG LSW900 series Owner's Manual
Network camera & network video server (66 pages)
Security Camera LG LNV7210 series Owner's Manual
High definition network cameras (48 pages)
Security Camera LG LNU7210R Series Owner's Manual
High definition network camera (2 pages)
Security Camera LG LCP2850I-AN Owner's Manual
(52 pages)
Security Camera LG LT303N/P Owner's Manual
Dome camera (36 pages)
Security Camera LG LNB5100 series Owner's Manual
High definition network camera (61 pages)
Security Camera LG LW9226 Series Owner's Manual
Network dome camera (60 pages)
Security Camera LG LW6424-FP Owner's Manual
High definition network dome camera (60 pages)
Security Camera LG LW130W Owner's Manual
Hd compact network camera (68 pages)
Security Camera LG LW130W User Manual
Hd compact network camera (61 pages)
This manual is also suitable for:
Lv903
Lv901
Table of Contents
Print
Rename the bookmark
Delete bookmark?
Delete from my manuals?
Login
Sign In
OR
Sign in with Facebook
Sign in with Google
Upload manual
Upload from disk
Upload from URL


Need help?
Do you have a question about the LV902 and is the answer not in the manual?
Questions and answers