
Related Manuals for Cisco SPA500DS


Summary of Contents for Cisco SPA500DS
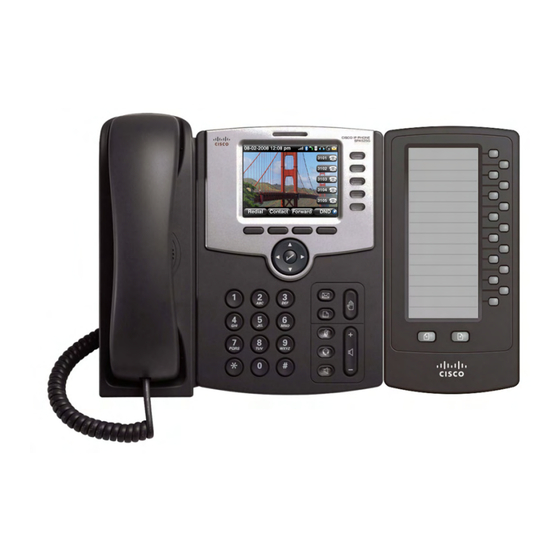
- Page 1 Quick Start Guide Cisco SPA500DS 15-Button Digital Attendant Console for SPA500 Family Phones Package Contents • Cisco SPA500DS • Quick Start Guides • Attachment Arm • Attachment Arm Screws (2) • Auxiliary Interconnect Cable • Stand...
-
Page 2: Connecting The Equipment
Cisco SPA500 Series IP Phone. Using an attachment arm screw, secure the attachment arm to the Cisco SPA500 Series IP Phone. Align the right screw hole in the Cisco SPA500DS with the unused hole on the attachment arm. Cisco SPA500DS... - Page 3 Insert the pegs on the attachment arm into the peg holes on the Cisco SPA500DS. Using an attachment arm screw, secure the attachment arm to the Cisco SPA500DS. Do not plug a telephone line cord into the AUX port. Use only AUTION the auxiliary cable provided with the Cisco SPA500DS. Cisco SPA500DS...
- Page 4 Locate the AUX IN port on the back of the Cisco SPA500DS. Connect one end of the auxiliary cable to this port. Locate the AUX port on the back of the Cisco SPA500 Series IP Phone. Connect the other end of the auxiliary cable to this port.
- Page 5 A maximum of two Cisco SPA500DS attendant consoles can be connected to a Cisco SPA500 Series IP Phone. The instructions in this section are for connecting a second SPA500DS. If you are not attaching a second Cisco SPA500DS, skip to the Configuring the Cisco SPA 500S section.
- Page 6 Section 1, Connecting the Equipment. Align the left screw hole in the first Cisco SPA500DS with one of the holes on the attachment arm. Insert the pegs on the attachment arm into the peg holes on the Cisco SPA500DS.
- Page 7 Locate the AUX OUT port on the back of the first Cisco SPA500DS. Connect one end of the auxiliary cable to this port. Locate the AUX IN port on the back of the second Cisco SPA500DS. Connect the other end of the auxiliary cable to this port.
- Page 8 Using the Cisco SPA500DS You can press a button on the Cisco SPA500DS to dial an associated line, pick up a call ringing at a line, or transfer a call to the line. The options available on the Cisco SPA500DS depend on the phone system configuration.
-
Page 9: Where To Go From Here
Cisco Small Business www.cisco.com/go/smallbizfirmware Firmware Downloads Select a link to download firmware for Cisco Small Business Products. No login is required. Downloads for all other Cisco Small Business products, including Network Storage Systems, are available in the Download area on Cisco.com at... - Page 10 Cisco and the Cisco logo are trademarks or registered trademarks of Cisco and/or its affiliates in the U.S. and other countries. To view a list of Cisco trademarks, go to this URL: www.cisco.com/go/trademarks. Third-party trademarks mentioned are the property of their respective owners.
Need help?
Do you have a question about the SPA500DS and is the answer not in the manual?
Questions and answers