
Related Manuals for Cisco UC 520


Summary of Contents for Cisco UC 520
- Page 1 Cisco Unified Communications 500 Series IP PBX Setup Guide Version 1.0 Last Update: 02/14/2011 Page 1...
-
Page 2: Required Information
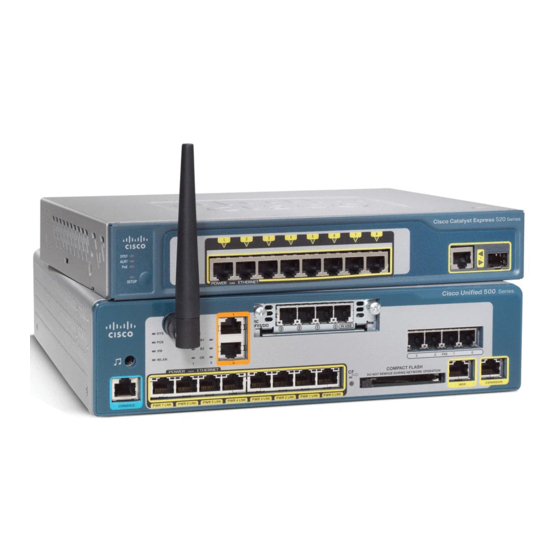
Cisco Unified Communications 500 Series DISCLAIMER The attached document is provided as a basic guideline for setup and configuration of Cisco Unified Communications 500 Series IP PBX systems with MegaPath’s SIP Trunking service, based on MegaPath’s testing and validation process. It does not include advanced configurations to enable features such as voicemail, Find-Me-Follow-Me, etc. - Page 3 Cisco Unified Communications 500 Series Appendix: Cisco Unified Communications 500 Series Setup The Cisco Unified Communications 500 Series is comprised of three primary models with numerous options and configurations available to each. Below is a high-level comparison of the Unified Communications 520, 540 and 560.
- Page 4 Factory default username and password are cisco/cisco 3) Using an RJ-45-to-RJ-45 Ethernet cable, connect the Ethernet port of the PC on which the Cisco Configuration Assistant is installed to a PoE port on the front panel of the UC 500.
- Page 6 Cisco Unified Communications 500 Series A.2.2 Welcome - Software Settings This screen displays licensing and software version information. Additional user licenses can be added and the system software version can be upgraded here. Software Upgrade and License Management A.2.3 Networking – System Access Configure the UC500 system hostname and administrator access credentials on this screen.
- Page 7 Cisco Unified Communications 500 Series Note – Login credentials configured here apply to both Cisco Configuration Assistant and CLI access. A.2.4 Networking – Choose Locale Select “Custom” and choose the “North American-10-Digit” dial plan template. Choose Locale A.2.5 Networking – WAN Configure WAN Internet settings here, making sure to specify CIDR notation in the “IP Address”...
- Page 8 Cisco Unified Communications 500 Series Configuring WAN settings Note – Using a static IP address is highly recommended. No testing or verification of behavior using a DHCP assigned IP address was completed. A.2.6 Networking – Local LAN If needed, configure Local LAN settings here including voice and data VLANs.
- Page 9 Cisco Unified Communications 500 Series A.2.7 Users/Extensions and Auto Attendant Options in this section are customer specific and configuration will not be covered. Navigate through this section to configure the following: Extension digit length Access Code for outside dialing ...
- Page 10 Cisco Unified Communications 500 Series Auto Attendant Setup Summary A.2.8 Trunks – FXO Ports Configure FXO (analog) Trunk settings here. SIP Trunk settings are not included in the wizard and will be covered later in this document. Note – At least one FXO port must remain active during setup or the error displayed below will be received.
- Page 11 Cisco Unified Communications 500 Series Wizard Summary – Apply Configuration Writing the configuration can take some time, please allow it to complete and do not close Cisco Configuration Assistant while in process. Writing settings to the running configuration Telephony Setup Wizard is now complete. Click “Save Config and Exit Wizard”...
- Page 12 Cisco Unified Communications 500 Series Completed Telephony Setup Wizard A.3. Additional Voice Configuration To finish configuration for SIP Trunking on the UC 500 Series IP-PBX, additional settings must be entered outside of the Telephony Setup Wizard and SIP Trunk sections. Please complete these steps prior to configuring the SIP Trunk.
- Page 13 Note – Traffic Shaping MUST be configured and active in order to activate DSCP marking and utilize QoS prioritization across MegaPath’s network. To configure the Cisco UC 500 Series for DSCP marking, please follow the steps outlined below: 1. Navigate to Configure Routing Internet Connection 2.
- Page 14 Cisco Unified Communications 500 Series T1 circuit at 1536k would be set at 1428k to account for IP overhead. c. Media Reservation: Testing was completed with the default setting of 50% WAN bandwidth reservation however this may be adjusted as needed to meet customer requirements.
- Page 15 Cisco Unified Communications 500 Series A.4. SIP Trunk Configuration The Cisco Unified Communications 500 Series IP-PBX can be configured for different types LAN/WAN topologies and different methods of communicating with the SIP server. Testing was focused on the following: 1. Direct Internet connection on public IP (UC500 Router Internet) a.
- Page 16 Cisco Unified Communications 500 Series SIP Trunk Service Provider Selection Generic SIP Trunk Provider Configuration A.4.1.1.1 Direct Internet Connection – SRV Resolution Using SRV records as the SIP server/registrar allows for redundancy in the case that the primary server is not reachable.
- Page 17 8. User Credentials: Leave blank, this is only used if each DID requires a unique username and password to authenticate. Due to the way that SRV resolves, the Cisco UC500 needs to be explicitly configured to allow the SBC IP addresses.
- Page 18 Cisco Unified Communications 500 Series Allowing SBC IP Addresses 10. Click “OK” to apply settings 11. A “User Confirmation” window will display, enter the following information: a. SIP Trunk Add Generic SIP Trunk Provider as a SIP Trunk options to Outgoing Numbers in the Dial Plan?: Checked b.
- Page 19 Cisco Unified Communications 500 Series 12. Due to the use of SRV DNS, the UC 500 produces an error that the SIP server is not reachable although registration has likely succeeded. This error may appear one or more times, ignore it and click “OK”...
Need help?
Do you have a question about the UC 520 and is the answer not in the manual?
Questions and answers