Sign In
Upload
Download
Table of Contents
Contents
Add to my manuals
Delete from my manuals
Share
URL of this page:
HTML Link:
Bookmark this page
Add
Manual will be automatically added to "My Manuals"
Print this page
×
Bookmark added
×
Added to my manuals
Manuals
Brands
Gerni Manuals
Pressure Washer
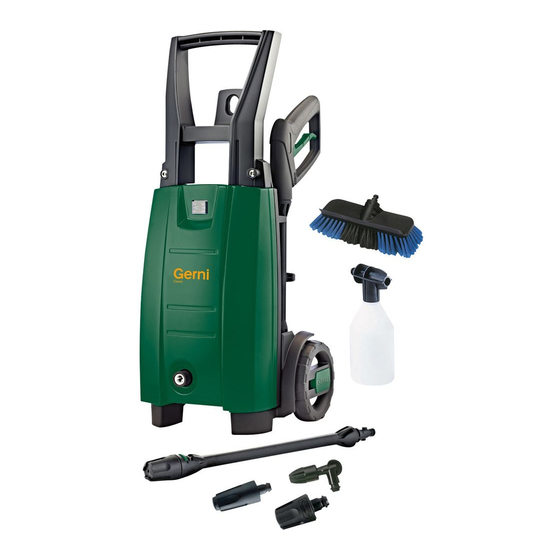
Classic 100.3
User manual
Gerni Classic 100.3 User Manual
Hide thumbs
1
2
Table Of Contents
3
4
5
6
7
8
9
10
11
12
13
14
15
16
17
18
19
20
21
page
of
21
Go
/
21
Contents
Table of Contents
Troubleshooting
Bookmarks
Table of Contents
Table of Contents
1 Introduction
Symbols Used to Mark Instruction
2 Safety Precautions and Working Techniques
3 Before You Start Using Your High Pressure Washer
Mounting of Trolley Handle and Wheels
Mounting of Quick Coupling
Classic
4 Operating Your High Pressure Washer
Connection of High Pressure Hose
Mounting of Spray Lance and Click&Clean Nozzles
Water Connection
Starting the High Pressure Washer
5 After Using the Pressure Washer
Stopping the High Pressure Washer
6 Maintenance
7 Troubleshooting
8 Warranty Conditions
9 Main Technical Data
10 Declaration of Conformity
Advertisement
Quick Links
1
Introduction
2
Operating Your High Pressure Washer
3
Connection of High Pressure Hose
4
Mounting of Spray Lance and Click&Clean Nozzles
5
Troubleshooting
6
Maintenance
7
Main Technical Data
Download this manual
Why compromise
Classic 100.3
Classic 100.3 S
Classic 110.4
Classic 115.3
Classic 120.4
Classic 100.3
Classic 100.3 S
Classic 110.4
Classic 115.3
Classic 120.4
User Guide
Table of
Contents
Previous
Page
Next
Page
1
2
3
4
5
Advertisement
Table of Contents
Need help?
Do you have a question about the Classic 100.3 and is the answer not in the manual?
Ask a question
Questions and answers
Related Manuals for Gerni Classic 100.3
Pressure Washer Gerni Super 130.3 User Manual
(15 pages)
Pressure Washer Gerni Super 130.3 User Manual
(23 pages)
Pressure Washer Gerni Classic 120.2 User Manual
(26 pages)
Pressure Washer Gerni 118 P Operating Manual
(7 pages)
Pressure Washer Gerni Neptune 5 Operating Manual
Gerni neptune 5/7 high-pressure cleaner operating guide (21 pages)
Pressure Washer Gerni N/G-230A Operating Manual
(10 pages)
Pressure Washer Gerni Poseidon 3 Operating Manual
(12 pages)
Pressure Washer Gerni Super 130.2 User Manual
(20 pages)
Pressure Washer Gerni Classic 115.2 User Manual
(20 pages)
Pressure Washer Gerni Poseidon 2 User Manual
(24 pages)
Pressure Washer Gerni Gerni Super 130.2 User Manual
(21 pages)
Pressure Washer Gerni NEPTUNE 7 Operating Manual
High-pressure cleaner (27 pages)
Pressure Washer Gerni Ultimate 130.2 User Manual
(19 pages)
Pressure Washer Gerni Classic 100.2 User Manual
Classic 100.2; classic 110.2 (20 pages)
This manual is also suitable for:
Classic 115.3
Classic 120.4
Classic 110.4
Table of Contents
Print
Rename the bookmark
Delete bookmark?
Delete from my manuals?
Login
Sign In
OR
Sign in with Facebook
Sign in with Google
Upload manual
Upload from disk
Upload from URL


Need help?
Do you have a question about the Classic 100.3 and is the answer not in the manual?
Questions and answers