Table of Contents
Advertisement
Quick Links
Advertisement
Table of Contents

Subscribe to Our Youtube Channel
Related Manuals for Ikelite 5510.45


Summary of Contents for Ikelite 5510.45
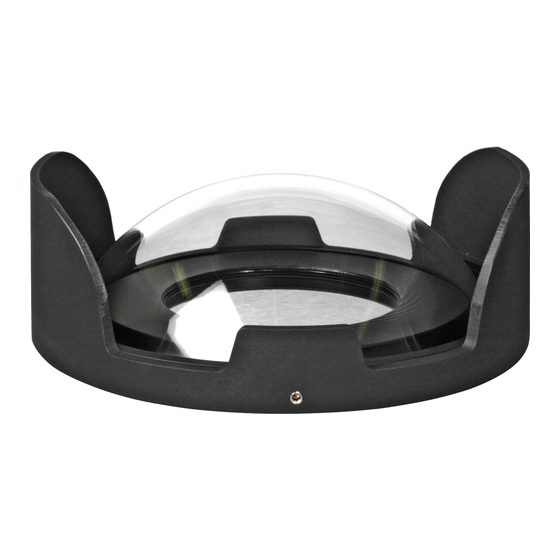
- Page 1 8 in. Dome with Shade 5510.45 I n s t r u c t i o n M a n u a l Thank you for your purchase of Ikelite equipment. Please read this instruction manual completely before attempting to operate or dive with this product.
-
Page 2: Table Of Contents
Remove Port from a Housing......P. 8 Port Shade Alignment........P. 8 Port Lock Information ........P. 9 Port Shade Installation/Removal ....P. 10 Port Seal - Inside View ........P. 12 Optional Replacement O-rings ......P. 13 Maintenance ..........P. 14 Ikelite Limited Warranty........P. 15 Returning Products for Service ......P. 16... -
Page 3: Important Notice
Maximum Depth Rating of 150 ft. (45m). The unmarked standard or extended port bodies can be returned to Ikelite for a no charge replacement with the newer 200 ft. (60m) rated bodies. Do not send the dome when returning the port body. -
Page 4: Port Bodies
Port Bodies For information on the full selection of 8 in. dome port bodies, please visit www.ikelite.com. Super Wide Body Standard Body Extended Body 5510.11 5510.16 5510.24 Dome Cut-outs Dome with Shade 5510.45 Shade Base Plate Camera Housing / Port Opening... -
Page 5: Install Port Bodies On The 8" Dome
Install Port Bodies on the 8” Dome Install bodies by Housing/Port o-ring screwing them into the base plate of the 5510.45 dome port. The seal between the body and the dome base plate is a side to side seal and requires... -
Page 6: Install Port On A Housing
There are four port locks on the front of the housing. Each port lock has a release button. Lift the release button and slide IKELITE each port lock away from the port opening. In the unlocked position, the release button Port will remain in the “up”... - Page 7 Install Port on a Housing (cont.) To prepare the port for installation, remove the port o-ring and lightly lubricate it. The port seal is a side-to-side seal and requires the o-ring to be lightly lubricated for easy installation. Put a small amount of lubricant on your fingers and pull the o-ring through your fingers to lightly lubricate it.
-
Page 8: Remove Port From A Housing
Port Shade Alignment Rotate the port so the 4 cut-outs in the shade are at the 2, 4, 8 and 10 o’clock positions in relation to the camera lens view. When using the 5510.11 superwide port body, refer to your 5510.11 instruction manual for proper shade alignment. -
Page 9: Port Lock Information
Ikelite film SLR housings are not compatible with the 5510.11 superwide port body. Port Lock Retaining Screw Measure Measure Low-Profile Lock Standard Port Lock Note: The Low Profile Port Locks work with all Ikelite port bodies. Once they have been installed, there is no reason to replace them. -
Page 10: Port Shade Installation/Removal
Port Shade Installation/Removal - Reference illustrations on page 11. 1. Place the port shade on a flat surface with the cut-out section face down (Fig. 1 - page11) . 2. Loosen the four set screws with the Allen wrench. The set screws do not have to be removed, unscrew them until the face of the set screw does not protrude beyond the inside face of the dome shade. - Page 11 Port Shade Installation/Removal (cont.) Figure 1 DOME PORT Insert the Dome Port face down Inner Ledge DOME PORT SHADE Screws Screws Place Dome Port shade on a flat surface with Allen wrench cut-outs face down INSTALLED Figure 2 Tighten all four set screws with Allen wrench...
-
Page 12: Port Seal - Inside View
Port Seal - Inside View Due to the wide overhang of the port flange, the port seal is most visible when viewed by looking inside the housing before the camera is inserted. After the port is installed check to see that the o-ring is properly sealed as shown in Figure 3 and not extruded as shown in Figure 4. -
Page 13: Optional Replacement O-Rings
Optional Replacement O-rings (applies to all port bodies) O-rings can last for several years if properly maintained, but it is wise to carry spare o-rings when traveling in case one becomes misplaced or damaged. Housing/Port O-ring 0105 Body/Base Plate O-ring 0132.41... -
Page 14: Maintenance
Maintenance After each dive, the exterior of the housing and dome port should be rinsed thoroughly in freshwater and dried with a soft cloth. Remove any water spots from the dome as they can cause blurry spots in the photographs. After prolonged saltwater use the exterior of the dome port and housing should be soaked in a mild liquid soap and water solution. -
Page 15: Ikelite Limited Warranty
All other claims, of any nature are not covered. Except as mentioned above, no other warranty expressed or implied, applies to this Ikelite product. This port is warranted by Ikelite to a depth of 200’ (60m). Ikelite Technical Support Email: ikelite@ikelite.com Phone 317.923.4523... -
Page 16: Returning Products For Service
Returning Products for Service Ikelite is most interested in performing any service to ensure that all products perform as intended. Evidence of purchase date must be provided to obtain warranty service. No prior authorization is required. You may return directly to us or through your dealer.
Need help?
Do you have a question about the 5510.45 and is the answer not in the manual?
Questions and answers